基于CentOS8.2 LNMP搭建Wordpress
CentOS版本:8.2
wordpress:5.9.3
php:7.4.19
nginx:1.14.1
MariaDB:10.3.28
以下操作均在root下执行
Nginx安装
1.安装Nginx
dnf -y install nginx
2.开放防火墙端口(若不考虑安全性可直接关闭防火墙)
systemctl status firewalld          #查看防火墙状态
systemctl stop firewalld.service    #关闭防火墙
systemctl disable firewalld.service #禁用防火墙
http需要开放80端口,https需要开放443端口
firewall-cmd --query-port=80/tcp   #查询80端口是否开放
firewall-cmd --zone=public --add-port=80/tcp --permanent #放开80端口
systemctl restart firewalld #重启防火墙,开放端口需重启防火墙后才生效
firewall-cmd --query-port=80/tcp   #确认80端口是否开放
同理,开放443端口
firewall-cmd --query-port=443/tcp   #查询443端口是否开放
firewall-cmd --zone=public --add-port=443/tcp --permanent #放开443端口
systemctl restart firewalld #重启防火墙,开放端口需重启防火墙后才生效
firewall-cmd --query-port=443/tcp   #确认443端口是否开放
3.配置Nginx
vim /etc/nginx/nginx.conf
修改http->server中server_name为服务器地址
启动nginx
systemctl enable nginx     # 将Nginx设置为开机自启
systemctl start nginx      # 启动Nginx
systemctl status nginx          # 查看Nginx状态
PHP环境安装
1.查询是否有PHP环境
php -v
rpm -qa | grep php   #使用rpm查询php包
find / -name "php"   #寻找php安装目录
2.安装php环境
CentOS8自带php环境,不过没有启用
启用方法:
1、获取所有可用PHP版本的列表:
dnf module list php
2、重置php
dnf module reset php
3、启用php
dnf module enable php:7.4
4.安装必备组件
dnf install php-cli php-fpm php-gd php-mysqlnd php-mbstring php-opcache php-pdo
dnf install php php-curl php-dom php-exif php-fileinfo php-fpm php-gd php-hash php-json php-mbstring php-mysqli php-openssl php-pcre php-xml php-zip
安装组件过程中出现Error: Failed to download metadata for repo 'appstream': Cannot prepare internal mirrorlist: No URLs in mirrorlist问题解决方法:
cd /etc/yum.repos.d/
sed -i 's/mirrorlist/#mirrorlist/g' /etc/yum.repos.d/CentOS-*
sed -i 's|#baseurl=http://mirror.centos.org|baseurl=http://vault.centos.org|g' /etc/yum.repos.d/CentOS-*
问题出现原因:CentOs Linux 8 从 2021.10.31 号后已经停止维护,所以之后更新镜像需要通过 vault.centos.org来获取更新。
3.启动php-fpm服务
systemctl start php-fpm.service     #启动php-fpm
systemctl enable php-fpm.service    #设置开机自启动
systemctl status php-fpm.service    #查看服务状态
PHP环境测试:
cd [网页路径]   # 之前在myNginx.conf设置路径。若没修改该,则使用默认路径/usr/share/nginx/html。
vim test.php   # 使用vim创建test.php文件
test.php内容:
<?php
    phpinfo();
?>
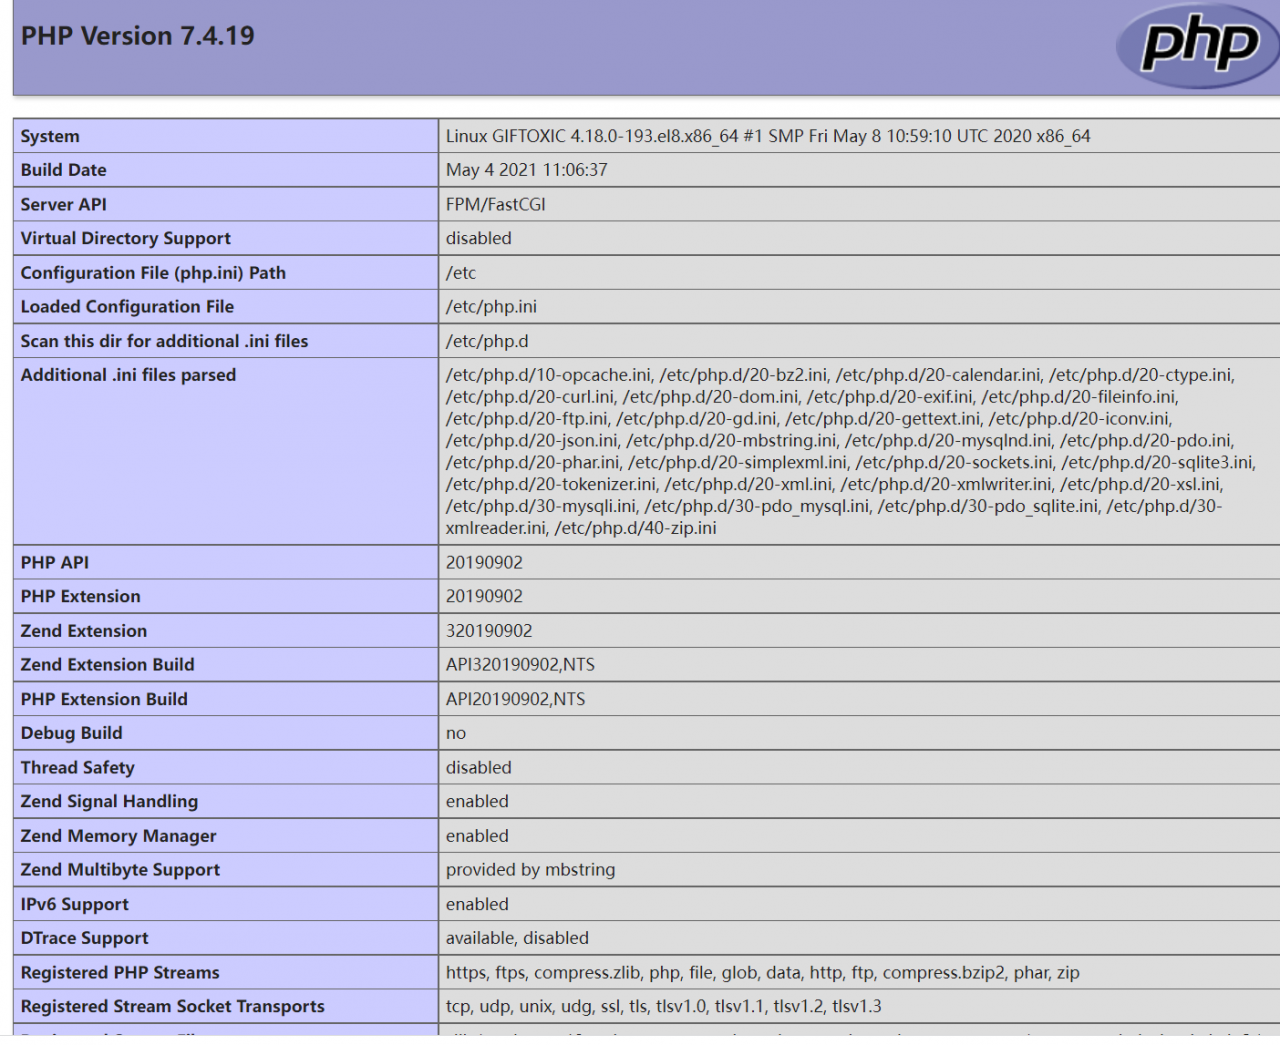
访问[主机ip][:端口]/test.php出现以下界面即为成功
安装MariaDB
CentOS8自带maeiadb ,使用如下命令安装即可
dnf install mariadb-server
systemctl enable mariadb
systemctl start mariadb
systemctl status mariadb
启动MariaDB的一个安全脚本对其进行初始化:
mysql_secure_installation
In order to log into MariaDB to secure it, we’ll need the current
password for the root user. If you’ve just installed MariaDB, and
you haven’t set the root password yet, the password will be blank,
so you should just press enter here.
输入已有root密码,没设过密码敲回车即可。
Setting the root password ensures that nobody can log into the MariaDB
root user without the proper authorisation.
Set root password? [Y/n]
是否设置root密码?(Y,并输入密码)
By default, a MariaDB installation has an anonymous user, allowing anyone
to log into MariaDB without having to have a user account created for
them. This is intended only for testing, and to make the installation
go a bit smoother. You should remove them before moving into a
production environment.
Remove anonymous users? [Y/n]
默认情况下,MariaDB安装有一个匿名用户,允许任何人登录MariaDB而不必为他们创建用户帐户。这仅用于测试,并使安装更顺利。在进入生产环境之前,应该先删除它们。
删除匿名用户?(根据需要选择,我选Y)
Normally, root should only be allowed to connect from ‘localhost’. This
ensures that someone cannot guess at the root password from the network.
Disallow root login remotely? [Y/n]
通常,只允许root用户从“localhost”连接。这可以确保有人无法从网络猜出root密码。
不允许远程root登录?(根据需要选择,我选n)
By default, MariaDB comes with a database named ‘test’ that anyone can
access. This is also intended only for testing, and should be removed
before moving into a production environment.
Remove test database and access to it? [Y/n]
默认情况下,MariaDB附带一个名为“test”的数据库,任何人都可以访问该数据库。这也仅用于测试,在进入生产环境之前应该删除。
删除test数据库和对它的访问权限?(根据需要选择,我选Y)
Reloading the privilege tables will ensure that all changes made so far
will take effect immediately.
Reload privilege tables now? [Y/n]
是否需要刷新权限表?(这里需选Y)
WordPress相关用户与数据库配置
登录数据库,创建wordpress专用用户及数据库(由于该用户名与密码会以明文形式写在WordPress配置文件中,故不建议直接使用root用户)
CREATE DATABASE [WordPress数据库名];
SHOW DATABASES; #查看数据库是否成功创建
CREATE USER '[访问WordPress用户名]'@localhost IDENTIFIED BY '[WordPress数据库用户的密码]';
select Host,User,Password from mysql.user; #查看用户是否创建成功
GRANT ALL PRIVILEGES ON [数据库名].* TO '[访问WordPress用户名]'@localhost IDENTIFIED BY '[WordPress数据库用户的密码]';  #赋予创建的用户访问wordpress数据库的权限
FLUSH PRIVILEGES;                       # 刷新数据库设置
show grants for '[访问WordPress用户名]'@localhost  #查看权限赋予是否成功
EXIT;                                   # 退出数据库
WordPress安装配置
1.进入Nginx配置的网页路径的上一级文件夹(网页路径默认为/usr/share/nginx/html)
cd /usr/share/nginx/
2.删除网页目录最后一级文件夹(默认为./html)
rm -rf ./html
3.下载并解压WordPress
wget https://wordpress.org/latest.tar.gz        # 从官网下载
tar -zxvf latest.tar.gz                         # 解压tar.gz包
mv wordpress html                               # html为网页目录最后一级文件夹
rm latest.tar.gz                                # 删除tar.gz包
4.设置网页目录的读写权限:
以下为默认情况
cd /usr/share/nginx/            #进入网页路径的上一级目录
chown -R nginx:nginx html  #html为网页路径最后一层目录,即wordpress文件夹,在上一步中重命名为html文件夹
chmod 0755 html
5.设置Selinux
chcon -R system_u:object_r:httpd_sys_content_t:s0 html          # 赋予Nginx整个目录的读权限
cd html
chcon -R system_u:object_r:httpd_sys_rw_content_t:s0 wp-content        # 赋予Nginx在wp-content目录下的读写权限
6.Wordpress网页配置
在浏览器中输入:[主机ip][:端口](使用默认端口,可省略端口号)。如能看到WordPress的安装界面,或者是选择语言的界面,说配置成功。
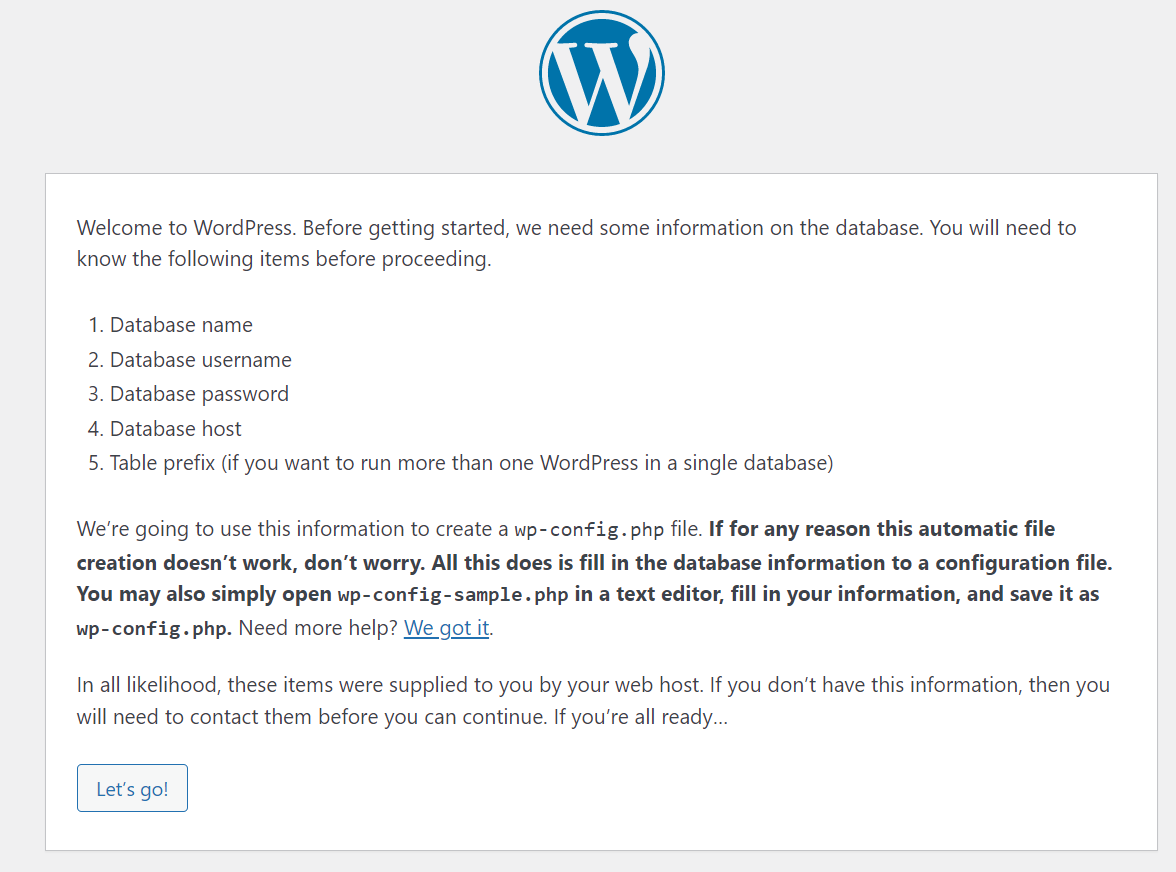
点击Let’s go,之后将之前配置的数据库填入提交
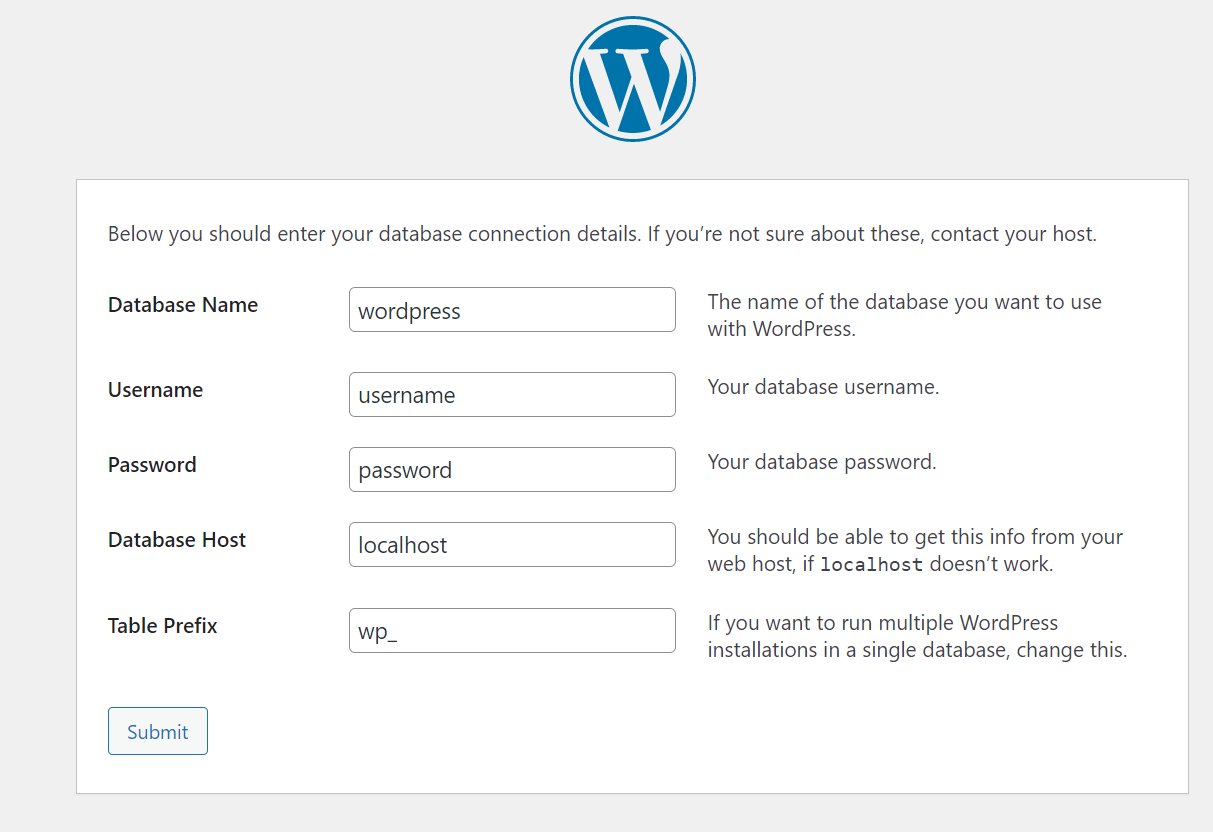
在此之后若出现
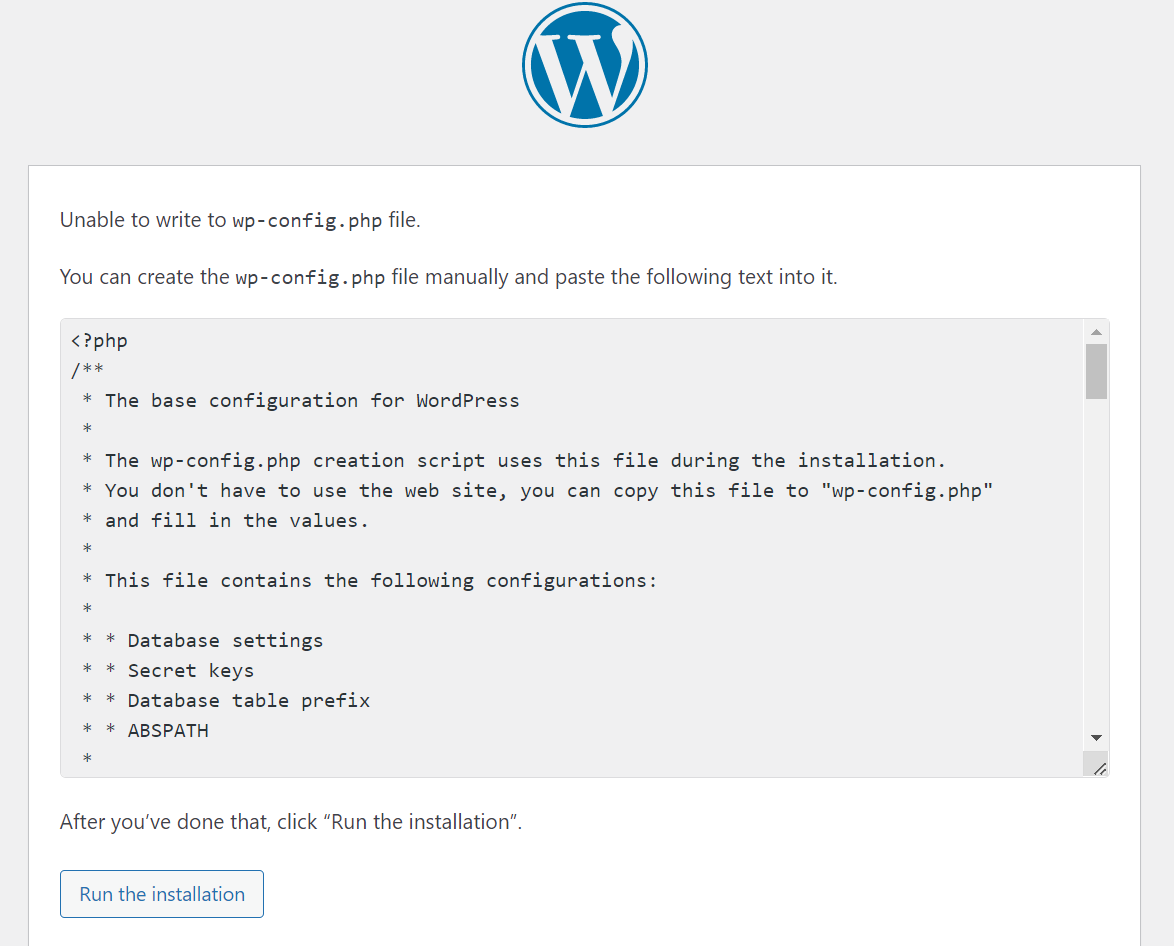
拷贝文本框内内容,并手动在wordpress文件夹(默认为/usr/share/nginx/html)创建wp-config.php并将其内容贴入其中,并在末尾补上?>然后进行下一步即可,若未出现则无需理会。
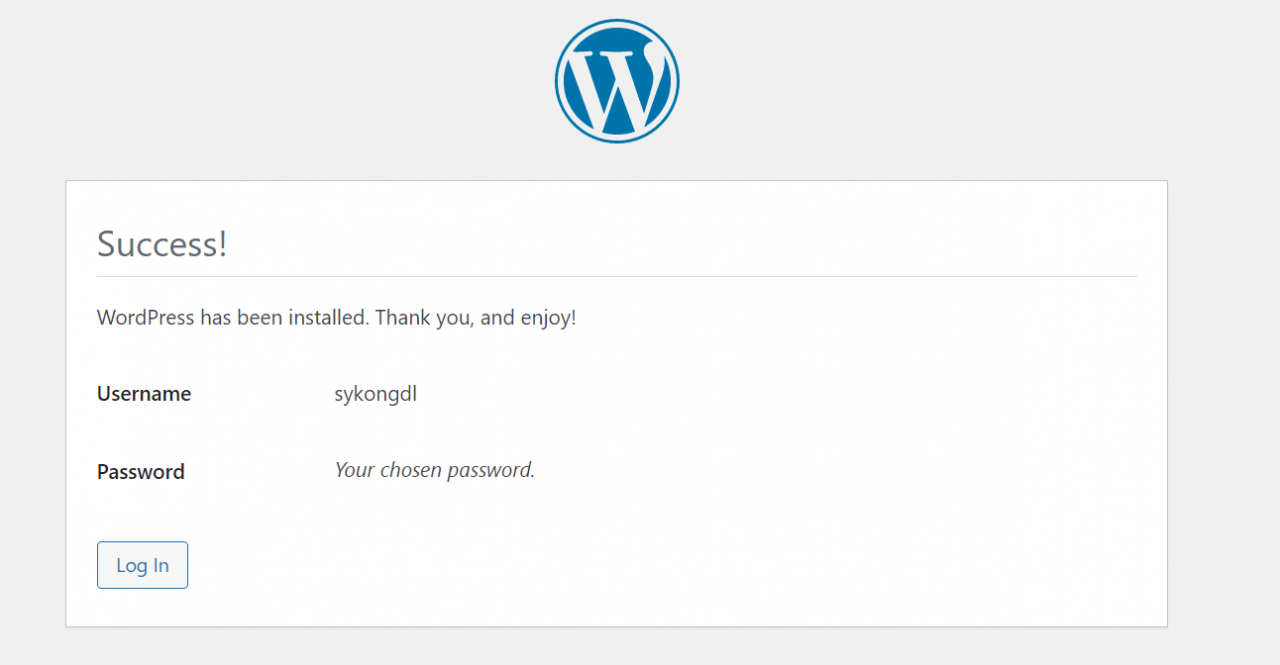
在欢迎界面输入相关信息点击install即可完成安装
WordPress切换中文
1.从Wordpress中文站点获取中文版Wordpress
https://cn.wordpress.org/
2.解压后将 /wp-content/中的languages文件夹上传至安装的英文版Wordpress的对应目录中,
3.登入wordpress网页后台,找到Settings->General->Site Language.,切换为zh_CN即可
WordPress安装插件时出现
WordPress 需要访问您网页服务器的权限
1.考虑是权限问题,Wordpress5.2及以上版本引入了Wordpress站点健康工具,进入网页后台->工具->站点健康->信息->文件系统权限,正常情况下应该是全为可写
2.检查发现全为不可写,试全部改为777权限,然后等待一会再改回755,发现除 uploads外全部变为不可写(在此操作之前wp-content目录内未生成uploads文件夹),查看uploads文件夹的所有者,为apache,而其他文件夹所有者为nginx,将wordpress目录的所有者改为apache即可解决问题
chown -R apache /usr/share/nginx/html
参考链接:
CentOS 8搭建LNMP + WordPress
安装 wordpress 出现 抱歉,我不能写入wp-config.php文件
MariaDB 用户与权限管理
解决Failed to download metadata for repo ‘AppStream’
CentOS 8配置Nginx+PHP+MySQL