Apollo源码解析之源码环境搭建
前言
本文讲解如何搭建apollo源码阅读环境,详细步骤可参考官网:
Apollo开发指南
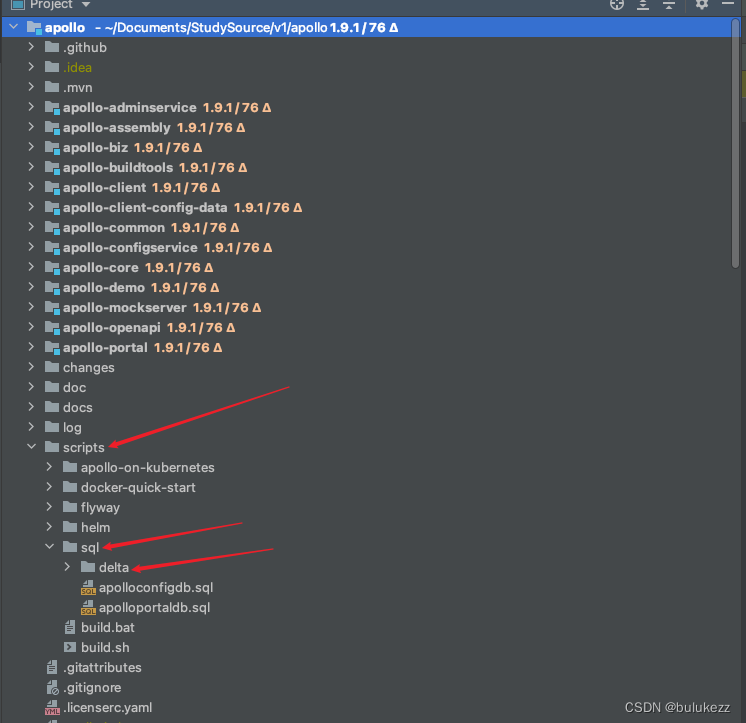
一、下载源码
二、执行数据库脚本
三、启动ConfigService和AdminService
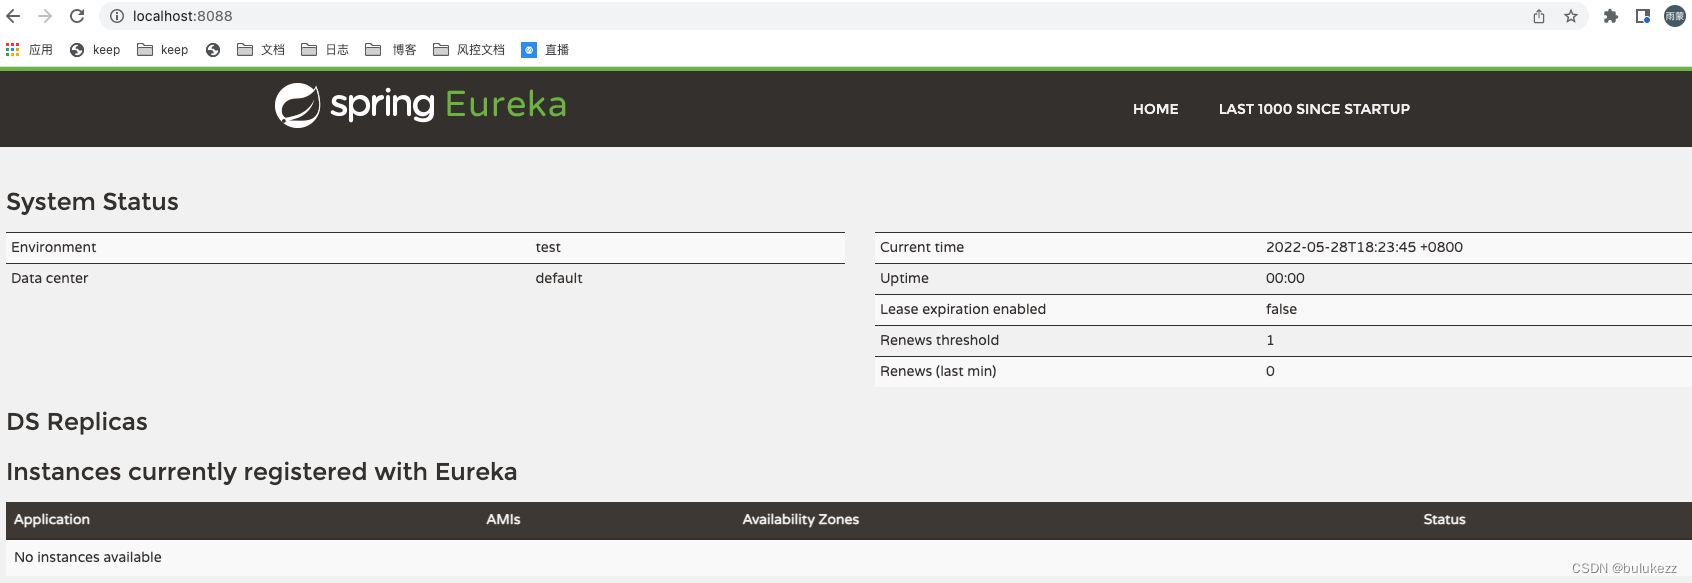
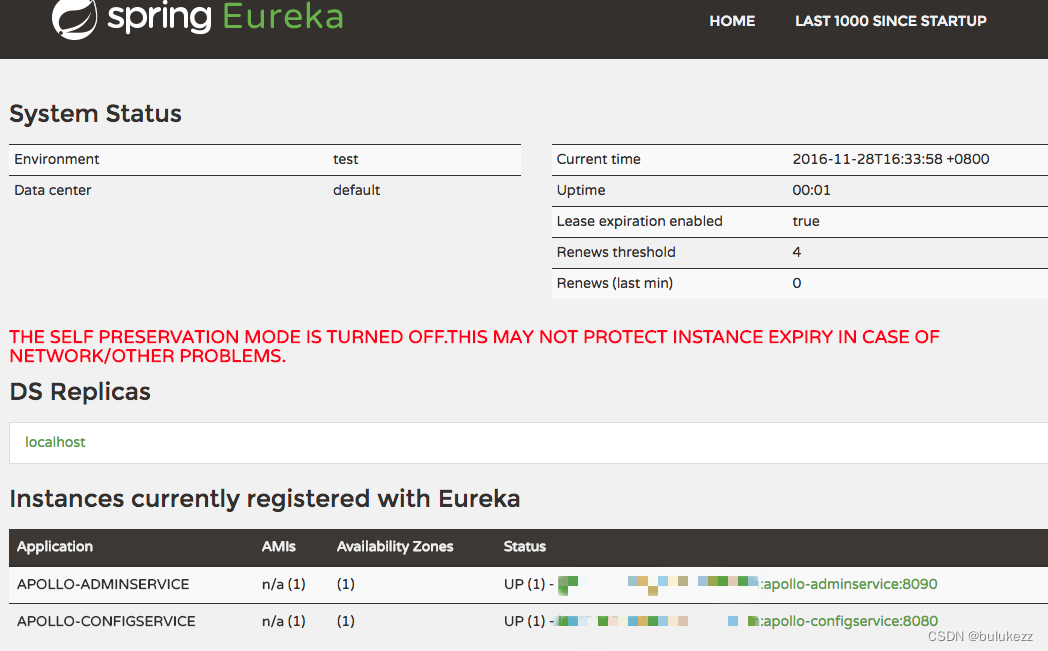
1.启动Eureka(依赖eureka提供服务注册功能)
这里我已经启动在本地的8080端口了
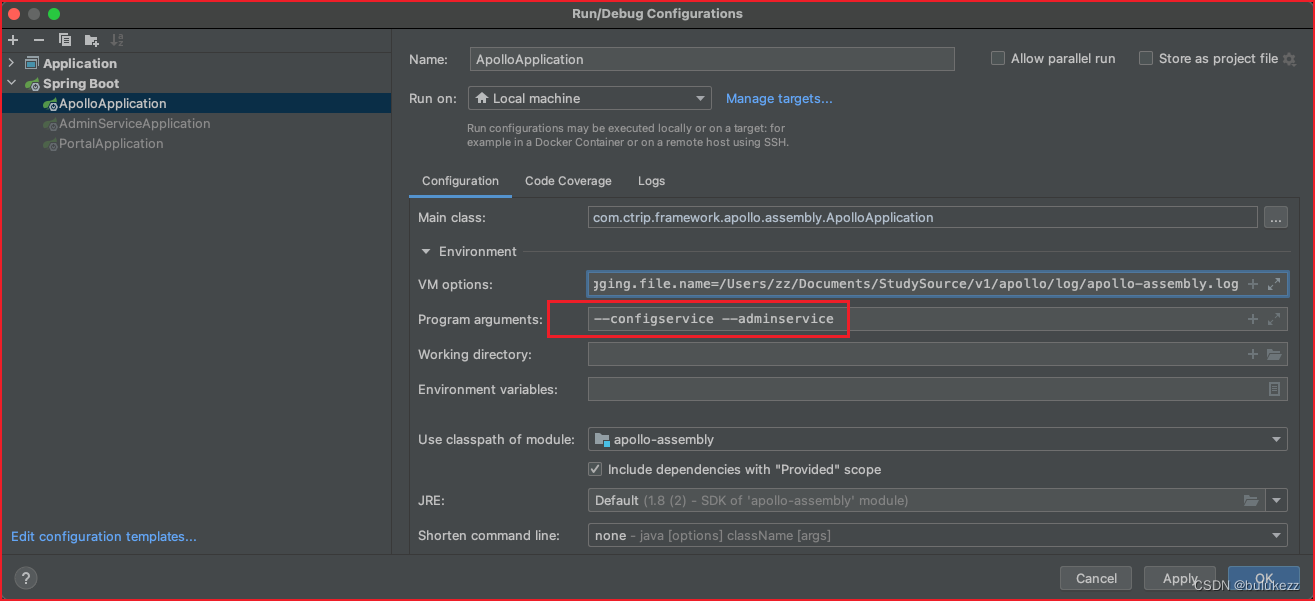
2.启动ConfigService和AdminService
- 启动入口:com.ctrip.framework.apollo.assembly.ApolloApplication
- VM options:
-Dapollo_profile=github
-Deureka.service.url=http://localhost:8088/eureka/
-Dspring.datasource.url=jdbc:mysql://172.14.152.128:3306/ApolloConfigDB?characterEncoding=utf8
-Dspring.datasource.username=root
-Dspring.datasource.password=root
-Dlogging.file.name=/Users/zz/Documents/StudySource/v1/apollo/log/apollo-assembly.log
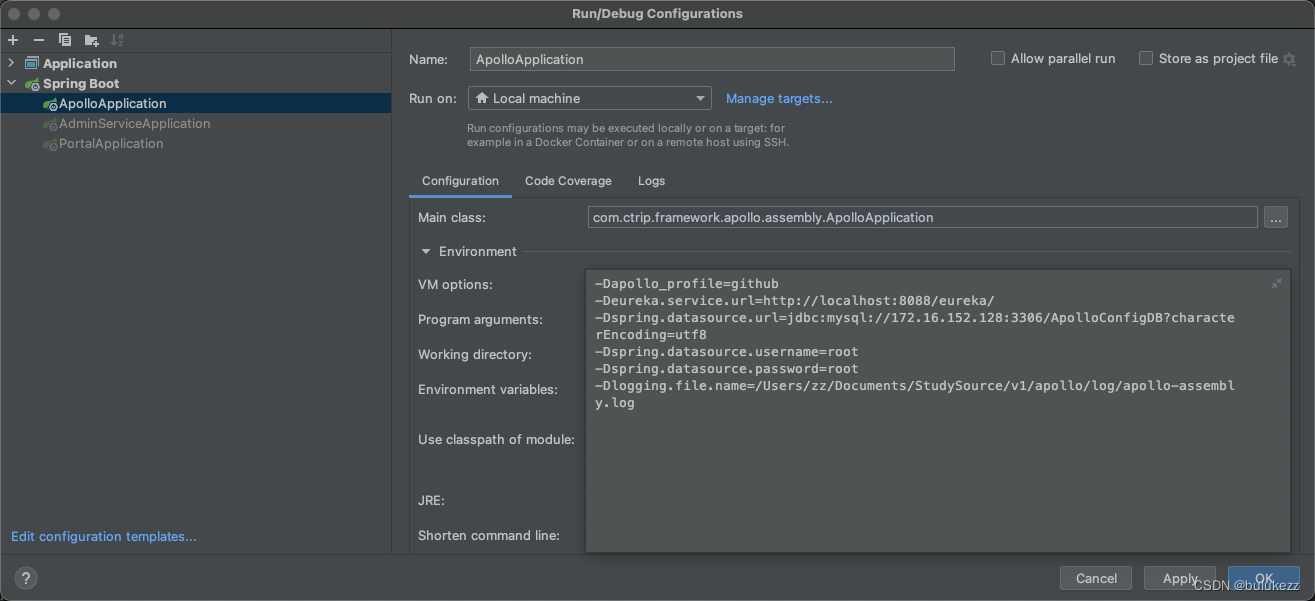
在上面会指定eureka的连接地址,还有jdbc的连接信息,这里我手动指定了log的输出日志,没指定会报错,无法创建默认的log地址,所以我手动创建了对应的文件,手动指定

启动服务完成后等一会就可以在eureka的dashboard中可以看到对应两个服务都已经注册上去了。
3.启动PatrolService
-
启动入口:com.ctrip.framework.apollo.portal.PortalApplication
-
VM options(
这里同样修改一下log地址
):
-Dapollo_profile=github,auth
-Ddev_meta=http://localhost:8080/
-Dserver.port=8070
-Dspring.datasource.url=jdbc:mysql://172.16.152.131:3306/ApolloPortalDB?characterEncoding=utf8
-Dspring.datasource.username=root
-Dspring.datasource.password=root
-Dlogging.file.name=/Users/zz/Documents/StudySource/v1/apollo/log/apollo-portal.log
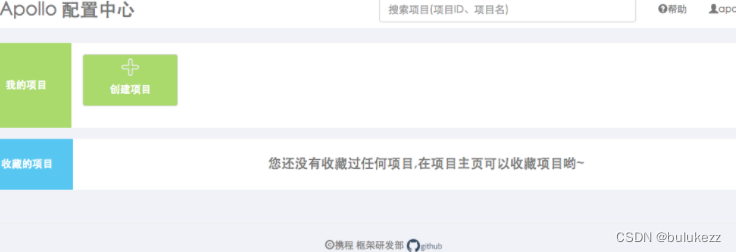
我们的patrol服务已经启动,可以打开:
http://localhost:8070/
总结
apollo的官方文档写的真的很详细,详细的得看看官方文档
版权声明:本文为ZXMSH原创文章,遵循 CC 4.0 BY-SA 版权协议,转载请附上原文出处链接和本声明。