move移动构造如何实现
class MyString
{
	char* str;
public:
	MyString(const char* p = NULL) :str(NULL)
	{
		if (p != NULL)
		{
			int len = strlen(p) + 1;
			str = new char[len];
			strcpy_s(str, len, p);
		}
	}
	MyString(const MyString& s) :str(NULL)
	{
		if (s.str != NULL)
		{
			int len = strlen(s.str) + 1;
			str = new char[len];
			strcpy_s(str, len, s.str);
		}
	}
	MyString(MyString&& s) :str(s.str)
	{
		s.str = NULL;
	}
	~MyString()
	{
		if (str != NULL)
		{
			delete[]str;
		}
		str = NULL;
	}
};

//泛化版本
template<class _Ty>
struct my_remove_reference
{
	using type = _Ty;
	using _Const_thru_ref_typ = const _Ty;
};
//部分特化版本
template<class _Ty>
struct my_remove_reference<_Ty&>
{
	using type = _Ty;
	using _Const_thru_ref_type = const _Ty&;
};
template<class _Ty>
struct my_remove_reference<_Ty&&>
{
	using type = _Ty;
	using _Const_thru_ref_type = const _Ty&&;
};

//获取原始特性
template<class _Ty>
using my_remove_reference_t = typename my_remove_reference<_Ty>::type;

//原始类型转化右值引用
//并没有去除常性,常性引用调动移动构造,将调动普通构造
template<class _Ty>
my_remove_reference_t<_Ty>&& my_move(_Ty&& _Arg)
{
	return static_cast<my_remove_reference_t<_Ty&&>>(_Arg);
}


int main()
{
	MyString s1("zyq");
	MyString s0("hello");
	const MyString& s2 = s0;    // lvalue reference
	MyString&& ss = MyString("hello"); //rvalue reference -> 具名 lvalue

	MyString s3(my_move(s1));
	MyString s4(my_move(s2));
	//MyString s3(MyString(&&s1));
}
my_remove_reference 主要作用是消除引用,保留原生类型
template<class _Ty>
my_remove_reference_t<_Ty>&& my_move(_Ty&& _Arg)
{
	return static_cast<my_remove_reference_t<_Ty&&>>(_Arg);

}
这一部分,首先消除引用特质,保留原生状态,再进行强转为右值引用,
若对常量进行移动拷贝,则调用的实际为拷贝构造
加入const 后意义会改变
int&& r = 10;        // 右值引用
const int&& x = 100; //const int & 左值常性引用
C++ 类型强转
c语言中的类型强转
int main()
{
	int a = 10;
	const int b = 20;
	int *pa = &a;
	int *pb = (int*) &b;

	float ft = 12.23;
	a = (int)ft;

	float* fp = &ft;
	int* ip = (int *) fp;
}
所有的转换都是一个括号强转,但是我们不清楚这样做的目的
继而有了C++的类型转换
- 数据类型的转换(值的转换) static_cast
int main()
{t
	int a = 10;
	float ft = 12.23;

	a = static_cast<int>(ft);
	ft = static_cast<float>(a); //等价 ft = (float)a;
}
- 去除常性的转换 const_cast
int main()
{
	const int a = 10;
	int* p = const_cast<int*> &a;
	//p = static_cast<int*>(&a); 错误!!!

	p = (int*)&a;
}
- 重新解释转换 reinterpret_cast
int main()
{
	int a = 10;
	int* p = &a;
	char* cp = reinterpret_cast<char*>(&a);
	//使用char类型对&a重新解释
}
- 动态转换 dynamic_cast
class Object
{
public:
	virtual void fun(){}
};
class Base: public Object
{
public:
	virtual void fun(){}
};

int main()
{
	Object* op = NULL;
	Base* bp = NULL;

	Object obj;
	Base base;

	op = dynamic_cast<Object*> (&base);
	//bp = &obj  error!!!
	//bp = dynamic_cast<Base*>(&obj)  error!!!
}
模板编译分裂性
template<int inst>
class Base
{
protected:
static int num;
public:
Base()
{
num += 1;
}
int GetNum()
{
return num;
}
};
template<int inst>
int Base<inst>::num = 0;
int main()
{
Base<0> b1;
Base<0> b2;
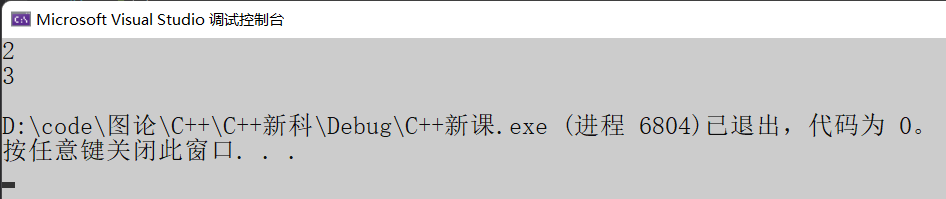
cout << b1.GetNum() << endl;
Base<1> c1;
Base<1> c2;
Base<1> c3;
cout << c1.GetNum() << endl;
}
编译器在编译过程中,首先根据
Base<0> b1;
产生0版本的模板类型
class Base<0>
{
protected:
	static int num;
public:
	Base()
	{
		num += 1;
	}
	int GetNum()
	{
		return num;
	}
};
int Base<0>::num = 0;
紧接着也会产生一个1版本的Base
class Base<1>
{
protected:
	static int num;
public:
	Base()
	{
		num += 1;
	}
	int GetNum()
	{
		return num;
	}
};
int Base<1>::num = 0;
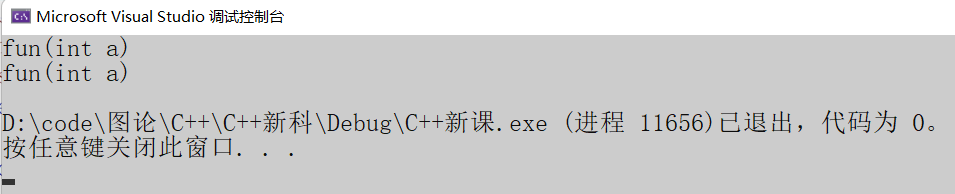
未定义类型
行为未定义规则,可以区分 _Ty 原有右值与左值
template<class _Ty>
void fun(_Ty&& a) //模板+右值引用 行为未定义
{

}
int main()
{
	fun(12);
	int a = 10;
	fun(a);
	const int& b = a;
	int& x = a;
	fun(x);
	fun(b);
}
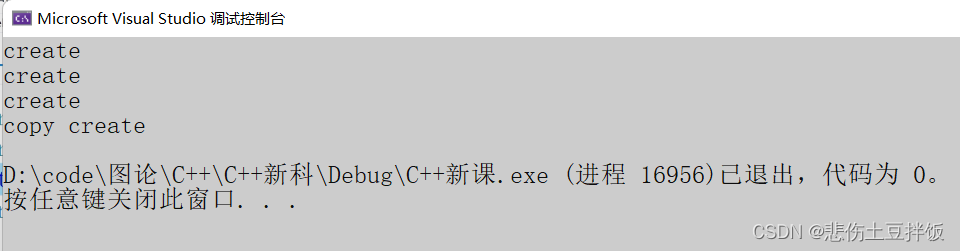
完美转发如何实现
template<class _Ty>
struct my_remove_reference
{
my_remove_reference() { cout << "_Ty" << endl; }
using type = _Ty;
using _Const_thru_ref_typ = const _Ty;
};
template<class _Ty>
struct my_remove_reference<_Ty&>
{
my_remove_reference() { cout << "_Ty&" << endl; }
using type = _Ty;
using _Const_thru_ref_type = const _Ty&;
};
template<class _Ty>
struct my_remove_reference<_Ty&&>
{
my_remove_reference() { cout << "_Ty&&" << endl; }
using type = _Ty;
using _Const_thru_ref_type = const _Ty&&;
};
template<class _Ty>
using my_remove_reference_t = typename my_remove_reference<_Ty>::type;
template<class _Ty>
my_remove_reference_t<_Ty>&& my_move(_Ty&& _Arg) //未知引用概念
{
return static_cast<my_remove_reference_t<_Ty>&&>(_Arg); //强转右值引用
}
template<class _Ty>
_Ty&& my_forward(my_remove_reference_t<_Ty>& _Arg)
{
return static_cast<_Ty&&>(_Arg);
}
template<class _Ty>
_Ty&& my_forward(my_remove_reference_t<_Ty>&& _Arg)
{
return static_cast<_Ty&&>(_Arg);
}
void print(int &a)
{
cout << "int a" << endl;
}
void print(const int &a)
{
cout << "const int &a" << endl;
}
void print(int &&a)
{
cout << "int &&a" << endl;
}
template<class _Ty>
void fun(_Ty&& a)
{
print(my_forward<_Ty>(a));
}
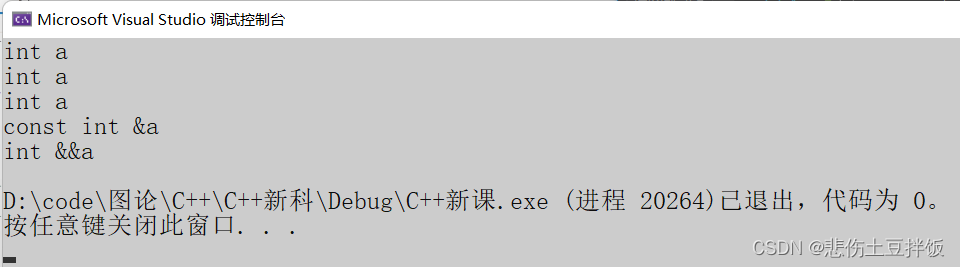
int main()
{
int a = 10;
int& b = a;
int&& c = 10;
const int& d = a;
fun(a);
fun(b);
fun(c);
fun(d);
fun(20);
}
当我们将值类型传入fun(),接着进入完美转发,进入到下面的函数
template<class _Ty>
_Ty&& my_forward(my_remove_reference_t<_Ty>& _Arg)
{
	return static_cast<_Ty&&>(_Arg);
}
紧接着对值类型原始状态提取,并强转与引用叠加依旧是一个值类型
b、c都是左值与上面同理,d属于常左值
最后一个fun(20);则属于右值,右值进入则作为右值传出
-
自身
左值
,参数为
左值引用
叠加为
左值
(& + & => &) -
自身
左值
,参数为
右值引用
叠加为
左值
(& + && => &) -
自身
右值
,参数为
左值引用
叠加为
左值
(&& + & => &) -
自身
右值
,参数为
右值引用
叠加为
右值
(&& + && => &&)
auto
- 自动推导类型
int main()
{
	auto x = 10;           //x => int
	auto p = new int(10);  //p => int*
	auto* s = new int(10); //auto = int

	//auto r; error!!!
	//auro int r; error!!!
	//const auto* ip = &x, u; error!!! 不许进行初始化
	//const auto* ip = &x, u = 12.23; error!!! 不允许二义性
}
int main()
{
	int x = 1;
	auto* a = &x;       //auto int
	auto b = &x;		//auto int *
	auto& c = x;		//auto int
	const int e = 10;
	auto f = e;			//auto int
	auto& f2 = e;		//auto const int
}
- auto 不能作为函数的参数类型,并且不能直接作为类成员变量类型
class Base
{
	auto val;    //error!!!
	static const auto num = 0;  //ok
	//静态常性,必须初始化 可以使用auto
	static const double dx = 12.23;//error!!!
}
void fun(auto x) //error!!!
{}
- auto 不能作为集合类型
int main()
{
	auto ar[] = {12,23,34};//error!!!
	return 0;
}
可以推演出返回的类型,接收迭代器
int main()
{
	std::map<int,string> ismap;
	auto it = ismap.begin();
}
预给值
class Test
{
	int a = 0; //预给值
	char* p = NULL;
public:
	Test() = default;
	Test(int x = 10):a(x){}
};
int main()
{
	Test t1(10);
	Test t2(20);
}
在对象创建,对a、p开辟空间,调动默认构造后才进行赋值
nullptr 和 NULL 的区别
首先看下面的代码
void fun(char*)
{
cout << "fun(char *)" << endl;
}
void fun(int a)
{
cout << "fun(int a)" << endl;
}
int main()
{
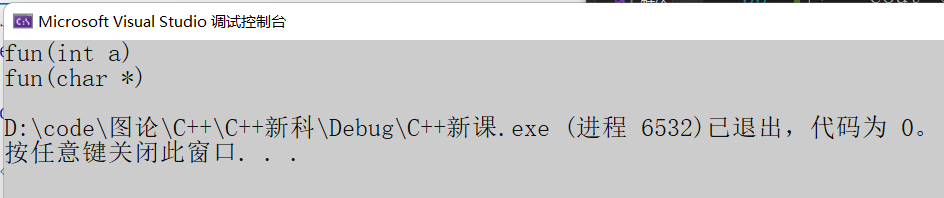
fun(0); //fun(int a);
fun(NULL); //fun(char *);
return 0;
}
我们推演出的结果应该为,fun(int a) 和 fun(char *) 但是实际情况如下
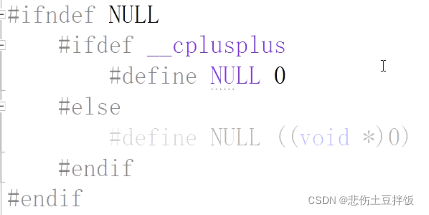
C++中对NULL的定义,C++中为0,否则为无类型指针
但是无论是0还是无类型,对于编译器都具有二义性,并都作为整型看待
而 nullptr 关键字属于一个
空指针类型常量
,那么nullptr可以为一切指针类型赋值
int main()
{
	fun(0);         //fun(int a);
	fun(nullptr);	//fun(char *);
	return 0;
}
nullptr 的诞生就是为了解决 NULL 的二义性
typedef decltype(nullptr) nullptr_r;
nullptr_r a = nullptr;