第一步:申请证书:

第二步:申请app ids,应用名字必须一致。然后再进入进行编辑。使其enable,绿灯。

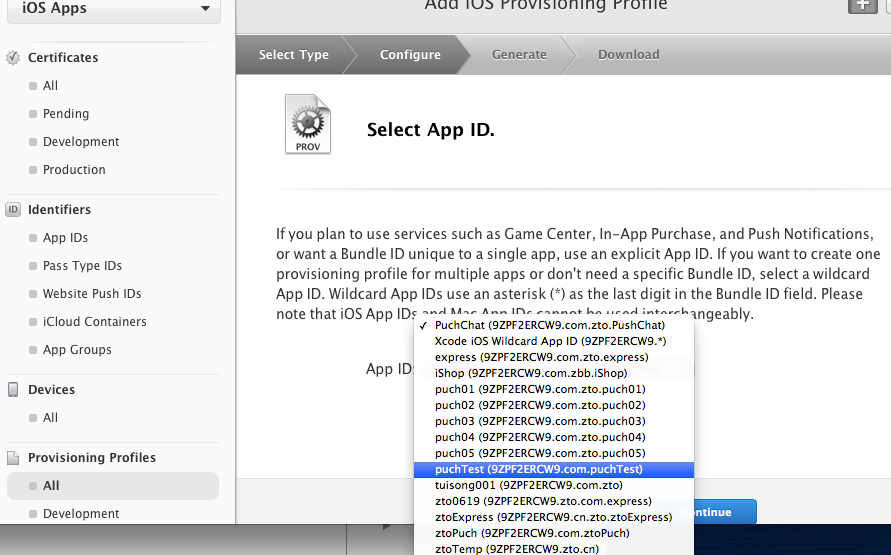
第三步:申请provisioning profile,生成.mobileprovision,双击该证书才干正确导入手机设备。不能拖。

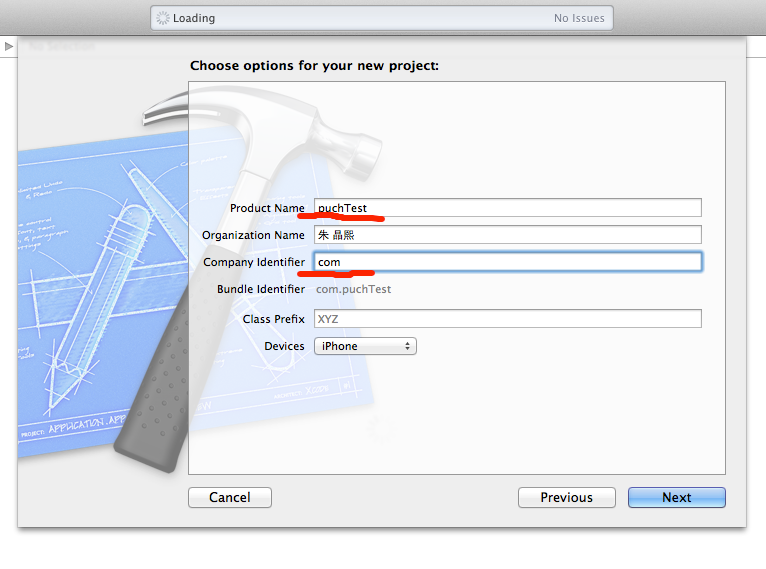
第四步:创建应用。使其名字一致。
第五步:写代码
– (
BOOL
)application:(
UIApplication
*)application didFinishLaunchingWithOptions:(
NSDictionary
*)launchOptions
{
// Override point for customization after application launch.
// return YES;
UIRemoteNotificationType
types =
(
UIRemoteNotificationTypeBadge
|
UIRemoteNotificationTypeSound
|
UIRemoteNotificationTypeAlert
);
//
注冊消息推送
[[
UIApplication
sharedApplication
]
registerForRemoteNotificationTypes
:types];
return
YES
;
}
//
获取
DeviceToken
成功
– (
void
)application:(
UIApplication
*)application
didRegisterForRemoteNotificationsWithDeviceToken:(
NSData
*)deviceToken
{
NSLog
(
@”DeviceToken: {%@}”
,deviceToken);
//
这里进行的操作,是将
Device Token
发送到服务端
UIAlertView
* alert = [[
UIAlertView
alloc
]
initWithTitle
:
nil
message
:[
NSString
stringWithFormat
:
@”DeviceToken:%@”
,deviceToken]
delegate
:
self
cancelButtonTitle
:
nil
otherButtonTitles
:
@”
确定
”
,
nil
];
[alert
show
];
}
//
注冊消息推送失败
– (
void
)application:(
UIApplication
*)application
didFailToRegisterForRemoteNotificationsWithError:(
NSError
*)error
{
NSLog
(
@”Register Remote Notifications error:{%@}”
,error);
// NSLog(@”Register Remote Notifications error:{%@}”,error.localizedDescription);
}
//
处理收到的消息推送
– (
void
)application:(
UIApplication
*)application
didReceiveRemoteNotification:(
NSDictionary
*)userInfo
{
NSLog
(
@”Receive remote notification : %@”
,userInfo);
UIAlertView
*alert =
[[
UIAlertView
alloc
]
initWithTitle
:
@”
温馨提示
”
message
:
@”
推送成功。
”
delegate
:
nil
cancelButtonTitle
:
@”
确定
”
otherButtonTitles
:
nil
];
[alert
show
];
}