1. 使用 npm 上可用的 Vue CLI v4.5 作为 @vue/cli@next
npm install -g @vue/cli@next
vue upgrade --next
2. 创建Vue+TypeScript项目
vue create demo
其中demo是我们使用的项目名。

选择手动配置特征:

勾选需要使用的插件,尤其是TypeScript,用空格选择,选择完成后回车:

我们使用的是Vue3:

如无更改需求,后续一路回车即可:

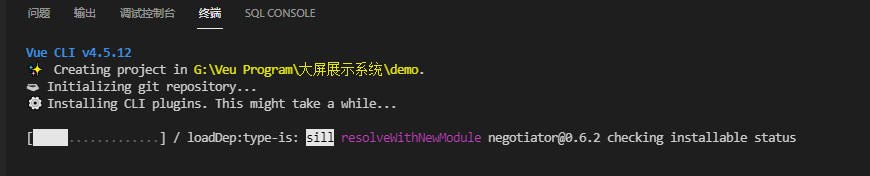
等待配置直到完成
3. 安装ElmentUI plus(必须使用plus版本)
建立项目后,先要进入到项目文件夹内:
cd demo
安装:
npm install element-plus --save
4. 将ElmentUI添加到项目中
vue add element-plus
这时你会看到在
src/plugins
目录下面生成了一个
element.js
文件,由于我们使用的是TypeScript,需要手动将其后缀改为
.ts
,即将
element.js
文件的文件名重命名为
element.ts
。打开它,为其中的
app
加入类型声明为
any
类型:
import ElementPlus from 'element-plus'
import 'element-plus/lib/theme-chalk/index.css'
import locale from 'element-plus/lib/locale/lang/zh-cn'

export default (app: any) => {
  app.use(ElementPlus, { locale })
}
5. 完成:
运行该项目:
npm run serve
你将看到如下界面:

其中显著的标记是中间的蓝色按钮,他是ElementUI提供的一个按钮组件:

当你看到它时,表示你安装成功了。
版权声明:本文为qq_28550263原创文章,遵循 CC 4.0 BY-SA 版权协议,转载请附上原文出处链接和本声明。