首先要启动Nginx的服务
systemctl start nginx.service然后使用htpasswd工具来生成密码,没有的话可以使用yum来进行安装(一般安装过http的话都是默认安装的了)
yum -y install httpd-tools
#安装htpasswd工具

cd /etc/nginx/
#切换目录

htpasswd -c ./auth wen
#使用htpasswd命令在当前目录创建一个名为auth的文件,用户为wen
回车后需要输入两次密码

more ./auth
#查看auth文件里的内容,有用户名和加密的字符串
生成好密码后,再修改Nginx配置文件的内容,增加一个location,里面指明访问的页面的路径、内容已经密码文件
vim /etc/nginx/conf.d/default.conf
server {
    listen       80;
    server_name  localhost;

    #charset koi8-r;
    #access_log  /var/log/nginx/host.access.log  main;

    location / {
        root   /opt/server;
        index  index.html index.htm;
    }

######增加一个location#####
    location ~ ^/auth.html {
        root   /opt/app/code;
        auth_basic "Auth access test!input your passward!";
        auth_basic_user_file /etc/nginx/auth;
        index  index.html index.htm;
    }
修改好Nginx的配置文件后,根据刚刚添加的location内容里设置的访问路径,然后到相应路径下创建一个名为auth.html的HTML文件,作为访问Nginx的内容
vim /opt/app/code/auth.html
<html>
<head>
	<meta charset="utf-8">
	<title>wen</title>
</head>
<h1>通过用户登录认证</h1>
</body>
</html>
当以上步骤做好后,检查Nginx的配置语法是否正确并重新加载服务
nginx -tc /etc/nginx/conf.d/default.conf

nginx -s reload -c /etc/nginx/conf.d/default.conf
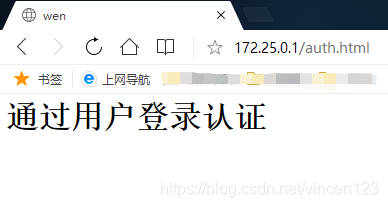
使用浏览器访问 ip/auth.html ,弹出窗口要求输入用户名和密码则是刚刚使用htpasswd工具时所创建的用户和密码。输入正确的用户名和密码后,就会跳转到auth.html页面内内容

版权声明:本文为vincen123原创文章,遵循 CC 4.0 BY-SA 版权协议,转载请附上原文出处链接和本声明。