一、使用xshell工具进行ssh连接
(1)将随身WIFI插入电脑的USB接口后,等待一阵时间让设备启动
(2)找到系统的更改适配器选项

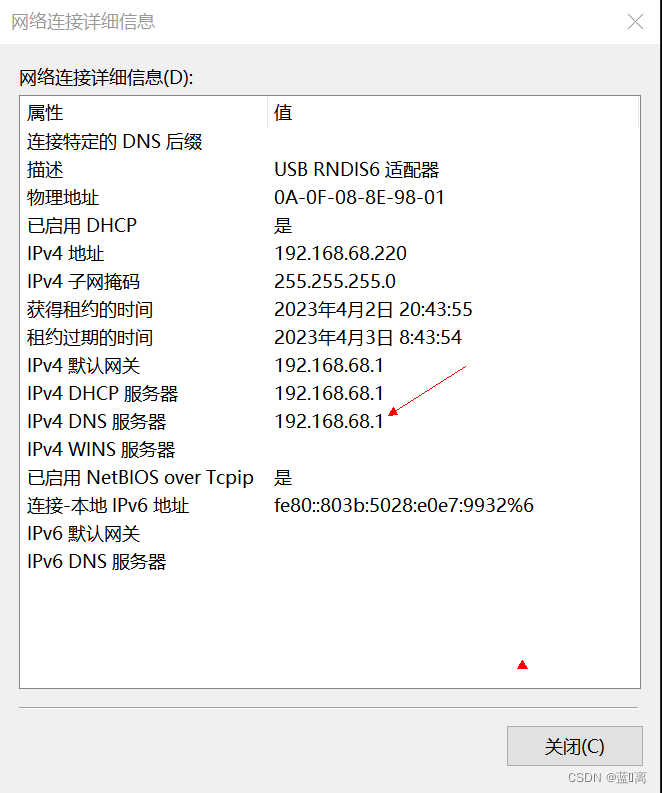
(3)点击插入的随身WiFi的网络连接图案,我这里使本地连接3

(3)查看ipv4DNS服务器信息

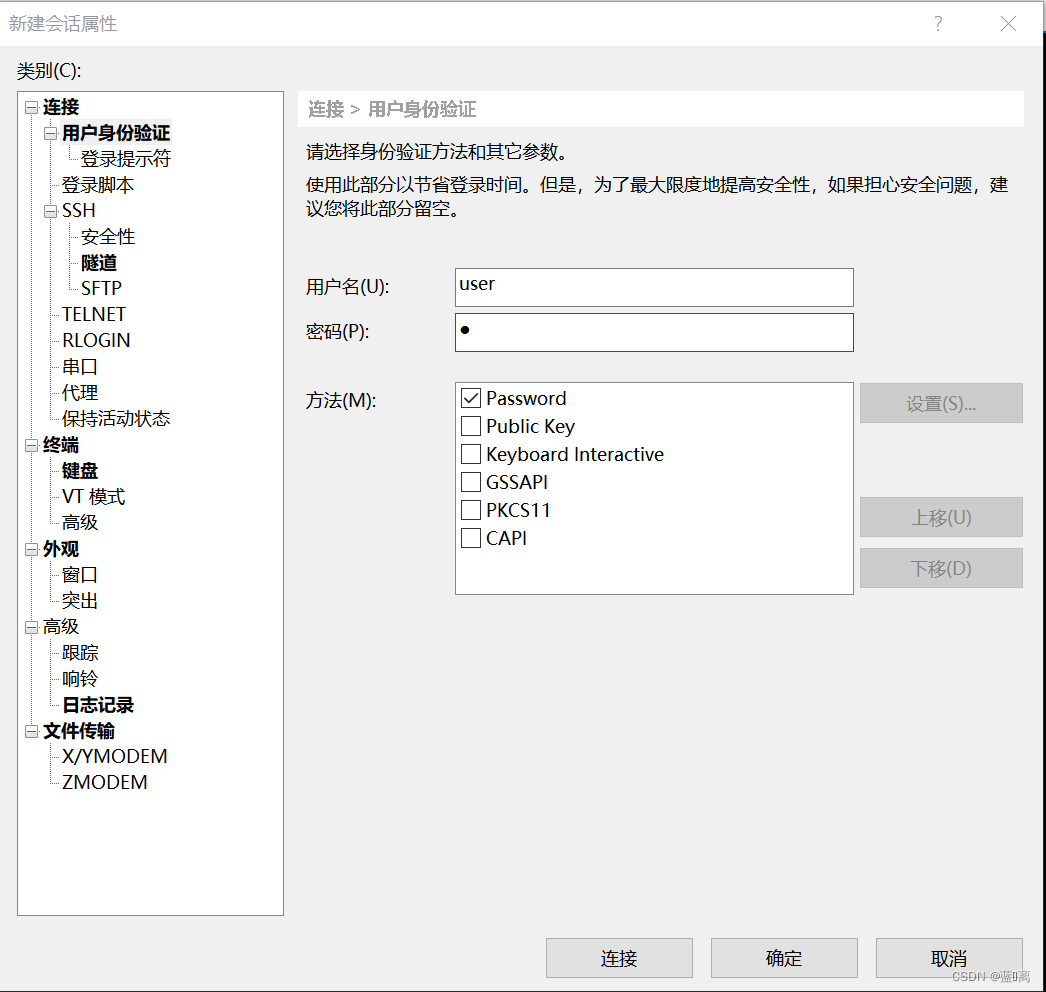
(4)打开xshell,并在弹出的会话对话框选择新建


(5)再点击左侧的用户身份验证,填入要登入的初始用户名:user 密码:1,再点击连接即可,在弹出来的对话框里点击确定即可登陆
二、系统的网络设置
(1)输入下列命令来切换成管理员用户并切换到管理员目录,初始管理员密码为1(此处输入不显示输入内容,输入完直接回车即可)
sudo su -

(2)输入以下命令进行网络修改再连接上自家的网络
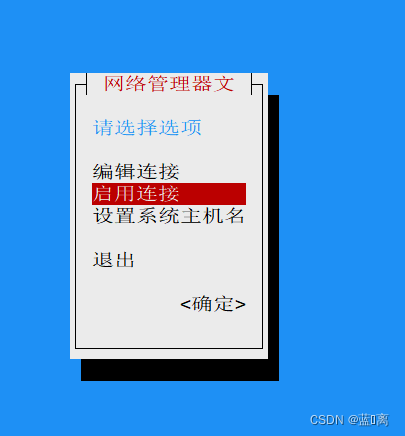
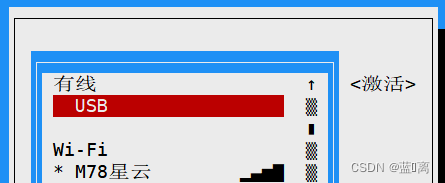
nmtui(3)此时我们在启用连接中是无法看到自家的WiFi的,所以先上下方向键选中编辑连接并回车

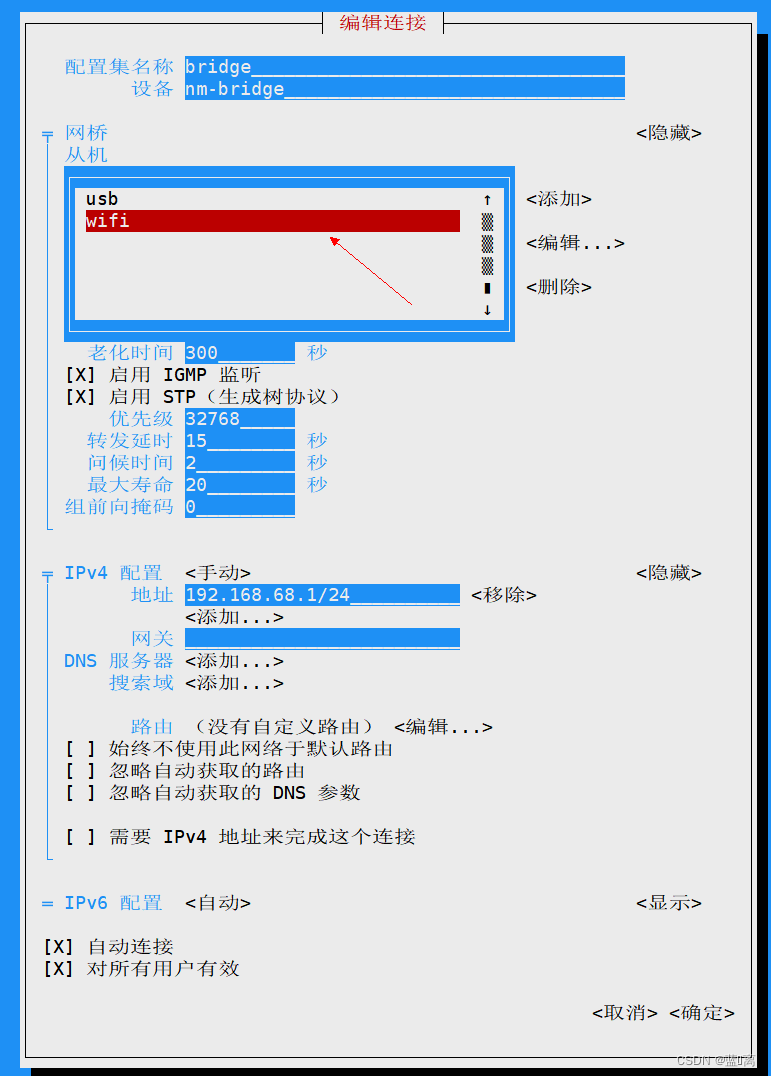
(4)选中bridge再回车

(5)选中wifi,再使用方向键选中删除按钮回车
(6)按两次键盘上的esc按钮,回到启用连接界面再回车,就可以看到自家的wifi进行连接了(WiFi名前带星号表示连接成功),再按esc按钮退出该界面即可
(7)连接好后使用下列命令查看连接上WiFi后的ip地址再新建一个会话(步骤与之前的一致,更改下主机地址就行),此时就可以不用插在电脑上便可以进行远程连接了
ifconfig


三、系统的基础设置
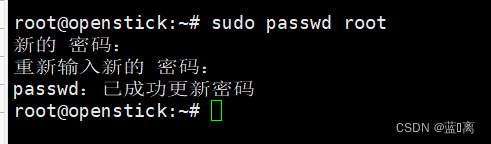
(1)配置root用户密码,输入自己想要的密码
sudo passwd root
(2)允许root用户远程登录,重启服务或系统后生效
echo "PermitRootLogin yes" >> /etc/ssh/sshd_config(3)切换为国内的软件源(可以加快软件更新时的速度),使用vi编辑文件,先用两次d按键来清除原有内容
sudo vi /etc/apt/sources.list(4)复制以下内容,使用shift+insert组合键粘贴进文件中
deb https://mirrors.tuna.tsinghua.edu.cn/debian/ bullseye main contrib non-free
# deb-src https://mirrors.tuna.tsinghua.edu.cn/debian/ bullseye main contrib non-free
deb https://mirrors.tuna.tsinghua.edu.cn/debian/ bullseye-updates main contrib non-free
# deb-src https://mirrors.tuna.tsinghua.edu.cn/debian/ bullseye-updates main contrib non-free
deb https://mirrors.tuna.tsinghua.edu.cn/debian/ bullseye-backports main contrib non-free
# deb-src https://mirrors.tuna.tsinghua.edu.cn/debian/ bullseye-backports main contrib non-free
deb https://mirrors.tuna.tsinghua.edu.cn/debian-security bullseye-security main contrib non-free
# deb-src https://mirrors.tuna.tsinghua.edu.cn/debian-security bullseye-security main contrib non-free
(5)输入冒号并敲wq回车来保存退出
(6)输入以下指令来进行更新软件
apt update

(7) 现在来解决一下更新报错
1)mobian源报错:E: 仓库 “http://repo.mobian-project.org bullseye Release” 不再含有 Release 文件。
#先安装curl
apt install curl -y
echo "deb http://repo.mobian-project.org/ bookworm main non-free" > /etc/apt/sources.list.d/mobian.listcurl -s https://repo.mobian.org/mobian.gpg > /etc/apt/trusted.gpg.d/mobian.gpg2)AdoptOpenJDK报错:E: 仓库“http://mirrors.tuna.tsinghua.edu.cn/AdoptOpenJDK/deb buster Release” 不再含有 Release 文件。
sudo sed -i '1c deb http://mirrors.tuna.tsinghua.edu.cn/Adoptium/deb buster main' /etc/apt/sources.list.d/AdoptOpenJDK.listgpg --keyserver hkp://keyserver.ubuntu.com:80 --recv-keys 843C48A565F8F04Bsudo gpg --armor --export 843C48A565F8F04B | sudo apt-key add -

(8)再更新下软件,检查是否还有报错, 下图可以看到报错已经消除
apt update

(9)使用以下命令顺便更新一下系统软件
apt -y upgrade(10)安装常用软件
apt install vim wget git cron dnsutils unzip lrzsz fdisk gdisk exfat-fuse exfat-utils -y(11)配置ll命令
echo "alias ll='ls $LS_OPTIONS -alh'" >> ~/.bashrc(12)修改vi配置,使vi时鼠标右键可用
echo -e "if has('mouse')\nset mouse-=a\nendif" > .vimrc(13)若有接外设的需求,则更改以下文件内容来屏蔽USB连接(插电脑USB接口无反应)以开启usb拓展
vi /usr/sbin/mobian-usb-gadget删除“echo host > /sys/kernel/debug/usb/ci_hdrc.0/role”前的注释符#
或者编辑rc.local文件,实现开机自启
vi /etc/rc.local粘贴以下内容
echo host > /sys/kernel/debug/usb/ci_hdrc.0/role(14)重启设备,完成设置
reboot