一、简介
1.1 启动器starter命名
#官方
spring-boot-starter-jdbc
spring-boot-starter-web
spring-boot-starter-freemarker
#第三方
sms-spring-boot-starter
myLog-spring-boot-starter
1.2 什么是SpringBoot starter机制
SpringBoot中的starter是一种非常重要的机制(自动化配置),能够抛弃以前繁杂的配置,将其统一集成进starter,
应用者只需要在maven中引入starter依赖,SpringBoot就能自动扫描到要加载的信息并启动相应的默认配置。
starter让我们摆脱了各种依赖库的处理,需要配置各种信息的困扰。SpringBoot会自动通过classpath路径下的类发现需要的Bean,
并注册进IOC容器。SpringBoot提供了针对日常企业应用研发各种场景的spring-boot-starter依赖模块。
所有这些依赖模块都遵循着约定成俗的默认配置,并允许我们调整这些配置,即遵循“约定大于配置”的理念。
1.3 为什么要自定义starter
在我们的日常开发工作中,经常会有一些独立于业务之外的配置模块,我们经常将其放到一个特定的包下,
然后如果另一个工程需要复用这块功能的时候,需要将代码硬拷贝到另一个工程,重新集成一遍,麻烦至极。
如果我们将这些可独立于业务代码之外的功能配置模块封装成一个个starter,复用的时候只需要将其在pom中引用依赖即可,
SpringBoot为我们完成自动装配,简直不要太爽
1.4 什么时候需要创建自定义starter
在我们的日常开发工作中,可能会需要开发一个通用模块,以供其它工程复用。SpringBoot就为我们提供这样的功能机制,
我们可以把我们的通用模块封装成一个个starter,这样其它工程复用的时候只需要在pom中引用依赖即可,
由SpringBoot为我们完成自动装配。
常见场景:
1.通用模块-短信发送模块
2.基于AOP技术实现日志切面
3.分布式雪花ID,Long–>string,解决精度问题
jackson2/fastjson
4.微服务项目的数据库连接池配置
5.微服务项目的每个模块都要访问redis数据库,每个模块都要配置redisTemplate
也可以通过starter解决
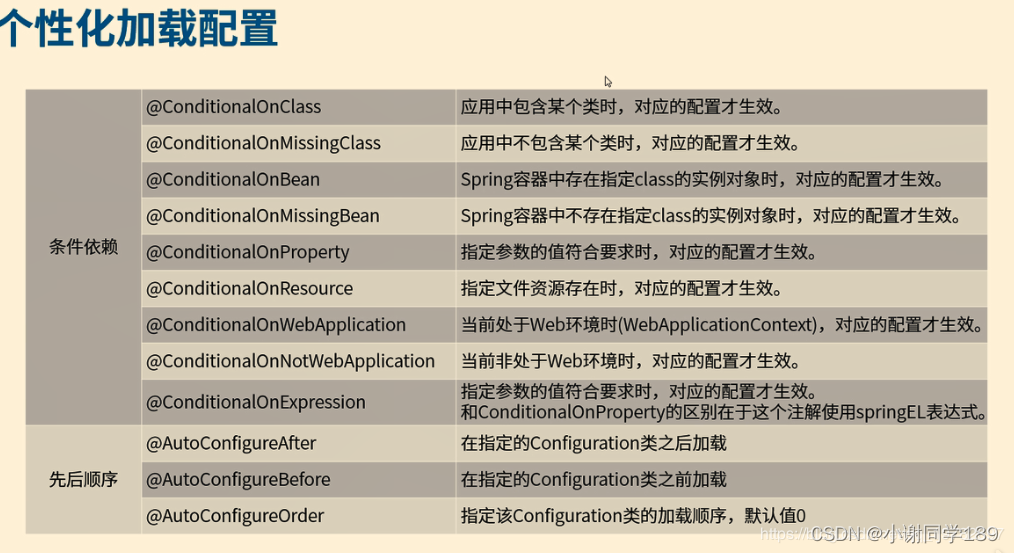
1.5 自动加载核心注解说明
二、自定义starter短信模块
自定义starter的开发流程
1.创建Starter项目(spring-initl 2.1.14)
2.定义Starter需要的配置类(Properties)
3.编写Starter项目的业务功能
4.编写自动配置类
5.编写spring.factories文件加载自动配置类
6.打包安装
7.其它项目引用
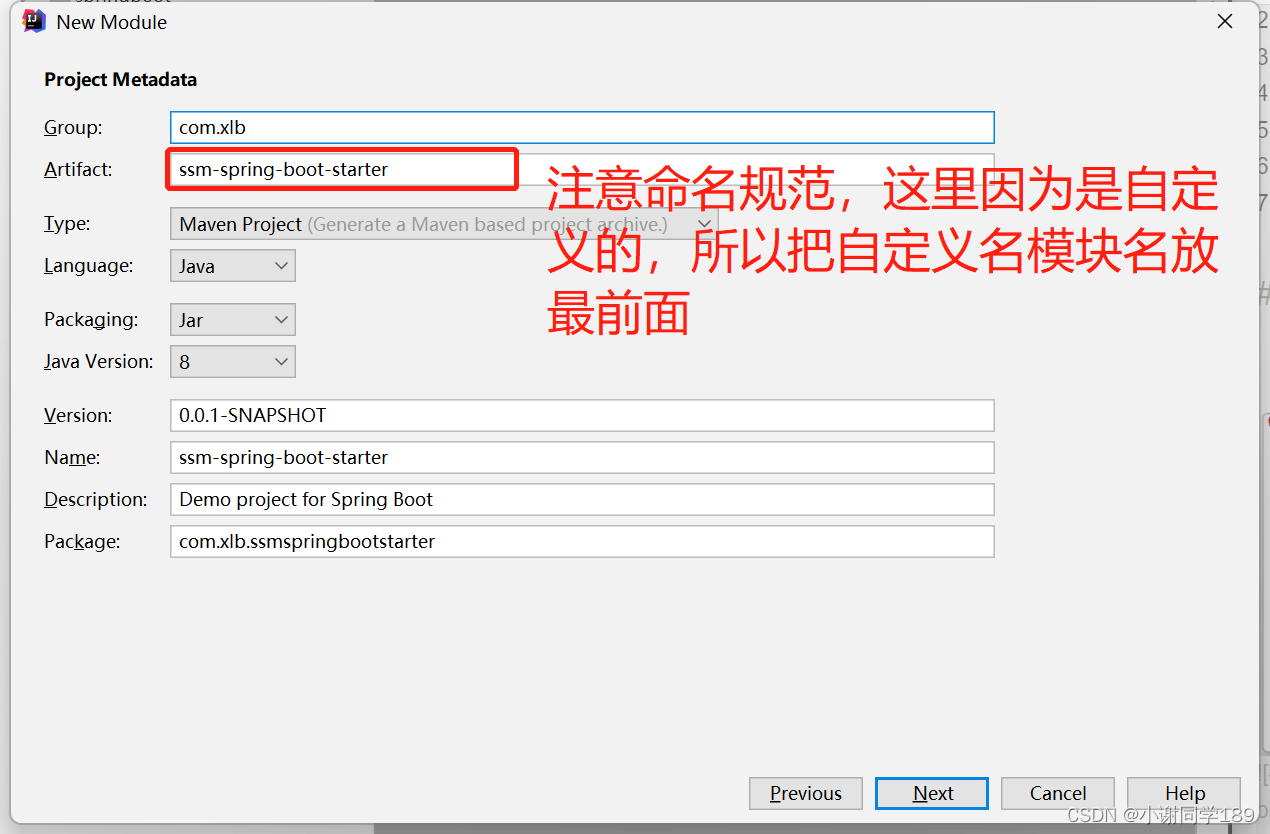
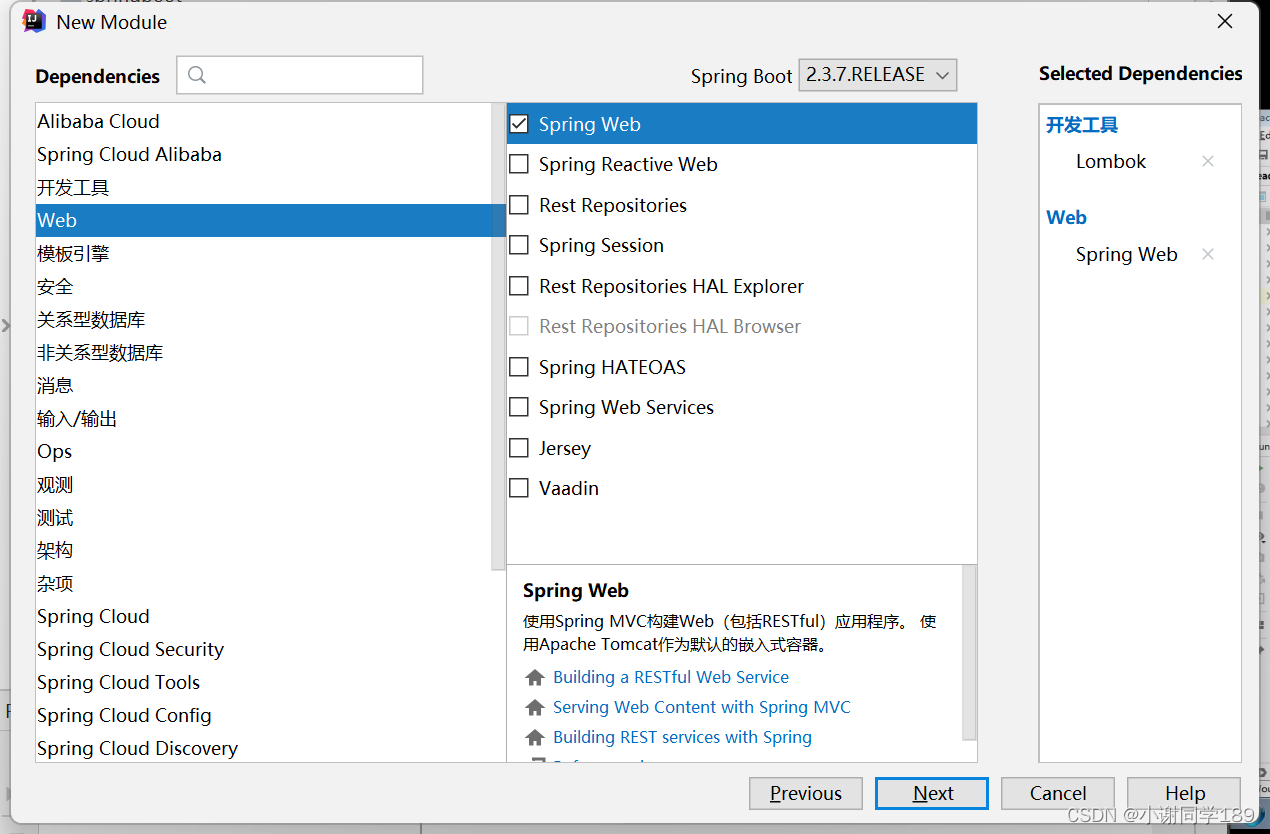
2.1 创建Starter项目
命名规范
SpringBoot官方命名方式
格式:spring-boot-starter-{模块名}
举例:spring-boot-starter-web
自定义命名方式
格式:{模块名}-spring-boot-starter
举例:mystarter-spring-boot-starter
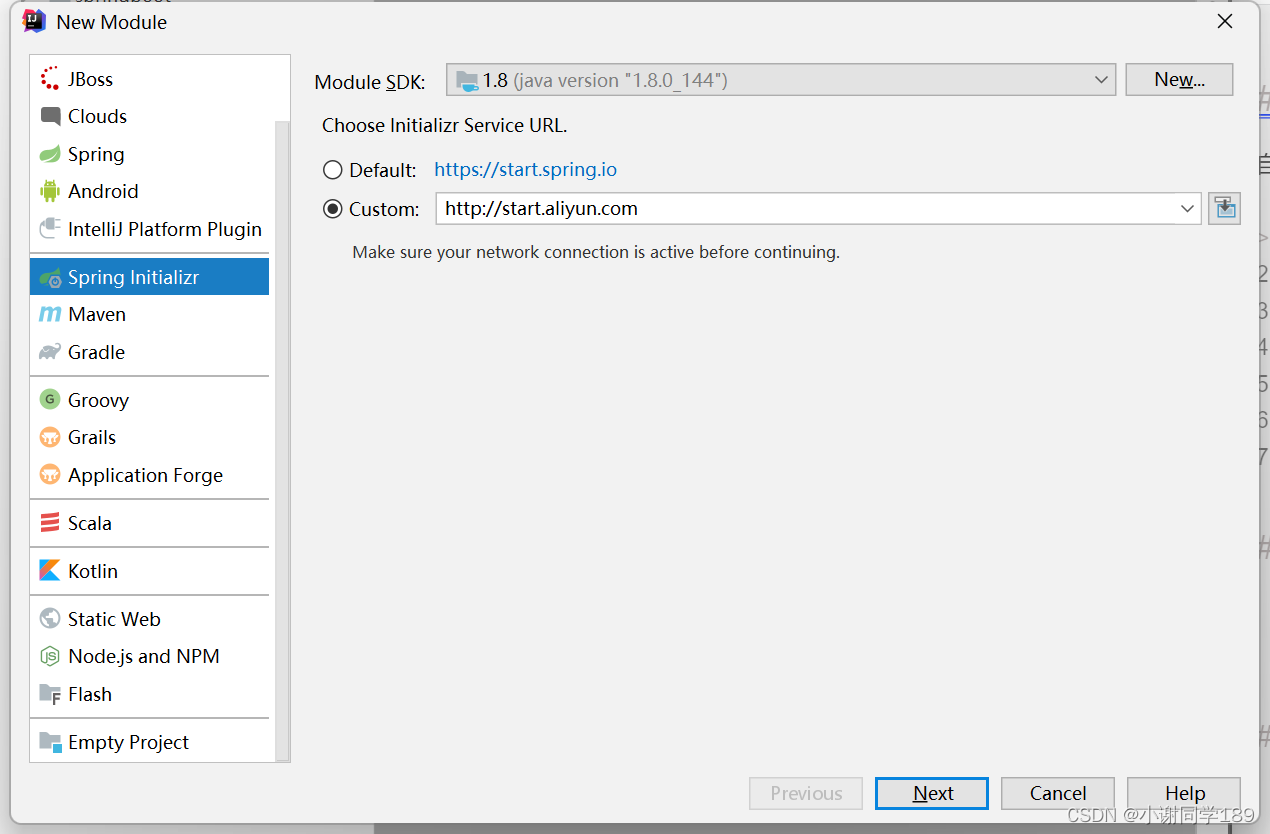
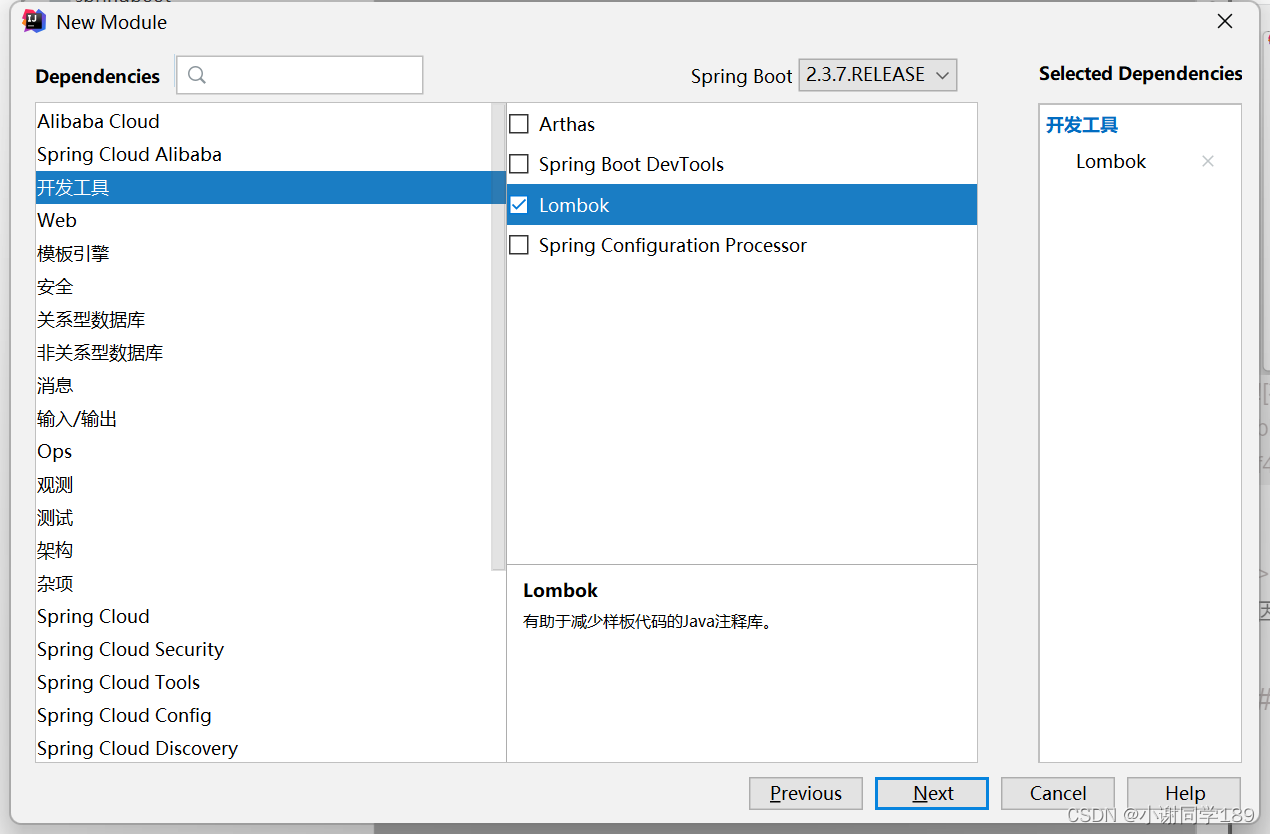
这边勾选组件大家可以根据自己情况去勾选,博主因为用不到什么插件,所以就只勾选了一个
导入pom依赖
<!--表示两个项目之间依赖不传递;不设置optional或者optional是false,表示传递依赖-->
<!--例如:project1依赖a.jar(optional=true),project2依赖project1,则project2不依赖a.jar-->
<dependency>
   <groupId>org.springframework.boot</groupId>
   <artifactId>spring-boot-configuration-processor</artifactId>
   <optional>true</optional>
</dependency>
2.2 定义Starter需要的配置类
目录结构
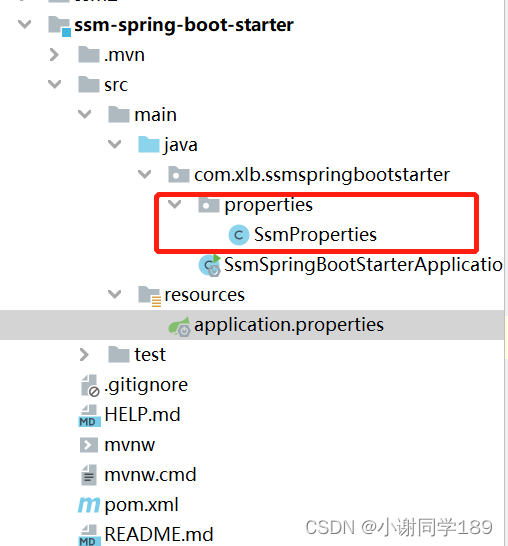
SsmProperties
package com.xlb.ssmspringbootstarter.properties;

import org.springframework.boot.context.properties.ConfigurationProperties;

/**
 * @author 波哥
 * @QQ 2212371722
 * @company 波哥集团
 * @create  2022-11-06 17:11
 *
 *
 * spboot.ssm 代表yml文件中的
 * spboot:
 *       ssm:
 *            accesKeyId:sms-spring-boot-stater
 * ConfigurationProperties默认是报错的,要在starter项目配置类中进行解决
 */
@ConfigurationProperties(prefix = "spboot.ssm")
public class SsmProperties {

    private String accesKeyId;//短信发送接口账号
    private String accesKeySecret;//短信发送接口凭证

    public String getAccesKeyId() {
        return accesKeyId;
    }

    public void setAccesKeyId(String accesKeyId) {
        this.accesKeyId = accesKeyId;
    }

    public String getAccesKeySecret() {
        return accesKeySecret;
    }

    public void setAccesKeySecret(String accesKeySecret) {
        this.accesKeySecret = accesKeySecret;
    }


}
2.3 编写Starter项目的业务功能
这边博主就没有购买短信服务的接口了,利用其他业务模拟短信发送
目录结构
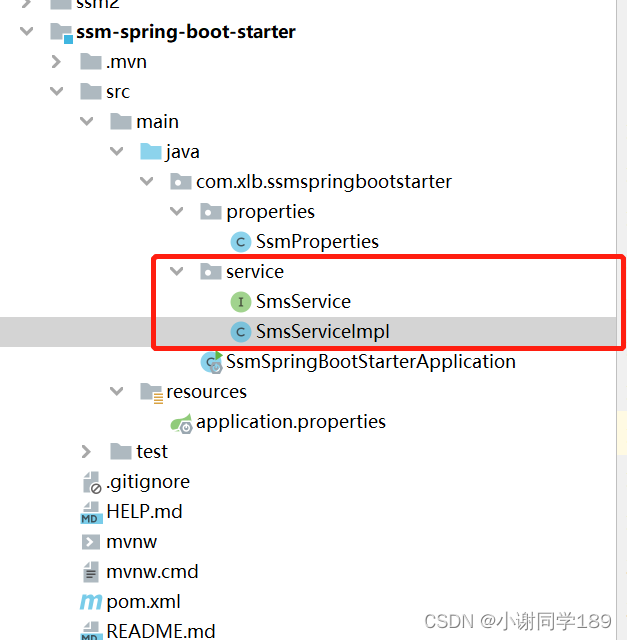
SmsService
package com.xlb.ssmspringbootstarter.service;

public interface SmsService {
    /**
     * 发送短信
     *
     * @param phone        要发送的手机号
     * @param signName     短信签名-在短信控制台中找
     * @param templateCode 短信模板-在短信控制台中找
     * @param data         要发送的内容
     */
    void send(String phone, String signName, String templateCode, String data);
}
SmsServiceImpl
package com.xlb.ssmspringbootstarter.service;
/**
* 接入阿里短信接口的业务类
*/
public class SmsServiceImpl implements SmsService {
private String accessKeyId;//访问ID、即帐号
private String accessKeySecret;//访问凭证,即密码
public SmsServiceImpl(String accessKeyId, String accessKeySecret) {
this.accessKeyId = accessKeyId;
this.accessKeySecret = accessKeySecret;
}
@Override
public void send(String phone, String signName, String templateCode, String data) {
// 掉阿里的接口
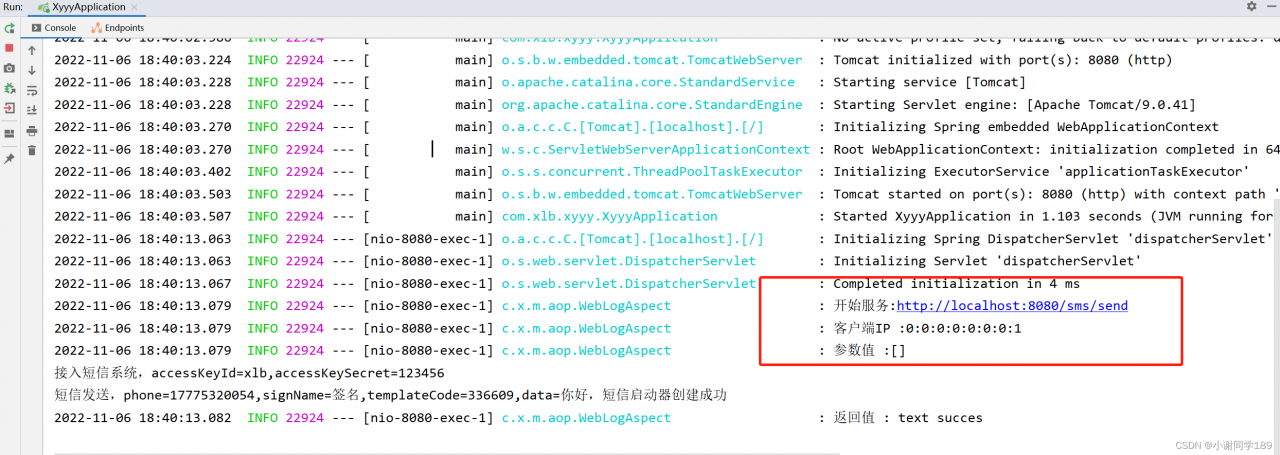
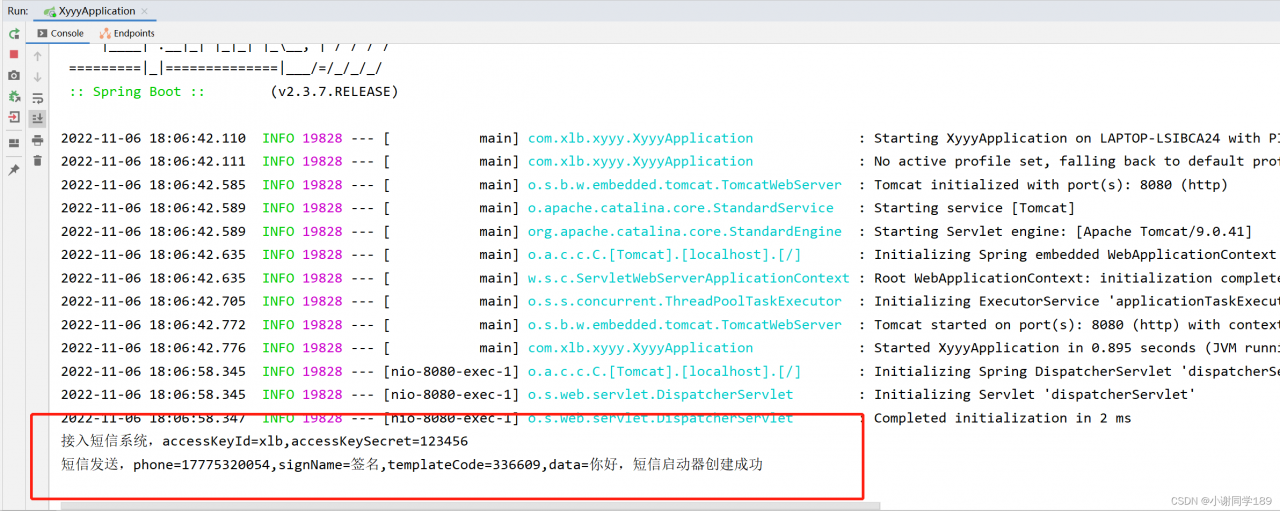
System.out.println("接入短信系统,accessKeyId=" + accessKeyId + ",accessKeySecret=" + accessKeySecret);
System.out.println("短信发送,phone=" + phone + ",signName=" + signName + ",templateCode=" + templateCode + ",data=" + data);
}
}
2.4 编写自动配置类
@Configuration:
定义一个配置类
@EnableConfigurationProperties:
@EnableConfigurationProperties注解的作用是@ConfigurationProperties注解生效。
如果只配置@ConfigurationProperties注解,在IOC容器中是获取不到properties配置文件转化的bean的
目录结构

SmsAutoConfig.java
package com.xlb.ssmspringbootstarter.config;

import com.xlb.ssmspringbootstarter.properties.SsmProperties;
import com.xlb.ssmspringbootstarter.service.SmsService;
import com.xlb.ssmspringbootstarter.service.SmsServiceImpl;
import org.springframework.boot.context.properties.EnableConfigurationProperties;
import org.springframework.context.annotation.Bean;
import org.springframework.context.annotation.Configuration;

/**
 * @author 波哥
 * @QQ 2212371722
 * @company 波哥集团
 * @create  2022-11-06 17:30
 */
//代表是配置类
@Configuration
//启用
@EnableConfigurationProperties({SsmProperties.class})
public class SmsAutoConfig {
	@Autowired
    private SsmProperties ssmProperties;
    //将短信发送的业务类教给spring容器进行管理
    @Bean
    public SmsService smsService(){
        return new SmsServiceImpl(ssmProperties.getAccesKeyId(),
                ssmProperties.getAccesKeySecret());
    }
}
2.5 编写spring.factories文件加载自动配置类
1.在resources下新建META-INF文件夹,然后创建spring.factories文件
2.在该文件中加入如下配置,该配置指定上步骤中定义的配置类为自动装配的配置
org.springframework.boot.autoconfigure.EnableAutoConfiguration=com.zking.zzcloudspringbootstarter.config.AutoConfig
注1:其中AutoConfig是starter配置文件的类限定名,多个之间逗号分割,还可以\进行转义即相当于去掉后面换行和空格符号
# Auto Configure
org.springframework.boot.autoconfigure.EnableAutoConfiguration=
com.baomidou.mybatisplus.autoconfigure.MybatisPlusLanguageDriverAutoConfiguration,
com.baomidou.mybatisplus.autoconfigure.MybatisPlusAutoConfiguration
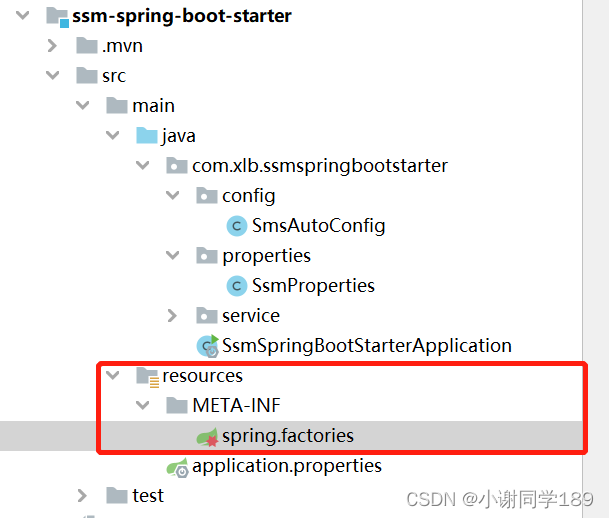
spring.factories
org.springframework.boot.autoconfigure.EnableAutoConfiguration=com.xlb.ssmspringbootstarter.config.SmsAutoConfig
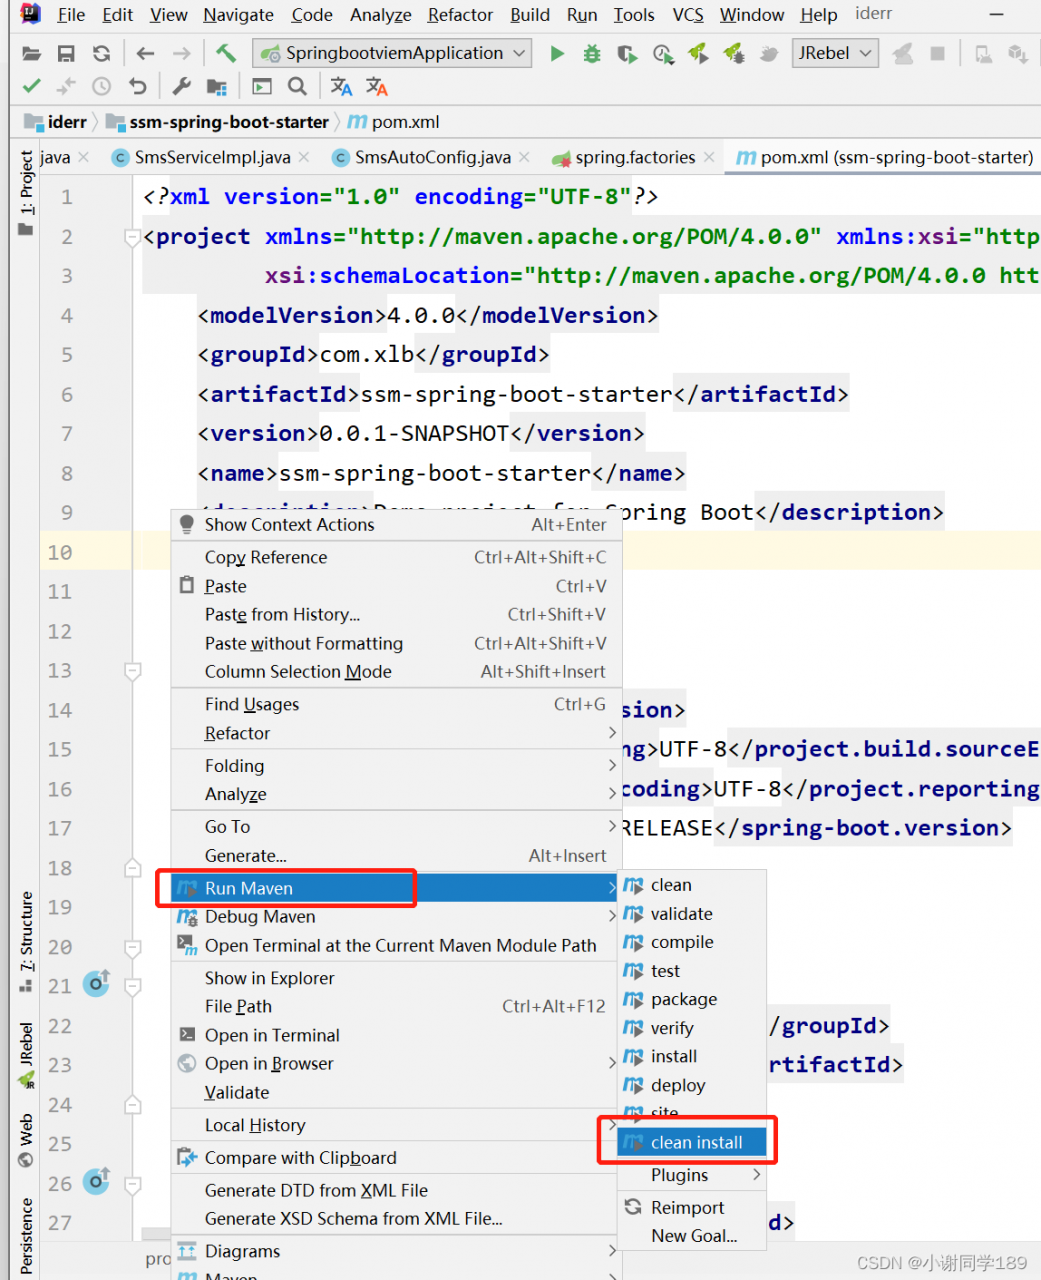
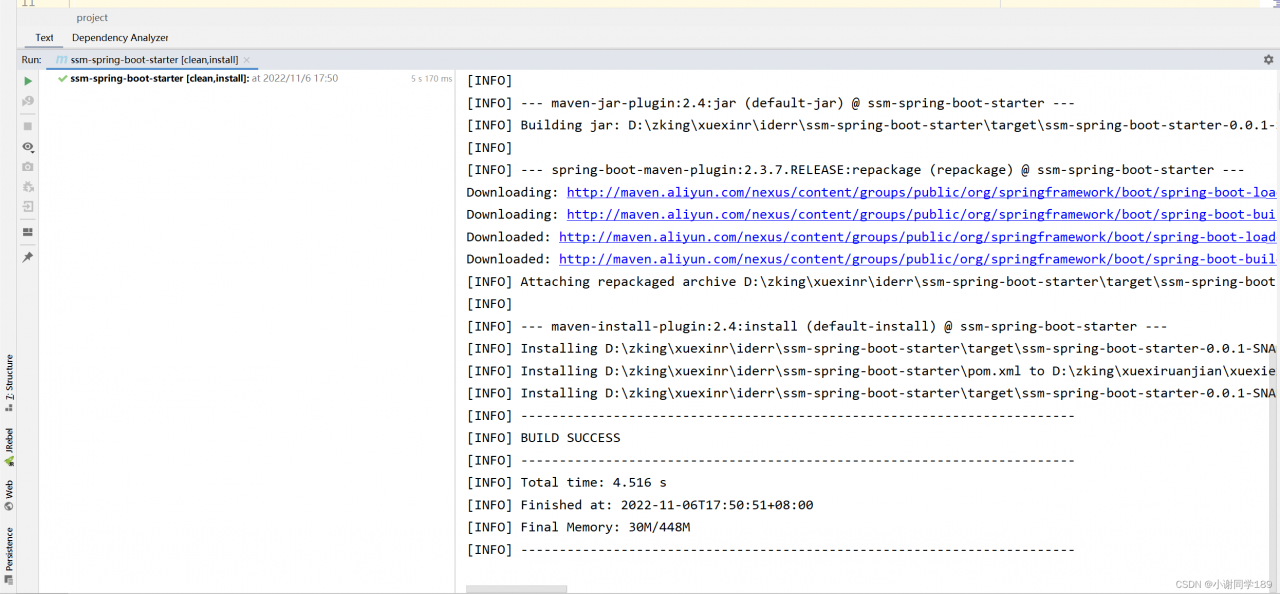
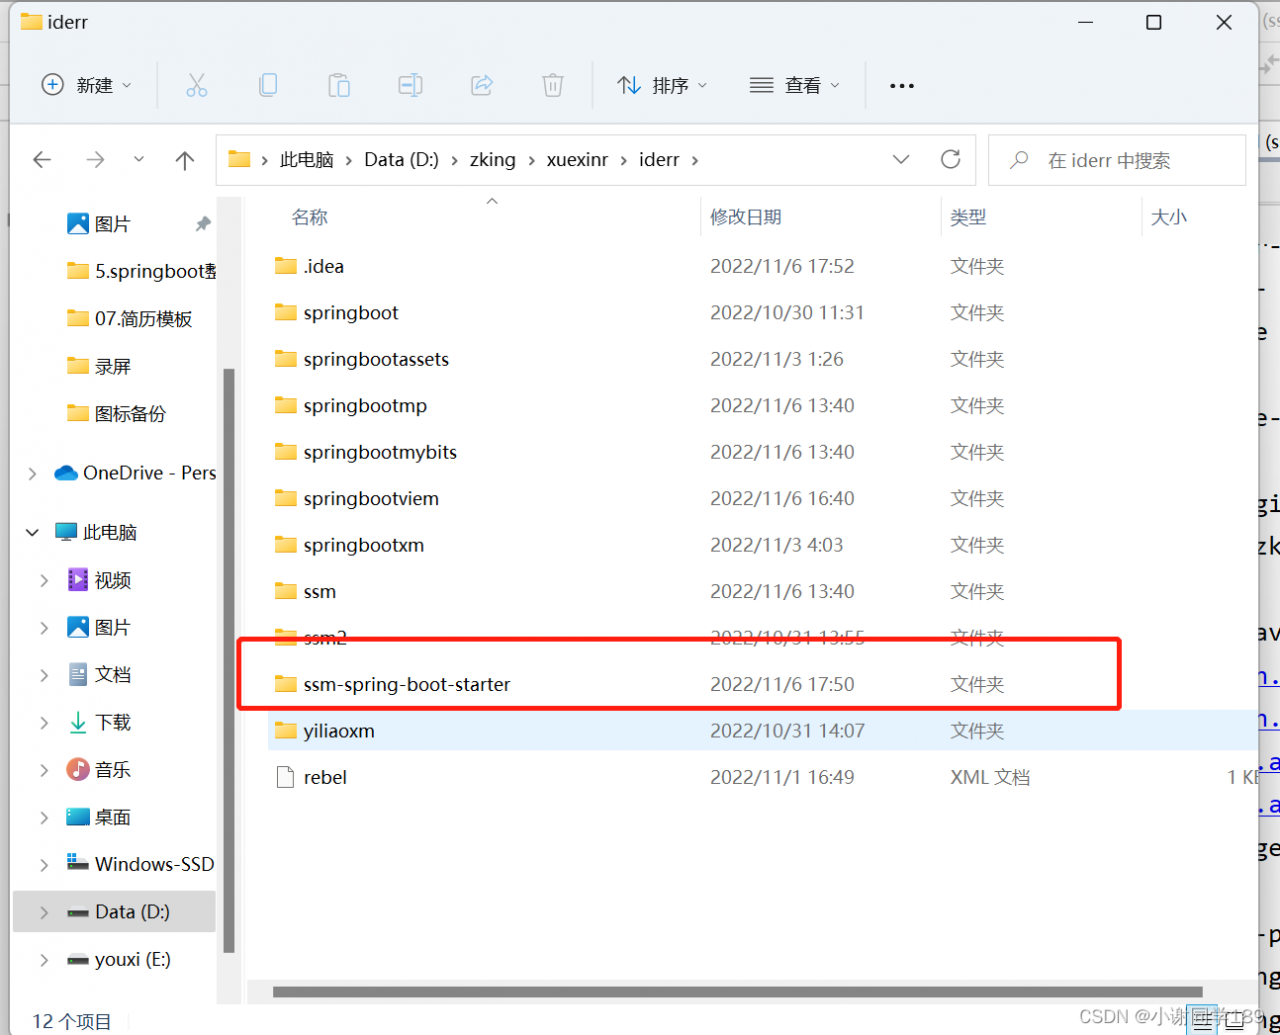
2.6 打包安装
打包时需要注意一下,SpringBoot项目打包的JAR是可执行JAR,它的类放在BOOT-INF目录下,
如果直接作为其他项目的依赖,会找不到类。可以通过修改pom文件来解决,代码如下:
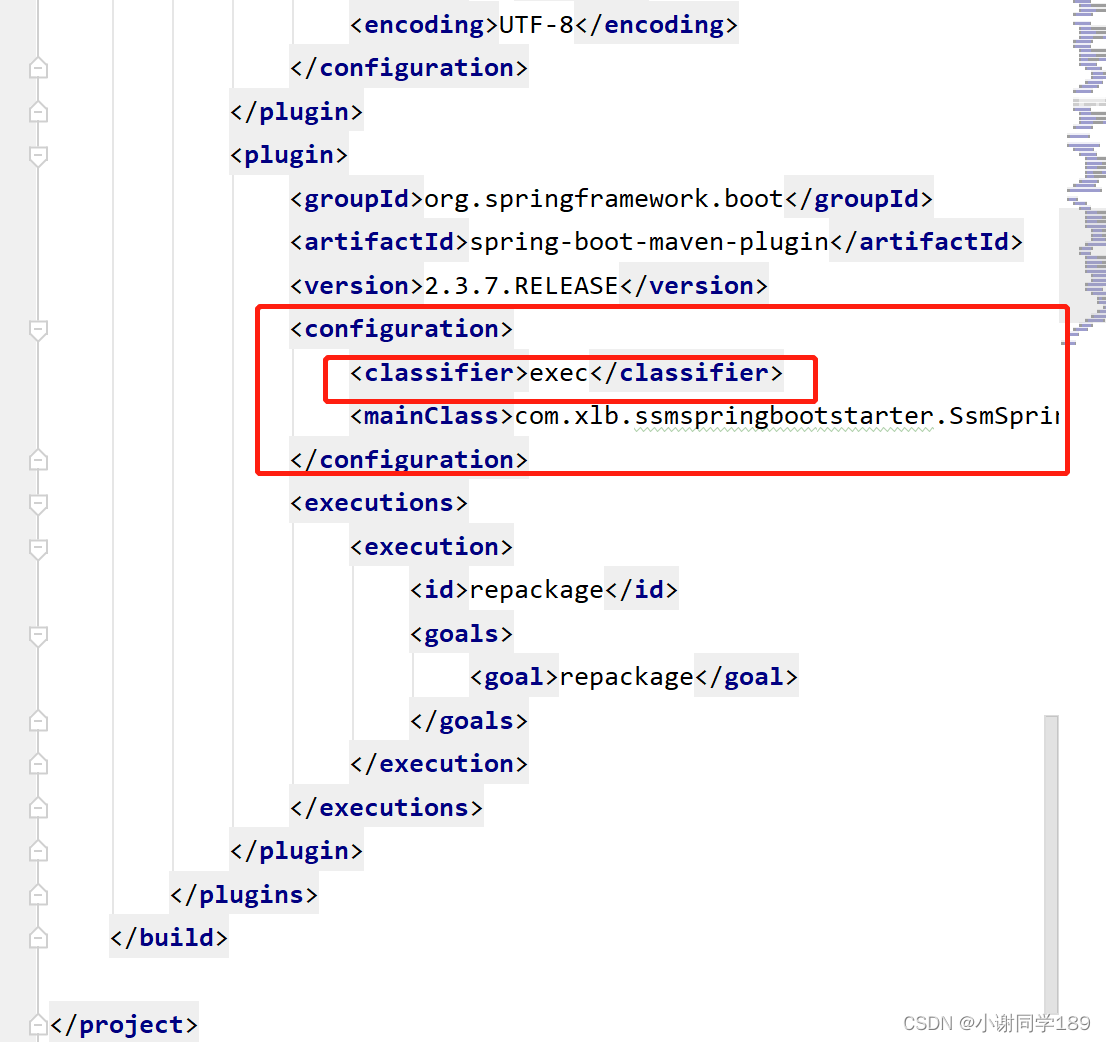
<classifier>exec</classifier>
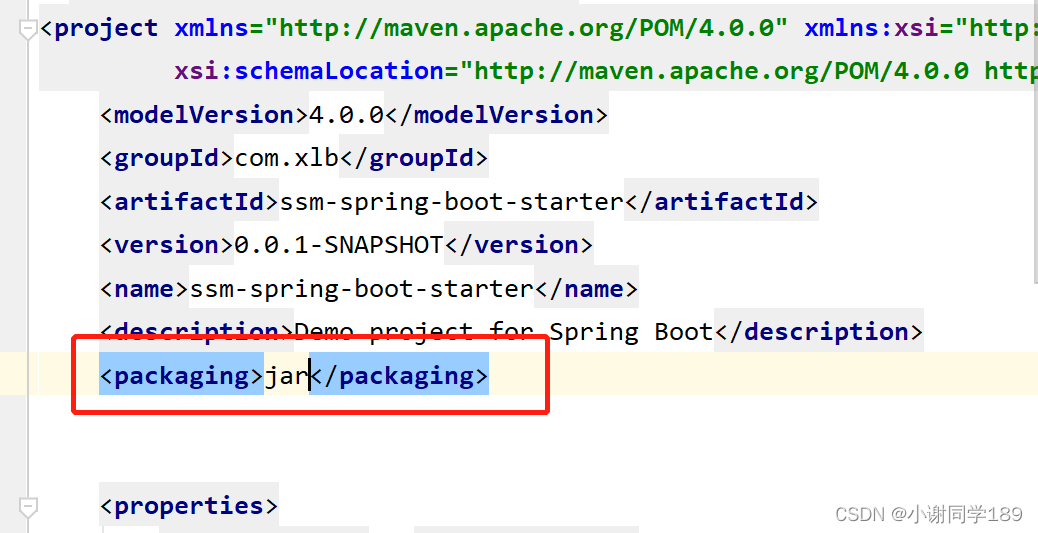
<packaging>jar</packaging>
2.7 其它项目引用
#构建项目测试用的spboot项目,勾选组件lombok以及spring-boot-starter-web
#添加自定义starter依赖如下
<!--     导入短信发自定义starter的启动器(根据自动信息来修改)   -->
        <dependency>
            <groupId>com.xlb</groupId>
            <artifactId>ssm-spring-boot-starter</artifactId>
            <version>0.0.1-SNAPSHOT</version>
        </dependency>
配置yml文件
server:
    port: 8080
spring:
    application:
        name: xyyy
spboot:
    ssm:
        acces-key-id: xlb
        acces-key-secret: 123456
编写测试类
SsmController
package com.xlb.xyyy.controller;
import com.xlb.ssmspringbootstarter.service.SmsService;
import org.springframework.beans.factory.annotation.Autowired;
import org.springframework.web.bind.annotation.RequestMapping;
import org.springframework.web.bind.annotation.RestController;
/**
* @author 波哥
* @QQ 2212371722
* @company 波哥集团
* @create 2022-11-06 18:03
*/
@RestController
public class SsmController {
@Autowired
public SmsService smsService;
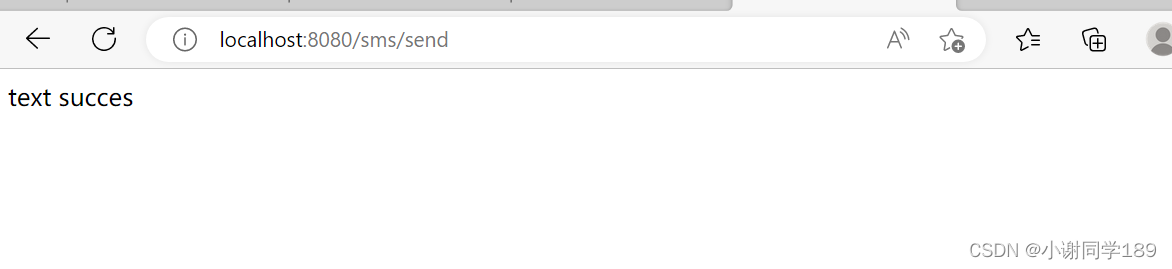
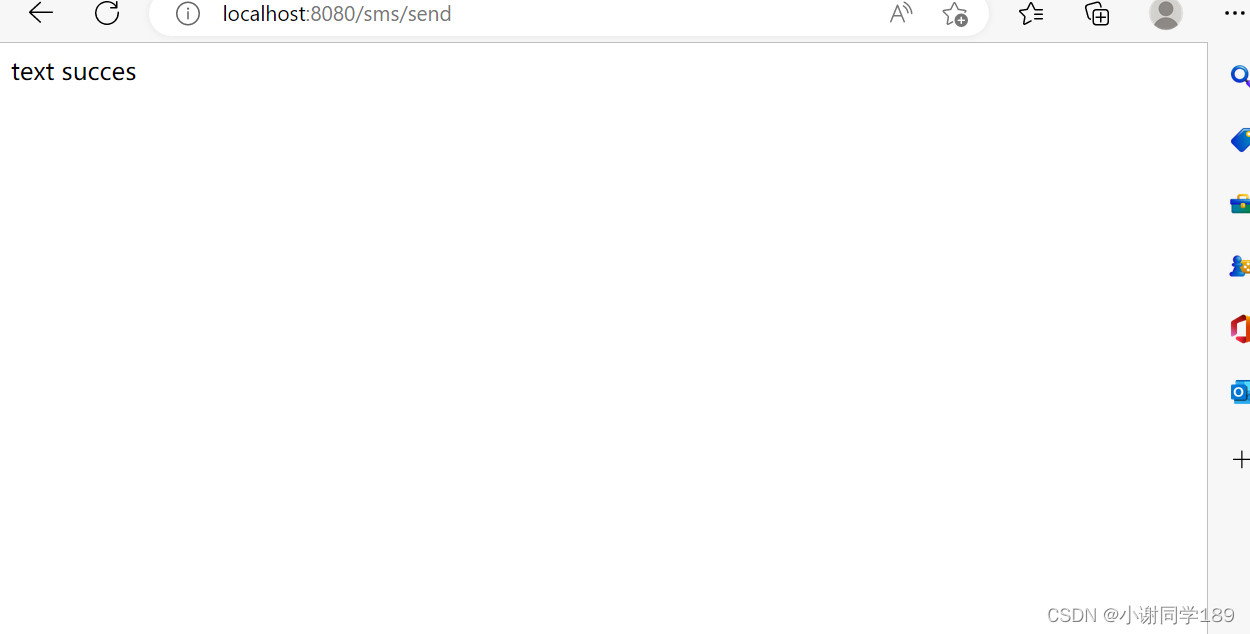
@RequestMapping("/sms/send")
public String send(){
smsService.send("17275320054","签名","336609","你好,短信启动器创建成功");
return "text succes";
}
}
启动测试
3. 自定义starterAOP日志模块
步骤跟上面雷同
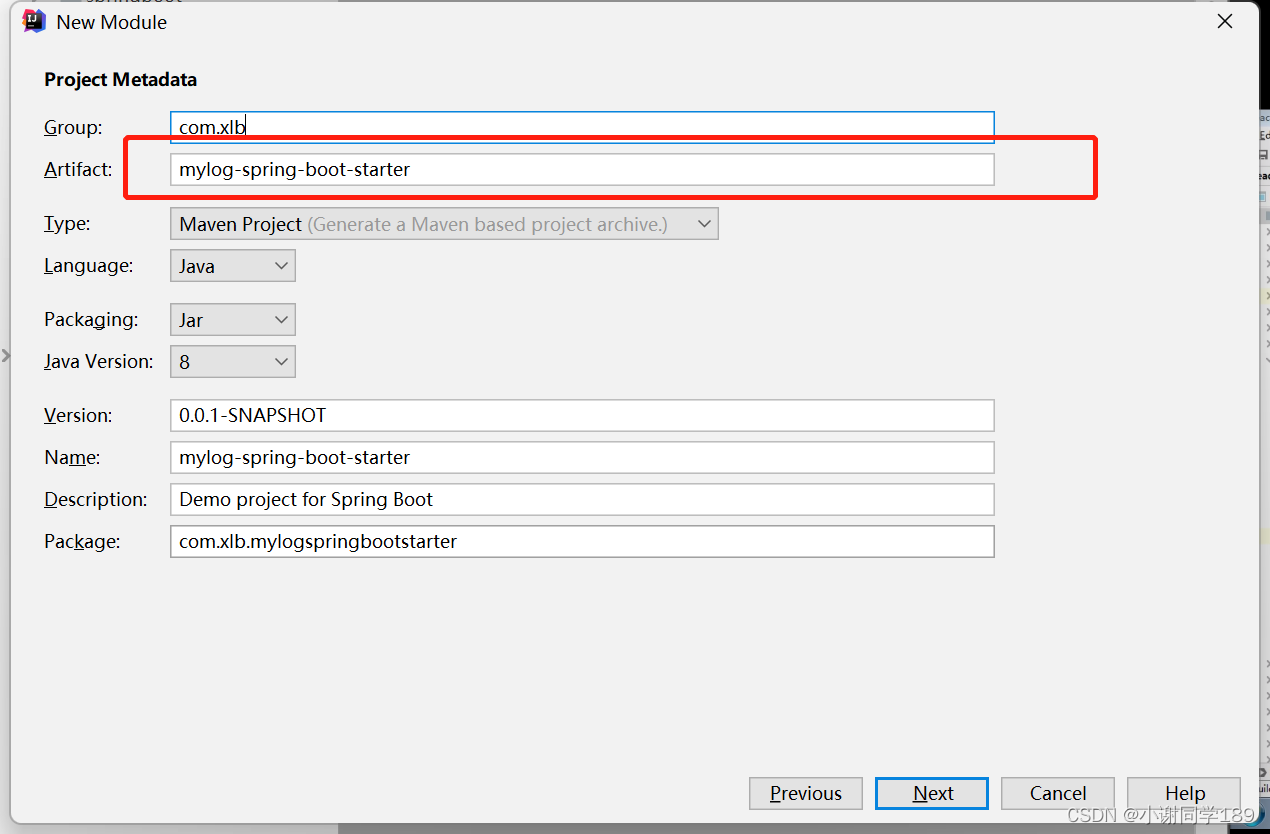
3.1 创建Starter项目
命名规范
SpringBoot官方命名方式
格式:spring-boot-starter-{模块名}
举例:spring-boot-starter-web
自定义命名方式
格式:{模块名}-spring-boot-starter
举例:mystarter-spring-boot-starter
勾选组件时在勾选一个spring web
必须引入的依赖
<dependency>
   <groupId>org.springframework.boot</groupId>
   <artifactId>spring-boot-configuration-processor</artifactId>
   <optional>true</optional>
</dependency>

 <dependency>
	<groupId>org.springframework.boot</groupId>
	<artifactId>spring-boot-starter-aop</artifactId>
</dependency>
3.2 编写相关属性类
MyLogProperties
package com.xlb.mylogspringbootstarter.properties;

import org.springframework.boot.context.properties.ConfigurationProperties;

/**
 * @author 波哥
 * @QQ 2212371722
 * @company 波哥集团
 * @create  2022-11-06 18:15
 */
@ConfigurationProperties(prefix = "spboot.mylopg")
public class MyLogProperties {

    //是否启用
    private boolean enabled;

    public MyLogProperties() {
    }

    public boolean isEnabled() {
        return enabled;
    }

    public void setEnabled(boolean enabled) {
        this.enabled = enabled;
    }

}
3.3 编写Starter项目的业务功能
WebLogAspect
package com.xlb.mylogspringbootstarter.aop;

import lombok.extern.slf4j.Slf4j;
import org.aspectj.lang.JoinPoint;
import org.aspectj.lang.annotation.AfterReturning;
import org.aspectj.lang.annotation.Aspect;
import org.aspectj.lang.annotation.Before;
import org.aspectj.lang.annotation.Pointcut;
import org.springframework.stereotype.Component;
import org.springframework.web.context.request.RequestContextHolder;
import org.springframework.web.context.request.ServletRequestAttributes;

import javax.servlet.http.HttpServletRequest;
import java.util.Arrays;


/**
 * 日志切面类
 */

@Aspect
@Component
@Slf4j
public class WebLogAspect {
    //@Pointcut("execution(public * com.zking..controller.*.*(..))")
    @Pointcut("execution(* *..*Controller.*(..))")
    public void webLog(){}

    @Before("webLog()")
    public void doBefore(JoinPoint joinPoint) throws Throwable {
        // 接收到请求,记录请求内容
        ServletRequestAttributes attributes = (ServletRequestAttributes) RequestContextHolder.getRequestAttributes();
        HttpServletRequest request = attributes.getRequest();

        // 记录下请求内容
        log.info("开始服务:{}", request.getRequestURL().toString());
        log.info("客户端IP :{}" , request.getRemoteAddr());
        log.info("参数值 :{}", Arrays.toString(joinPoint.getArgs()));
    }

    @AfterReturning(returning = "ret", pointcut = "webLog()")
    public void doAfterReturning(Object ret) throws Throwable {
        // 处理完请求,返回内容
        log.info("返回值 : {}" , ret);
    }
}
3.4 编写自动配置类
MyLogAutoConfig
package com.xlb.mylogspringbootstarter.config;

import com.xlb.mylogspringbootstarter.aop.WebLogAspect;
import com.xlb.mylogspringbootstarter.properties.MyLogProperties;
import org.springframework.boot.autoconfigure.EnableAutoConfiguration;
import org.springframework.boot.autoconfigure.condition.ConditionalOnMissingBean;
import org.springframework.boot.autoconfigure.condition.ConditionalOnProperty;
import org.springframework.boot.context.properties.EnableConfigurationProperties;
import org.springframework.context.annotation.Bean;
import org.springframework.context.annotation.Configuration;

/**
 * @author 波哥
 * @QQ 2212371722
 * @company 波哥集团
 * @create  2022-11-06 18:20
 */


/**
 * @ConditionalOnProperty
 * 配置属性a:
 * 1:不配置a        matchifmissing=false 不满足      matchifmissing=true 满足
 * 2:配置a=false    matchifmissing=false 不满足      matchifmissing=true 不满足
 * 3:配置a=true     matchifmissing=false 满足        matchifmissing=true 满足
 */
@Configuration
@EnableConfigurationProperties({MyLogProperties.class})
@ConditionalOnProperty(prefix = "spboot.mylopg",
        value = "enabled")
public class MyLogAutoConfig {

    @Bean
    @ConditionalOnMissingBean
    public WebLogAspect webLogAspect(){
        return new WebLogAspect();
    }

}
3.5 编写spring.factories文件加载自动配置类
1.在resources下新建META-INF文件夹,然后创建spring.factories文件
2.在该文件中加入如下配置,该配置指定上步骤中定义的配置类为自动装配的配置
org.springframework.boot.autoconfigure.EnableAutoConfiguration=com.zking.zzcloudspringbootstarter.config.AutoConfig
注1:其中AutoConfig是starter配置文件的类限定名,多个之间逗号分割,还可以\进行转义即相当于去掉后面换行和空格符号
# Auto Configure
spring.factories
org.springframework.boot.autoconfigure.EnableAutoConfiguration=com.xlb.mylogspringbootstarter.config.MyLogAutoConfig
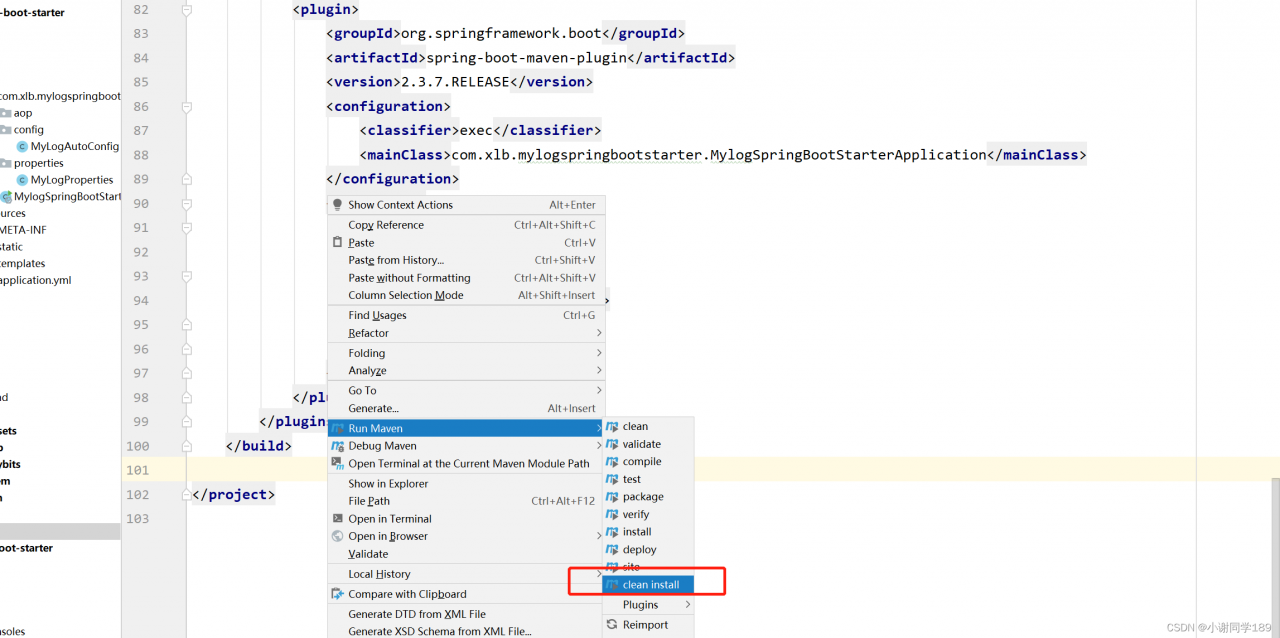
3.6 打包安装
打包时需要注意一下,SpringBoot项目打包的JAR是可执行JAR,它的类放在BOOT-INF目录下,
如果直接作为其他项目的依赖,会找不到类。可以通过修改pom文件来解决,代码如下:
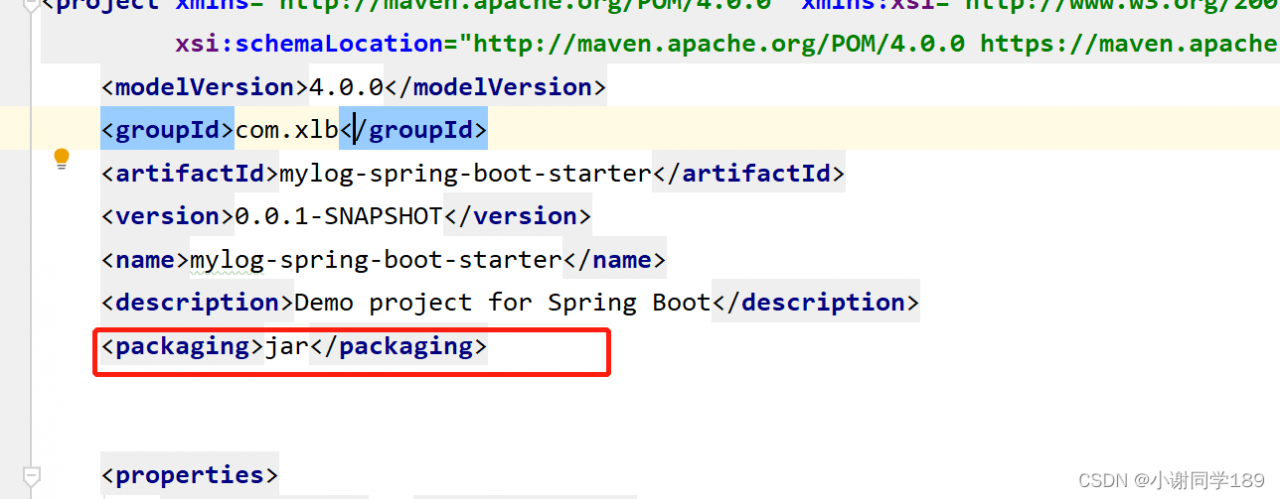
<packaging>jar</packaging>

<classifier>exec</classifier>
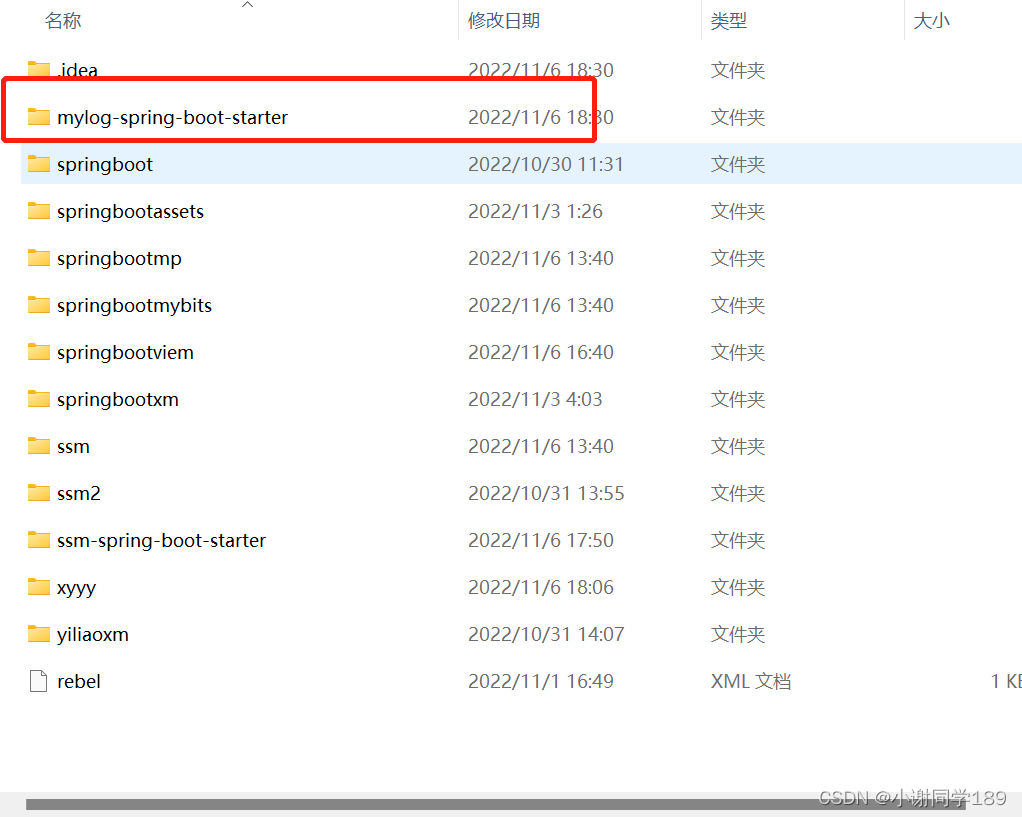
3.7 其它项目引用
在要导入的项目加入
pom.xml
<!--    导入AOP 日志启动器-->
        <dependency>
            <groupId>com.xlb</groupId>
            <artifactId>mylog-spring-boot-starter</artifactId>
            <version>0.0.1-SNAPSHOT</version>
            <optional>true</optional>
        </dependency>
application.yml
server:
    port: 8080
spring:
    application:
        name: xyyy
spboot:
    ssm:
        acces-key-id: xlb
        acces-key-secret: 123456
    mylopg:
        enabled: true //表示启用
如果项目有controller可以运行,那么直接启用运行,没有则重新编写一个
启动测试