CUDA
official website:
https://developer.nvidia.com/cuda-downloads
If your system is Ubuntu20.04, you can directly go to
https://developer.nvidia.com/cuda-downloads?target_os=Linux&target_arch=x86_64&Distribution=Ubuntu&target_version=20.04&target_type=deb_local
cuDNN
official website :
https://developer.nvidia.com/rdp/cudnn-download
install guide:
https://docs.nvidia.com/deeplearning/cudnn/install-guide/index.html#overview
conda的安装
- 1.下载miniconda
https://docs.conda.io/en/latest/miniconda.html
或者
wget https://repo.anaconda.com/miniconda/Miniconda3-latest-Linux-x86_64.sh
- 2.安装
bash xxx.sh

这个要选择yes,这样就可以自动配置好路径了
- 3.刷新环境变量
source ~/.bashrc
- 确认是否安装成功

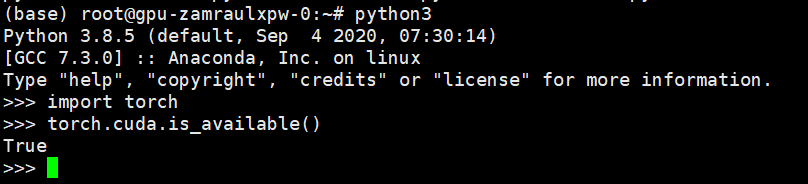
安装pytorch
pip3 install torch torchvision torchaudio -i https://pypi.tuna.tsinghua.edu.cn/simple/
服务器端配置jupyter
pip install jupyter
配置服务器
jupyter notebook --generate-config
打开提示的文件
(命令会产生文件:xxx/.jupyter/jupyter_notebook_config.py)
编辑配置文件,编辑此文件,写入:
-
c.NotebookApp.ip = ‘*’ # 设置允许访问此服务器的ip,*代表允许任意ip访问
-
c.NotebookApp.open_browser = False # 运行时不打开本机浏览器
-
c.NotebookApp.port = 12333 # 设置使用的端口,可分配任意未分配的端口
-
c.NotebookApp.enable_mathjax = True # 启用Mathjax
运行
jupyter notebook --allow-root
#如果非root,只需要jupyter notebook

复制显示的链接,比如我的图中是:
http://127.0.0.1:12333/?token=f89aa1667efef5a9b6f55a82fd20bf68186f864891c5ed19
将这个粘贴到你的浏览器里同时要将127.0.0.1替换成服务器的ip地址
这样就可以在本地使用jupyter notebook了。
设置jupyter notebook自动补全
pip install jupyter_contrib_nbextensions
jupyter contrib nbextension install --user
pip install jupyter_nbextensions_configurator
jupyter nbextensions_configurator enable --user
pip install nbconvert==5.6.1 -i https://mirrors.aliyun.com/pypi/simple/
pip install ipython==7.1.1 -i https://mirrors.aliyun.com/pypi/simple/
然后运行juypyter notebook找到Nbextensions
勾选Hinterland,spellchecker
安装后可能出现的问题
- TypeError: should_run_async() got an unexpected keyword argument ‘transformed_cell’
- TypeError: required field “type_ignores” missing from Module
解决第一个问题:
pip install "ipykernel<5.5.2"
解决第二个问题:
pip install --upgrade ipython
安装jupyter lab
jupyterlab也是不错的测试开发环境
pip install jupyterlab
更改工作目录
jupyter lab --generate-config
和上面的做法差不多
找到
c.ServerApp.root_dir或者c.ServerApp.notebook_dir
修改即可
jupyter notebook中相对路径导入包的问题
这里额外提一下在jupyter中的导包问题
module
	src
		__init__.py
		Model.py
	test
		test.py
		test.ipynb
假如我们的代码文件按照上面的格式分布
其中__init__.py中的内容是
from .Model import Model
在test文件夹中的test.py中
from ..src import Model
是可以的
然而在test.ipynb中
import ..src import Model
是会报错的
解决办法是在notebook中,也就是在test.ipynb中写入
import os,sys
module_path=os.path.abspath(os.path.join('..'))
sys.path.append(module_path)

#此时可以直接从src中导入
from src import Model
删除jupyter
pip uninstall -y jupyter
pip uninstall -y jupyter_core
pip uninstall -y jupyter-client
pip uninstall -y jupyter-console
pip uninstall -y notebook
pip uninstall -y qtconsole
pip uninstall -y nbconvert
pip uninstall -y nbformat
出现Exception: Jupyter command
jupyter-notebook
not found
jupyter-notebook
这种情况可以在终端执行
~/.local/bin/jupyter-notebook
打开jupyter notebook
有或者执行
export PATH=$PATH:~/.local/bin
这样jupyter notebook就可以打开了

当然一劳永逸的办法是打开~/.bashrc,在最后添加export PATH=$PATH:~/.local/bin这行
然后source一下:

宽屏显示
from IPython.display import display, HTML
display(HTML('<style>.container{width:100% !important;}</style>'))