坑
- 有时候会出现初始化VuePress后,无论访问什么页面都是Cannot GET/。此时要注意是否是由于修改了环境变量NODE_ENV=production,如果是要改回development。
- 配置一些插件时,会出现warning。此时要在项目内安装vuePress。但直接安装可能并未完全安装成功,还需要 npm i –dev来再装一下。
一、vuepress初体验
- 创建一个项目文件
- 对项目进行初始化
yarn init # npm init
- 安装VuePress
yarn add -D vuepress # npm install -D vuepress
- 创建第一篇文档
mkdir docs && echo '# Hello VuePress' > docs/README.md
- 在package.json中配置启动命令
{
  "scripts": {
    "docs:dev": "vuepress dev docs",
    "docs:build": "vuepress build docs"
  }
}
- 在本地启动服务器
yarn docs:dev # npm run docs:dev
- 此时VuePress 会在 http://localhost:8080 (opens new window)启动一个热重载的开发服务器。
- 在docs/README.md文件开头添加如下yaml语句
---
home: true
heroImage: /hero.png
heroText: Hero 标题
tagline: Hero 副标题
actionText: 快速上手 →
actionLink: /zh/guide/
features:
- title: 简洁至上
  details: 以 Markdown 为中心的项目结构,以最少的配置帮助你专注于写作。
- title: Vue驱动
  details: 享受 Vue + webpack 的开发体验,在 Markdown 中使用 Vue 组件,同时可以使用 Vue 来开发自定义主题。
- title: 高性能
  details: VuePress 为每个页面预渲染生成静态的 HTML,同时在页面被加载的时候,将作为 SPA 运行。
footer: MIT Licensed | Copyright © 2018-present Evan You
---
-
此时,重新运行项目,可以看到如下效果

二、导航栏
1.页面路由的映射规则
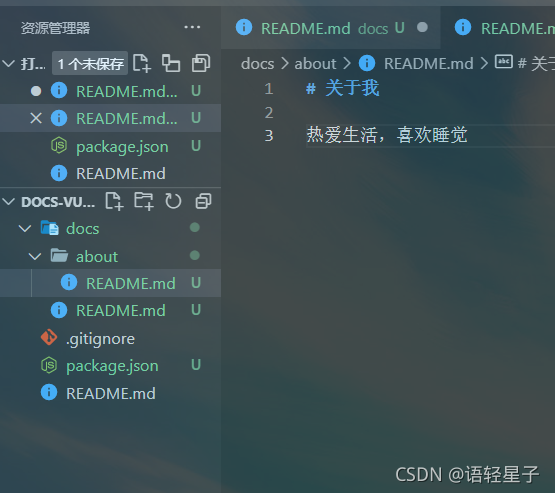
-
在docs文件夹下新建about文件夹,并在about中建立REDEME.md。此时,访问http://localhost:8080/about/便可得到如下页面:

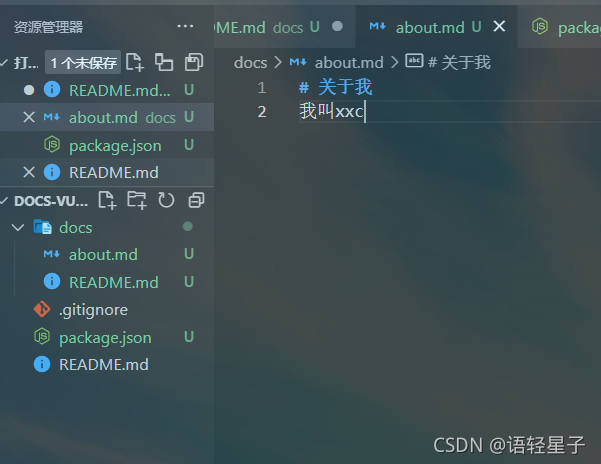
-
在docs文件夹下新建一个about.md文件。然后再浏览器中输入http://localhost:8080/about.html,便可得到如下信息

2.页面导航栏配置
// .vuepress/config.js
module.exports = {
    themeConfig: {
        logo: '/assets/img/logo.jpg',
        // navbar: false,      // 使导航栏消失
        nav: [
            {
                text: 'Home', link: '/', items: [       // text为导航文本,link为链接,items为子项
                    { text: 'Chinese', link: '/language/chinese/' },
                    {
                        text: 'Japanese', items: [
                            { text: 'Chinese', link: '/language/chinese/' },
                            { text: 'Chinese', link: '/language/chinese/' },
                        ]
                    }
                ]
            },
            { text: 'About', link: '/about' },
            { text: 'External', link: 'https://www.baidu.com' },    // 此处,当link为外部链接时,此导航项会后出现一个图标
        ],

    }
}

- 此处navbar配置项也可以单独在某些md文件中使用,可以使得其只在某些页面才发生导航栏消失的情况。(注意:navbar与false之间有空格)
-> \docs\about.md

---
navbar: false
---
# 关于我
我叫xxc
三、侧边栏
- 为什么需要侧边栏?
- 文章内快速检索(目录)
- 关联内容快速跳转(导航)
- 分为数组和对象两种形式
1.在单个文件中配置侧边栏
->   docs/about.md
---
navbar: false
sidebar: auto
---
# 关于我
我叫xxc

## 一级标题1
### 1.二级标题
## 一级标题2
## 一级标题3
## 一级标题4
2.在总配置文件中配置侧边栏
->   docs/.vuepress/config.js
module.exports = {
    themeConfig: {
        logo: '/assets/img/logo.jpg',
        // navbar: false,      // 使导航栏消失
        ......
        sidebar: 'auto'		// 此时所有文件都会生效
    }
}
3.使用数组形式配置sidebar
1. 简单形式
->   docs/.vuepress/config.js
module.exports = {
    themeConfig: {
        ......
        sidebar: [
            '/',
            '/about',
            ['/about1', 'Explicit link text']
        ]
    }
}
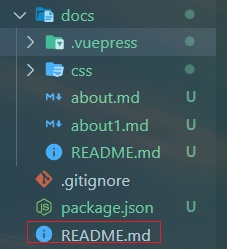
result:

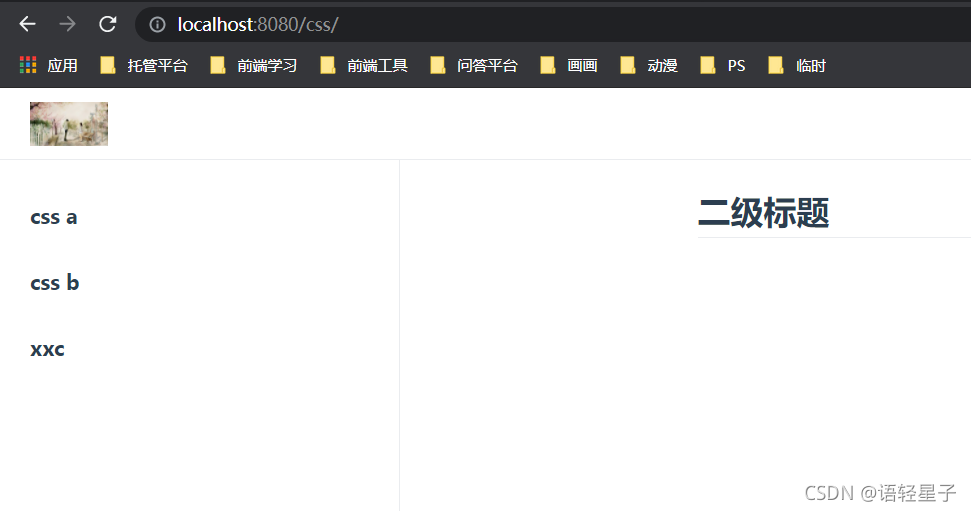
2.复杂形式
-> docs/.vuepress/config.js

module.exports = {
    themeConfig: {
        ......
        sidebar: [
            '/',	// 此种写法代表首页
            '/about',
            {
                title: '美丽的CSS',   // 必要的
                path: '/css/',      // 可选的, 此处及代表访问css下的README.md
                collapsable: false, // 可选的, 默认值是 true,
                sidebarDepth: 1,    // 可选的, 默认值是 1,此时可以将文件的二级标题作为侧边栏子项,最多设置为2.
                children: [
                    '/css/css-a',
                    '/css/css-b',
                    '/css/css-c'
                ]
            },
        ]
    }
}
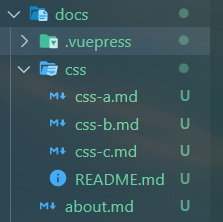
目录结构:
注意:若文件内部也设置了sidebar项,则会导致全局设置的对该文件不生效。而若在主文件:
中设置了home: true,则也会导致sidebar选项不生效。同时要注意,home: true是主文件中其它设置项生效的前提
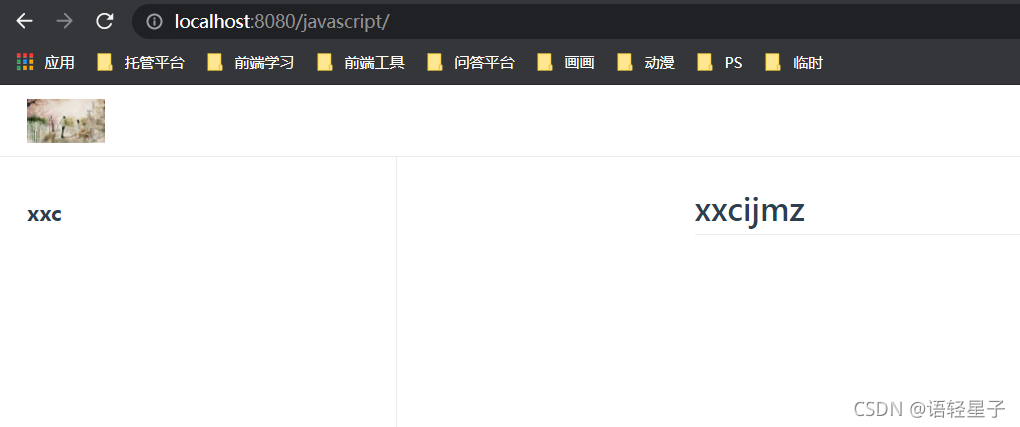
4.使用对象形式配置sidebar
// .vuepress/config.js
module.exports = {
    themeConfig: {
        ......
        sidebar: {
            '/css/': [
                'css-a',
                'css-b',
                'css-c'
            ],
            '/javascript/': [
                'javascript-a'
            ],
            '/': [  // 注意此处根节点应该放在最下方,因为对象形式的侧边栏是会根据匹配到的路由进行侧边栏配置。如当匹配到了/css/时,就会将侧边栏设置为/css/对应的数组。
                ""  // 此处写""代表'/',及会访问首页的README.md,而其默认的title好像就是Home
            ]
        }
    }
}

四、SEO
-
title
类型: string
默认值: undefined
网站的标题,它将会被用作所有页面标题的前缀,同时,默认主题下,它将显示在导航栏(navbar)上。 -
description
类型: string
默认值: undefined
网站的描述,它将会以 标签渲染到当前页面的 HTML 中。 -
head
类型: Array
默认值: []
额外的需要被注入到当前页面的 HTML 中的标签,每个标签都可以以 [tagName, { attrName: attrValue }, innerHTML?] 的格式指定
head: [
        ['meta', { name: 'keywords', content: 'vuePress 介绍' }],
        ['meta', { name: 'author', content: '语轻星子' }],
        ['link', { rel: 'icon', href: '/favicon.ico' }]
    ],

五、更新时间
你可以通过 themeConfig.lastUpdated 选项来获取每个文件最后一次 git 提交的 UNIX 时间戳(ms),同时它将以合适的日期格式显示在每一页的底部。
注意:需要将当前的文件加入到git跟踪(git add 文件名),并把跟踪的文件使用git commit -m 提交
const moment = require('moment')
plugins: [
        [
            '@vuepress/last-updated',
            {
                transformer: (timestamp) => {
                    // 不要忘了安装 moment
                    const moment = require('moment')
                    moment.locale("zh-cn")  // 此处可以设置语言
                    return moment(timestamp).format('LL')   // 此处可以设置格式
                }
            }
        ]
    ]
六、发布到github.io
1. 先确定当前项目已经和github上的库关联
2. 修改config.js中的base
// .vuepress/config.js
module.exports = {
    base: '/docs-vuePress/',
}
官网解释:
如果你打算发布到 https://<USERNAME>.github.io/<REPO>/
(也就是说你的仓库在 https://github.com/<USERNAME>/<REPO>),则将 base 设置为 "/<REPO>/"


此处:
base的值即为你github仓库的名字。此处修改之后,
打包生成的文件的引用路径都会以其为前缀。
若此处名称与仓库名称不符,则会导致打包文件之间引用出现404的问题
3. 配置deploy.sh文件
#!/usr/bin/env sh

# 确保脚本抛出遇到的错误
set -e

# 生成静态文件
npm run docs:build

# 进入生成的文件夹
cd docs/.vuepress/dist

# 如果是发布到自定义域名
# echo 'www.example.com' > CNAME

git init
git add -A
git commit -m 'deploy'

# 如果发布到 https://<USERNAME>.github.io
# git push -f git@github.com:<USERNAME>/<USERNAME>.github.io.git master

# 如果发布到 https://<USERNAME>.github.io/<REPO>
git push -f git@github.com:xxc-yqxz/docs-vuePress.git master:gh-pages

cd -
修改scripts
  "scripts": {
    "test": "echo \"Error: no test specified\" && exit 1",
    "docs:dev": "vuepress dev docs --temp .temp",
    "docs:build": "vuepress build docs",
    "deploy": "bash deploy.sh"
  },
在git bash中执行(此处bash无法在window直接执行,所以需要使用git bash执行。同时要保证环境变量中NODE_ENV=production)

4. 在github仓库中进行设置

5.点击上图的域名,即可访问成功。
七、自定义域名
-
在阿里云服务器中填写设置域名解析
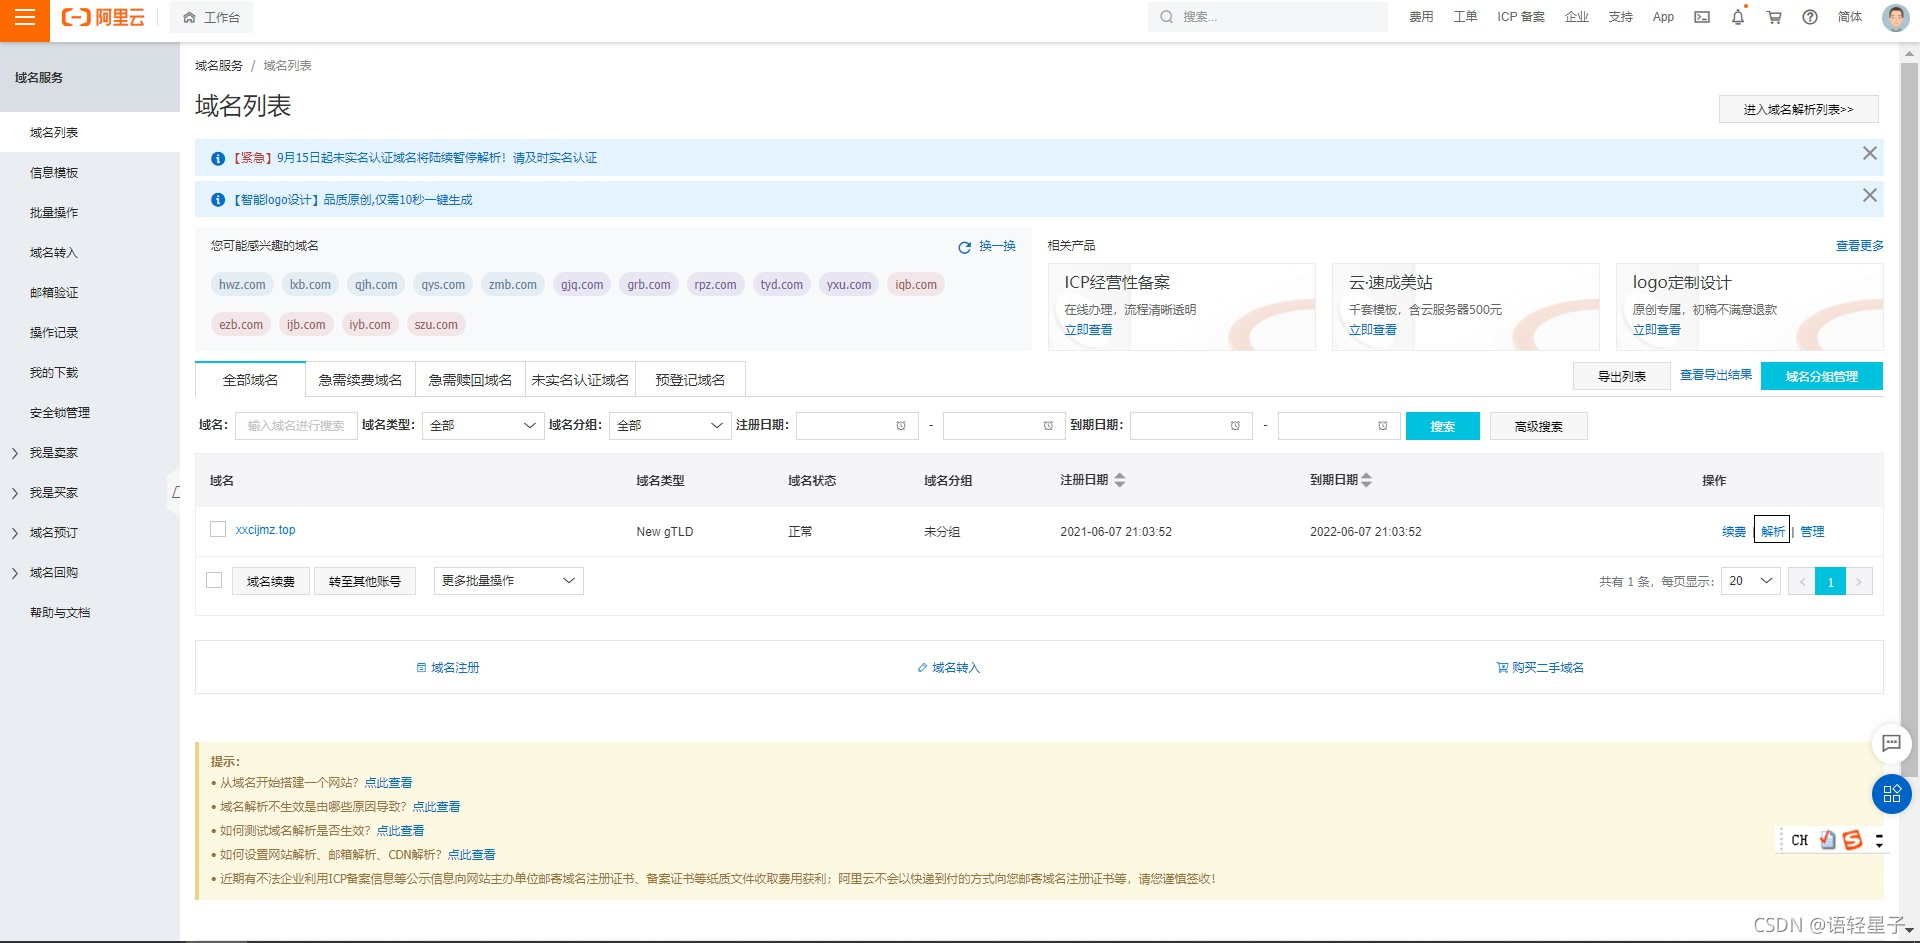

- 在deploy.sh中添加如下代码。此处的域名为你自己DNS解析好的域名
# 如果是发布到自定义域名
echo 'blog.xxcijmz.top' > CNAME
- 在github设置中,勾选开启https协议。
- 将config.js中的base删除(使其默认访问根路径)
八、PWA
效果:更新提示,离线可访问等
配置:manifest、icons、head links
- 安装@vuepress/plugin-pwa
yarn add -D @vuepress/plugin-pwa
# OR npm install -D @vuepress/plugin-pwa
- 配置manifest.json(此处直接借用vuepress的)
{
    "name": "语轻星子之家",
    "short_name": "语家",
    "icons": [
        {
            "src": "/icons/android-chrome-192x192.png",
            "sizes": "192x192",
            "type": "image/png"
        },
        {
            "src": "/icons/android-chrome-512x512.png",
            "sizes": "512x512",
            "type": "image/png"
        }
    ],
    "start_url": "/index.html",
    "display": "standalone",
    "background_color": "#fff",
    "theme_color": "#3eaf7c"
}
- 添加icons文件夹
- 配置config.js
// .vuepress/config.js
const moment = require('moment')
module.exports = {
    title: "语轻星子的图书馆",
    description: "语轻星子的笔记",
    head: [
        ['meta', { name: 'keywords', content: 'vuePress 介绍' }],
        ['meta', { name: 'author', content: '语轻星子' }],
        ['link', { rel: 'icon', href: '/favicon.ico' }],
        ['link', { rel: 'manifest', href: '/manifest.json' }],
        ['meta', { name: 'theme-color', content: '#3eaf7c' }],
        ['meta', { name: 'apple-mobile-web-app-capable', content: 'yes' }],
        ['meta', { name: 'apple-mobile-web-app-status-bar-style', content: 'black' }],
        ['link', { rel: 'apple-touch-icon', href: '/icons/apple-touch-icon-152x152.png' }],
        ['link', { rel: 'mask-icon', href: '/icons/safari-pinned-tab.svg', color: '#3eaf7c' }],
        ['meta', { name: 'msapplication-TileImage', content: '/icons/msapplication-icon-144x144.png' }],
        ['meta', { name: 'msapplication-TileColor', content: '#000000' }]
    ],
    themeConfig: {
        lastUpdated: "更新时间",
        logo: '/assets/img/logo.jpg',

        // navbar: false,      // 使导航栏消失
        nav: [
            {
                text: 'Home', link: '/', items: [       // text为导航文本,link为链接,items为子项
                    { text: 'Chinese', link: '/language/chinese/' },
                    {
                        text: 'Japanese', items: [
                            { text: 'Chinese', link: '/language/chinese/' },
                        ]
                    }
                ]
            },
            { text: 'About', link: '/about' },
            { text: 'External', link: 'https://www.baidu.com' },    // 此处,当link为外部链接时,此导航项会后出现一个图标
        ],
        sidebar: {
            '/css/': [
                'css-a',
                'css-b',
                'css-c'
            ],
            '/javascript/': [
                'javascript-a'
            ],
            '/': [  // 注意此处根节点应该放在最下方,因为对象形式的侧边栏是会根据匹配到的路由进行侧边栏配置。如当匹配到了/css/时,就会将侧边栏设置为/css/对应的数组。
                ""  // 此处写""代表'/',及会访问首页的README.md,而其默认的title好像就是Home
            ]
        }
    },
    plugins: [
        [
            '@vuepress/last-updated',
            {
                transformer: (timestamp) => {
                    // 不要忘了安装 moment
                    const moment = require('moment')
                    moment.locale("zh-cn")  // 此处可以设置语言
                    return moment(timestamp).format('LL')   // 此处可以设置格式
                }
            },
        ],
        [
            '@vuepress/pwa', {
                serviceWorker: true,
                updatePopup: {
                    message: "发现新内容可用",
                    buttonText: "刷新"
                }
            }
        ]
    ]
}
- 打包上传
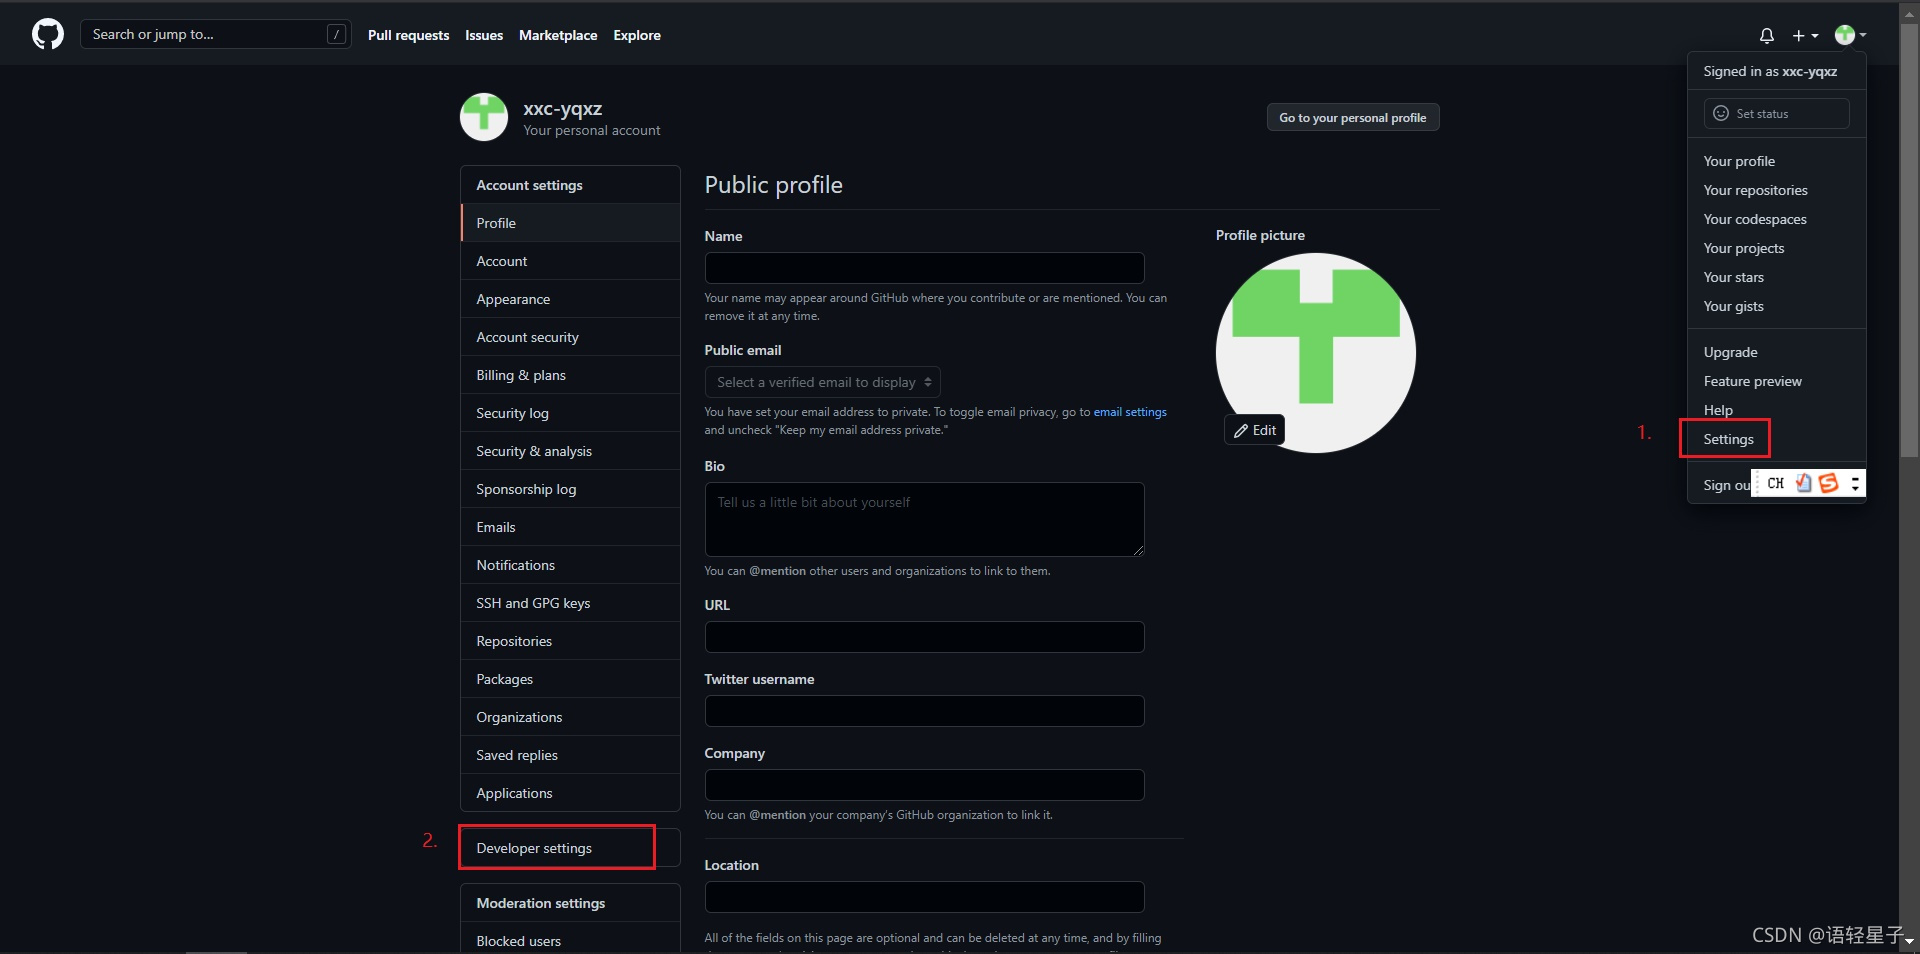
九、vssue评论
- 去github注册OAuth Apps,保存好Client ID 和Client Secret。
- 安装插件
npm install @vssue/vuepress-plugin-vssue
npm install @vssue/api-github-v4
- 配置
'@vssue/vuepress-plugin-vssue': {
        // 设置 `platform` 而不是 `api`
        platform: 'github-v4',
        // 其他的 Vssue 配置
        owner: 'xxc-yqxz',	// 用户名
        repo: 'docs-vuePress',	// 库名
        clientId: secret.clientId,	// Client ID
        clientSecret: secret.clientSecret,	// Client Secret
        autoCreateIssue: true,	// 自动开启评论框
    },
- 使用Vssue组件
---
title: CountUp 第三方组件
---

.....
此处title会自动生成,所以也可以不配置
<Vssue title="XXC"/>
- Vssue的全局使用
此处需要运用到主题的继承
https://vuepress.vuejs.org/zh/theme/inheritance.html#%E5%8A%A8%E6%9C%BA
- 将vuepress中的Layout.vue即utils文件夹复制下来后,复制到.vuepress文件夹下的theme文件夹中,并在此文件夹下新建index.js文件,写入以下内容
module.exports = {
  extend: '@vuepress/theme-default'
}
- 在Layout.vue中添加,并配置以下样式,即可在所有页面中生效。
十、配置back-to-top
1.安装
yarn add -D @vuepress/plugin-back-to-top
- 使用
module.exports = {
  plugins: ['@vuepress/back-to-top']
}
十一、分割config
- 在.vuepress中新建一个config文件夹。并在文件夹中新建文件,将原本config.js的文件代码放入并导出。
- 在config.js中导入相应的文件,并使用。
// .vuepress/config.js
const headConf = require('./config/headConf.js')
const pluginsConf = require('./config/pluginsConf')
const navConf = require('./config/navConf')
const sidebarConf = require('./config/sidebarConf')
module.exports = {
    title: "语轻星子的图书馆",
    description: "语轻星子的笔记",
    head: headConf,
    themeConfig: {
        lastUpdated: "更新时间",
        logo: '/assets/img/logo.jpg',

        // navbar: false,      // 使导航栏消失
        nav: navConf,
        sidebar: sidebarConf
    },
    plugins: pluginsConf
}
十二、保护隐私信息
- 新建secret.js文件,专门用来存储私密信息
module.exports = {
    clientId: '具体信息',
    clientSecret: '具体信息',
}
- 在用到私密信息的地方导入并引用
- 在.gitignore中写入secret.js
十三、Markdown扩展
1. 封装countUp.js为Vue组件
countUp.js:一个用于动画展示数字的js库
- 安装countUp.js
yarn add countUp.js
- 创建文件夹docs/.vuepress/components: 该目录中的 Vue 组件将会被自动注册为全局组件。
- 在文件夹内新建一个CountUp.vue文件,写入如下代码:
<template>
	<div>
		<ClientOnly>
			<slot name="before" />
			<span ref="countUp"></span>
		</ClientOnly>
	</div>
</template>

<script>
export default {
	name: "CountUp",
	props: {
		startVal: {
			type: Number,
			default: 0,
		},
		endVal: {
			type: Number,
			required: true,
		},
		decimalPlaces: {
			type: Number,
			default: 0,
		},
		duration: {
			type: Number,
			default: 2,
		},
		delay: {
			type: Number,
			default: 0,
		},
	},
	mounted() {
		this.init();
	},
	data() {
		return {
			counter: null,
		};
	},
	methods: {
		init() {
			import("countup.js").then((module) => {
				// 此处使用运行时引入语法
				// console.log(module);
				// this.$nextTick(() => {
				// this.$nextTick这个方法作用是当数据被修改后使用这个方法会回调获取更新后的dom再渲染出来
				this.counter = new module.CountUp(this.$refs.countUp, this.endVal, {
					startVal: this.startVal,
					decimalPlaces: this.decimalPlaces,
					duration: this.duration,
				});
				setTimeout(() => {
					this.counter.start();
				}, this.delay);
				// });
			});
		},
	},
	beforeDestroy() {
		this.counter.reset();
		this.counter = null;
	},
};
</script>

<style>
</style>
- 新建countup.md,并在里面使用CountUp组件
---
title: CountUp 第三方组件
---

<CountUp :endVal="2020"/>

<<< @/docs/.vuepress/components/CountUp.vue
十四、自动化部署Travis-CI
- 新建cname.sh,并写入如下信息
# 确保脚本抛出遇到的错误
set -e

# 将blog.xxcijmz.top 写入CNAME文件
echo 'blog.xxcijmz.top' > docs/.vuepress/dist/CNAME
2.根据Vuepress官网提供的内容,编写.travis.yml文件,并在script项中添加- yarn cname
language: node_js
node_js:
- lts/*
install:
- yarn install # npm ci
script:
- yarn docs:build # npm run docs:build
- yarn cname
deploy:
provider: pages
skip_cleanup: true
local_dir: docs/.vuepress/dist
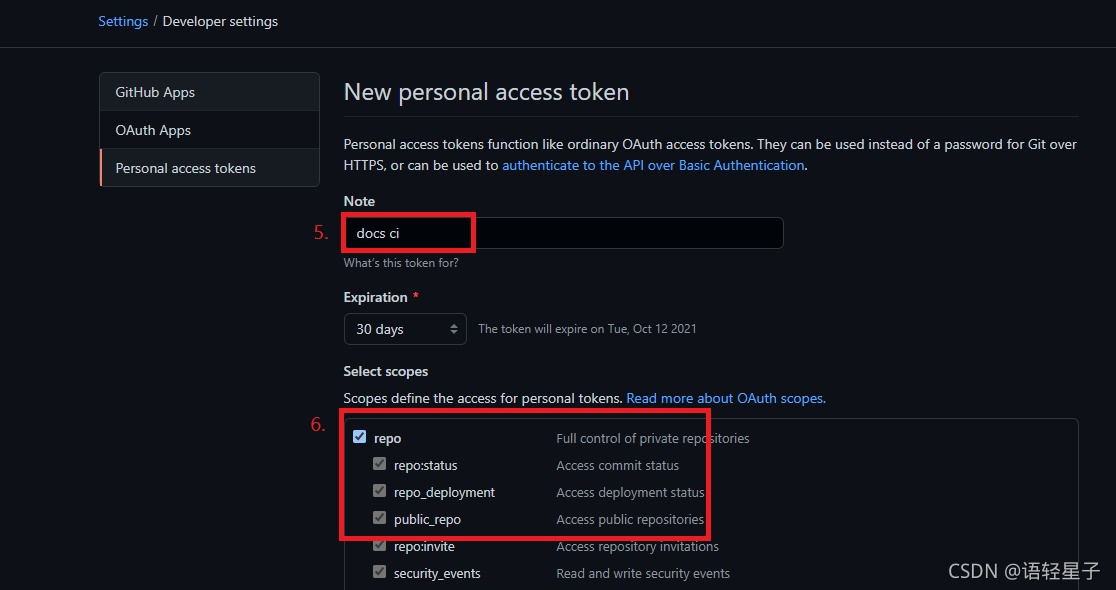
github_token: $GITHUB_TOKEN # 在 GitHub 中生成,用于允许 Travis 向你的仓库推送代码。在 Travis 的项目设置页面进行配置,设置为 secure variable。
keep_history: true
on:
branch: main # 注意此处分支要修改,官网默认为master
-
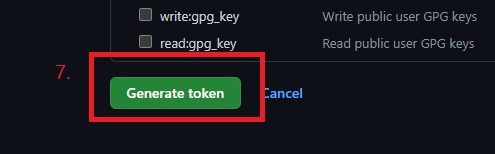
去github官网,生成token

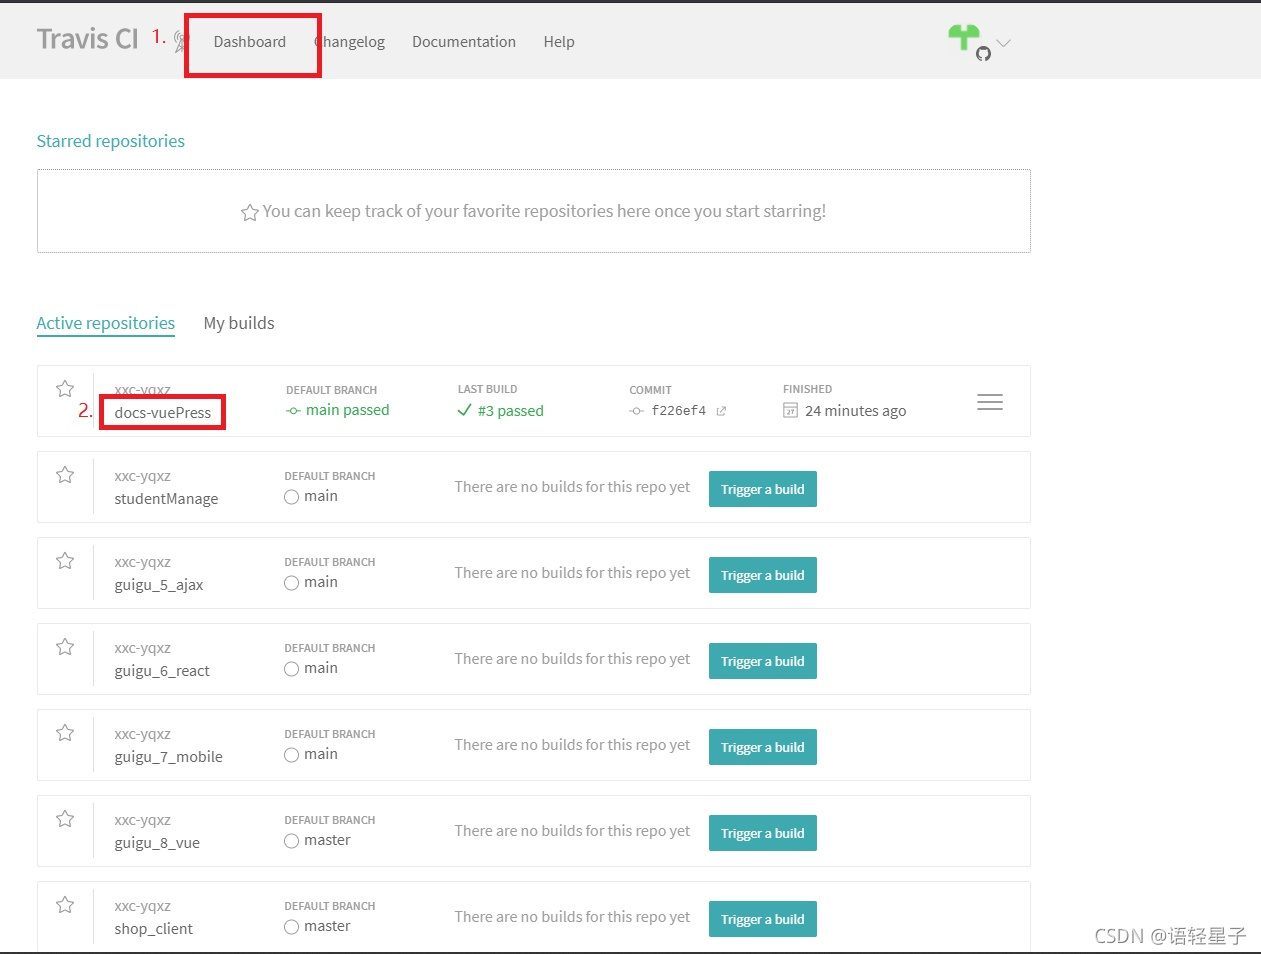
-
去travis官网,注册并绑定token。
travis官网

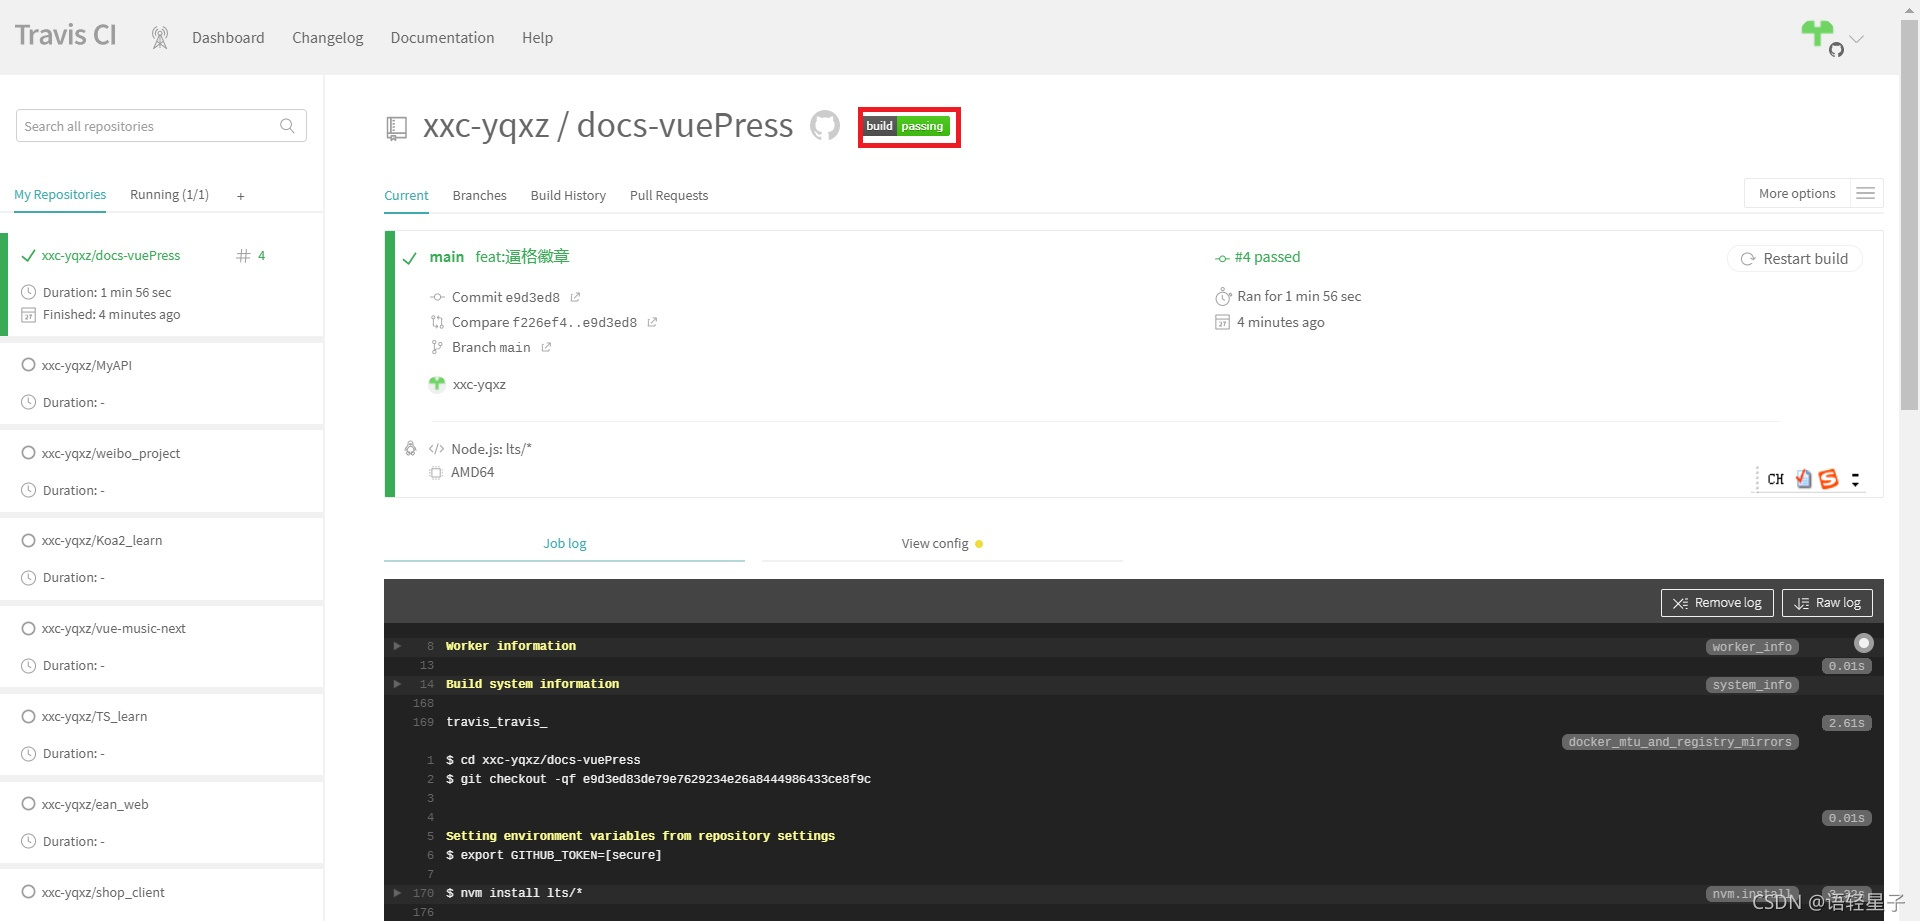
- 此后,当本地代码push到github上时,会自动部署到分支gh-pages上。
十五、逼格徽章
-
登录travis中,选择项目后点击项目名旁的徽章图标,弹出弹窗,将弹窗的FORMAT改为markdown之后,复制RESULT,粘贴到项目README.md文件中,即可得到build徽章。

-
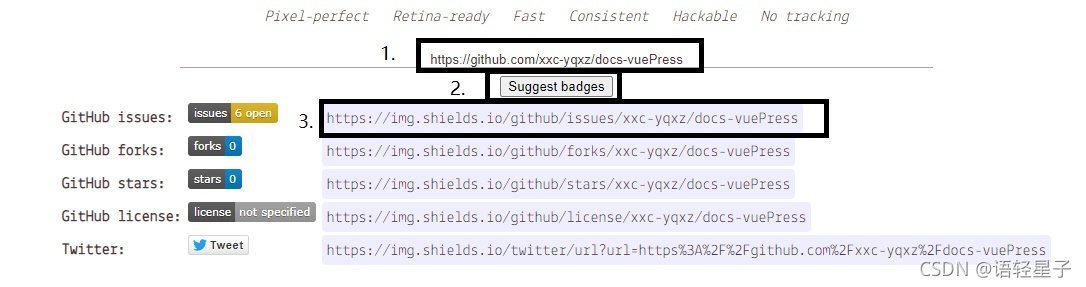
登录https://shields.io/,输入仓库地址后,点击suggest budgets按钮,生成一堆链接,点击相应的链接后,会弹出弹框,点击下方蓝色按钮的向下箭头后,选择Copy Markdown。粘贴到项目README.md文件中,即可得到相应徽章。

十六、图片缩放
- 添加图片
---
navbar: false
sidebar: auto
---
.......
<img :src="$withBase('/assets/img/logo.jpg')" alt="logo.png">
此处下方需要加一个换行,否则会渲染失败

-
所有图片缩放
1.首先安装插件 yarn add -D @vuepress/plugin-medium-zoom
2.然后在config的plugins选项中配置:'@vuepress/medium-zoom': { selector: 'img', }3.之后登录网页,便可缩放图片
-
指定类缩放
1.将selector选项改为:selector: ‘img.custom’,
2.在有用到图片的md文档中的标签形式的图片上添加类名<img class="custom" :src="$withBase('/assets/img/logo.jpg')" alt="logo.png">
十七、自动生成侧边栏
- 安装插件 npm i vuepress-plugin-auto-sidebar -D
- 配置config.js中的plugins
"vuepress-plugin-auto-sidebar": {}
此时,可以删除config.js中的themeConfig,编译会会自动生成侧边栏。要查看本插件更多功能请访问
https://shanyuhai123.github.io/vuepress-plugin-auto-sidebar/zh/#%E4%BB%8B%E7%BB%8D