问题场景
HandyControl
中自带的色系想要自己自定义如何操作和处理?
加入个人自定义的色系资源,应该如何操作更符合
HandyControl
风格?
问题分析
每次选择演示
Demo
中的主题皮肤,能够对案例进行整理的样式色系调整,实际上就是每次都替换了一套对应的色系资源文件,由于资源中使用的是动态资源方式
DynamicResource
进行添加,并未更改对应的资源的
键名称
HandyControl
资源如下:
- [色系]https://handyorg.gitee.io/handycontrol/basic_xaml/colors
- [画刷]https://handyorg.gitee.io/handycontrol/basic_xaml/brushes/
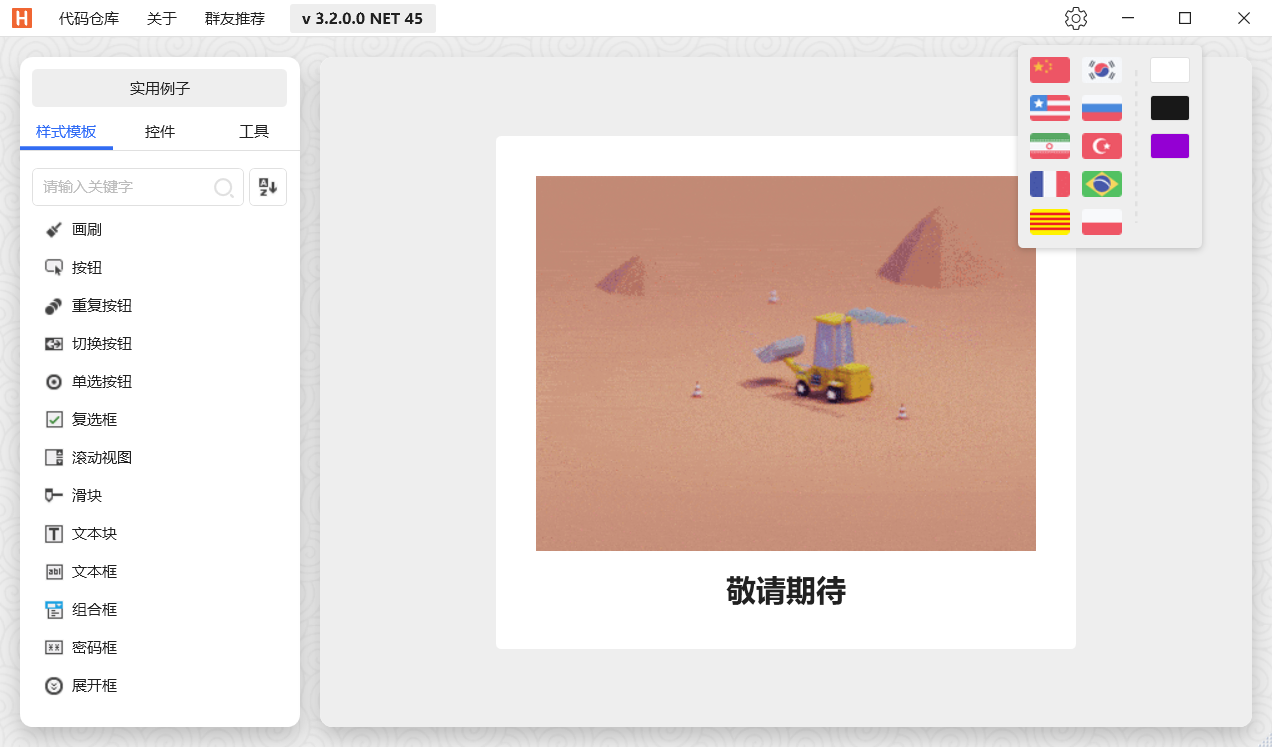
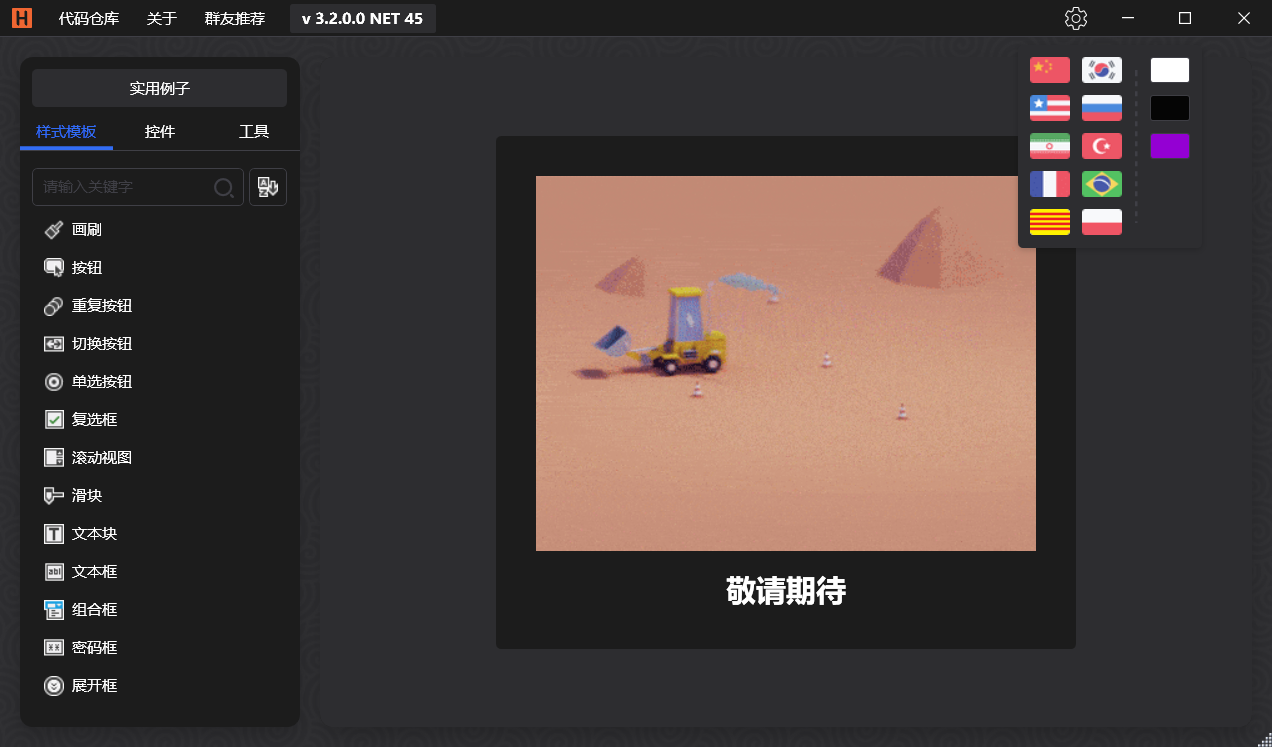
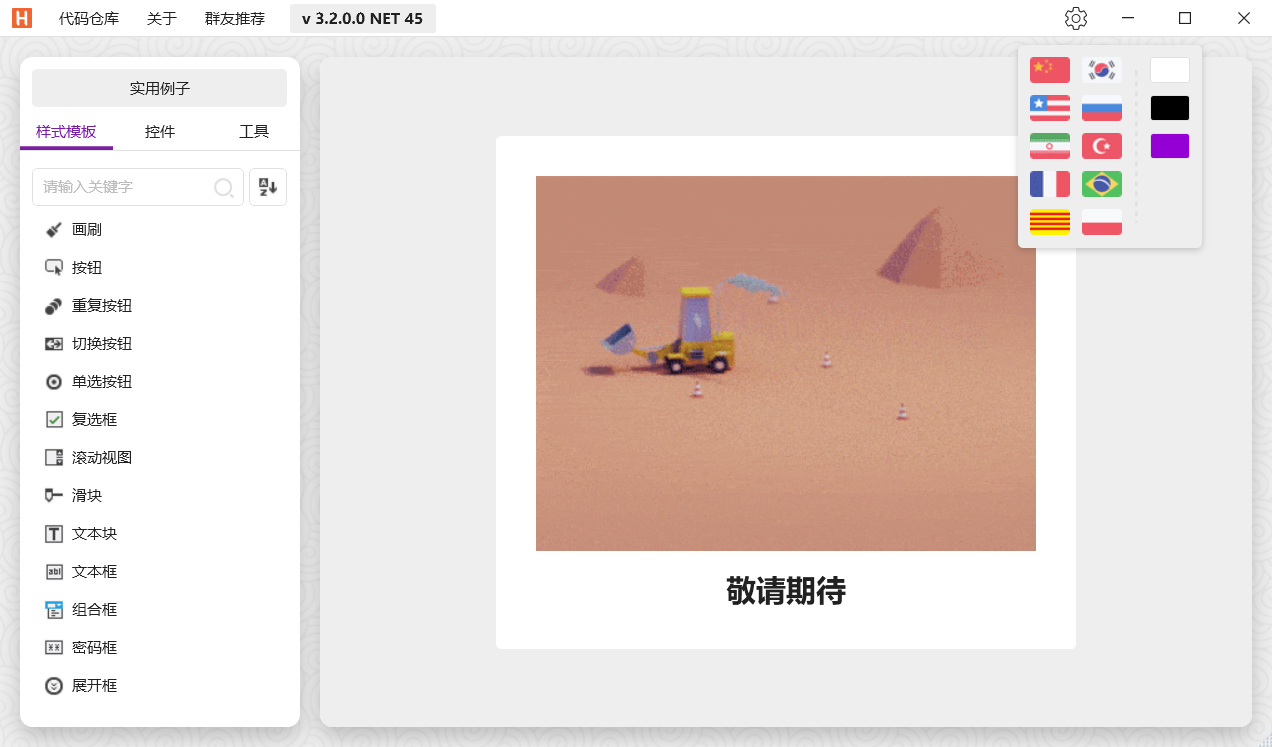
案例换肤
默认
暗色
紫色
资源引用
以案例项目
App.xaml
作为
系统资源
入口,存在如下关系
App.xaml
:
    <Application.Resources>
        <ResourceDictionary>
            <ResourceDictionary.MergedDictionaries>
                <ResourceDictionary>
                    <ResourceDictionary.MergedDictionaries>
                        <ResourceDictionary Source="pack://application:,,,/HandyControl;component/Themes/SkinDefault.xaml"/>
                        <ResourceDictionary Source="Resources/Themes/SkinDefault.xaml"/>
                    </ResourceDictionary.MergedDictionaries>
                </ResourceDictionary>
                <ResourceDictionary>
                    <ResourceDictionary.MergedDictionaries>
                        <ResourceDictionary Source="pack://application:,,,/HandyControl;component/Themes/Theme.xaml"/>
                        <ResourceDictionary Source="Resources/Themes/Theme.xaml"/>
                    </ResourceDictionary.MergedDictionaries>
                </ResourceDictionary>
            </ResourceDictionary.MergedDictionaries>
            ......省略无关项.......
        </ResourceDictionary>
    </Application.Resources>
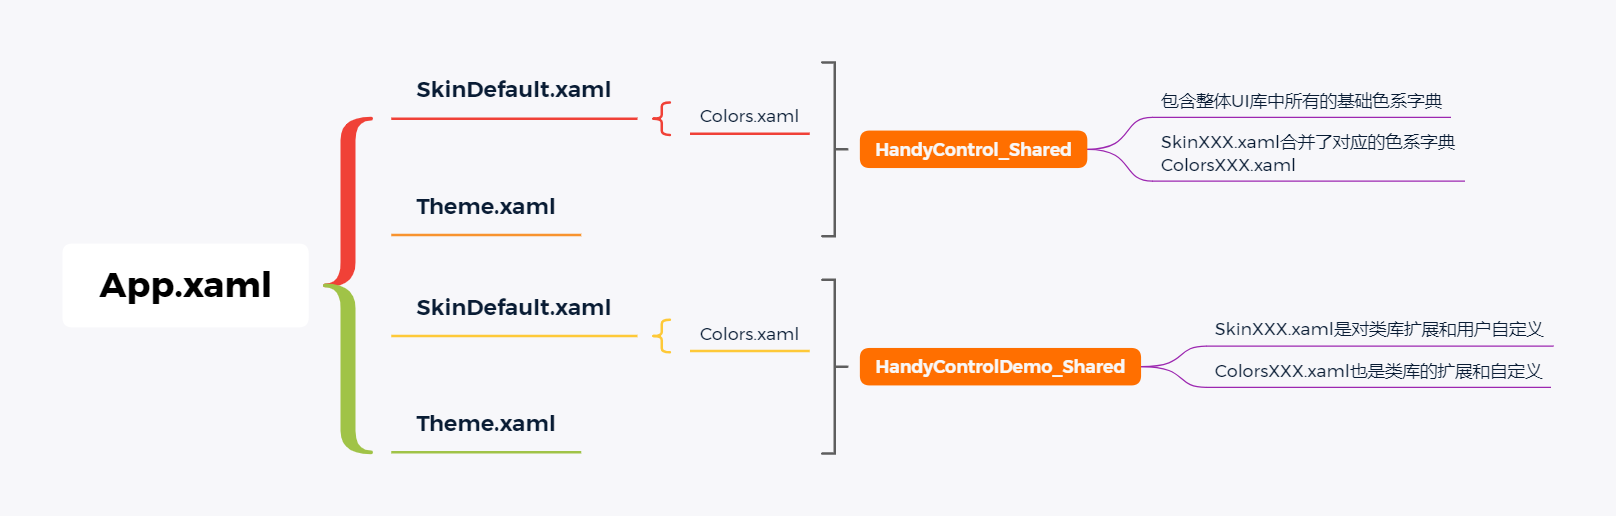
图解关系
资源组成
主要分为
Theme.xaml
和
SkinXXX.xaml
两类资源字典文件,属于
HandyControl_Shared
是
HandyControl
库自带的相关色系和样式资源,属于本地案例
HandyControlDemo_Shared
的
Theme.xaml
以及
SkinXXX.xaml
为类库样式的扩展和色系自定义,同时也是用户自定义样式,总之一句话就是
UI库没有的,当前项目需要,就添加到本地
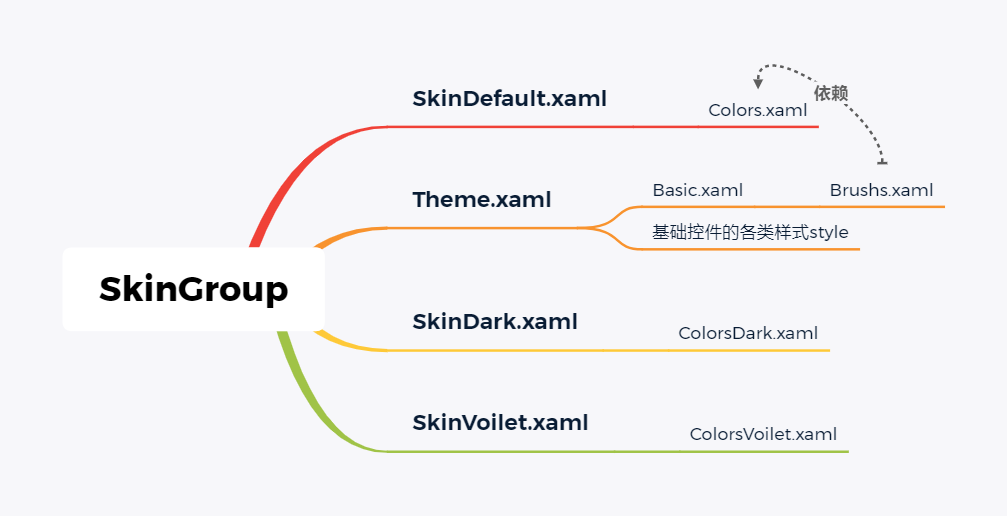
色系与皮肤组
每一个皮肤组,就是一套完整的运行项目皮肤,至少有一个
Theme.xaml
和
SkinXXX.xaml
组成,其中,画刷间接性依赖不同
SkinXXX.xaml
中对应的
ColorsXXX.xaml
解决方案
上图的主要目的是表明,色系作为资源,在保证是
DynamicResource
资源加载方式时,
Key
不变,替换掉对应资源内容值,就能够实现样式的改变,
HandyControl
库中的资源改不了,那控件自带的色系无法变更,本地资源可以变更,在保证
Key
值一致情况下,本地加载实际资源组,达到替换皮肤色系的目的
替换默认皮肤
HandyControl
类库的基础教程中,默认使用的是
SkinDefault.xaml
的皮肤色系,如果要选择其他色系,可以通过修改
App.xaml
中的需要合并的资源
创建项目
本地创建一个案例项目名叫
blog_hc_style
,引用
HandyControl
的
Nuget
包,此处版本为
3.2.0
,基础配置操作请阅读官方文档[
快速开始
]https://handyorg.gitee.io/handycontrol/quick_start/
App.xaml
<Application x:Class="blog_hc_style.App"
             xmlns="http://schemas.microsoft.com/winfx/2006/xaml/presentation"
             xmlns:x="http://schemas.microsoft.com/winfx/2006/xaml"
             xmlns:local="clr-namespace:blog_hc_style"
             StartupUri="MainWindow.xaml">
    <Application.Resources>
        <ResourceDictionary>
            <ResourceDictionary.MergedDictionaries>
                <ResourceDictionary>
                    <ResourceDictionary.MergedDictionaries>
                        <ResourceDictionary Source="pack://application:,,,/HandyControl;component/Themes/SkinDefault.xaml"/>
                        <ResourceDictionary Source="pack://application:,,,/HandyControl;component/Themes/Theme.xaml"/>
                    </ResourceDictionary.MergedDictionaries>
                </ResourceDictionary>
            </ResourceDictionary.MergedDictionaries>
        </ResourceDictionary>
    </Application.Resources>
</Application>
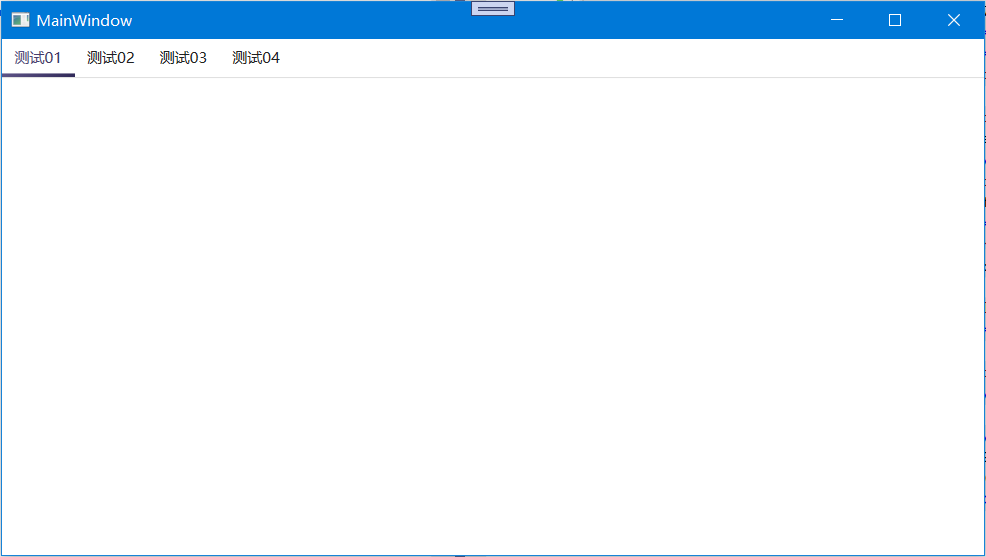
MainWindow.xaml
<Window x:Class="blog_hc_style.MainWindow"
        xmlns="http://schemas.microsoft.com/winfx/2006/xaml/presentation"
        xmlns:x="http://schemas.microsoft.com/winfx/2006/xaml"
        xmlns:d="http://schemas.microsoft.com/expression/blend/2008"
        xmlns:mc="http://schemas.openxmlformats.org/markup-compatibility/2006"
        xmlns:local="clr-namespace:blog_hc_style"
        mc:Ignorable="d"
        Title="MainWindow" Height="450" Width="800">
    <Grid>
        <TabControl>
            <TabItem Header="测试01">
            </TabItem>
            <TabItem Header="测试02">
            </TabItem>
            <TabItem Header="测试03">
            </TabItem>
            <TabItem Header="测试04">
            </TabItem>
        </TabControl>
    </Grid>
</Window>
运行效果
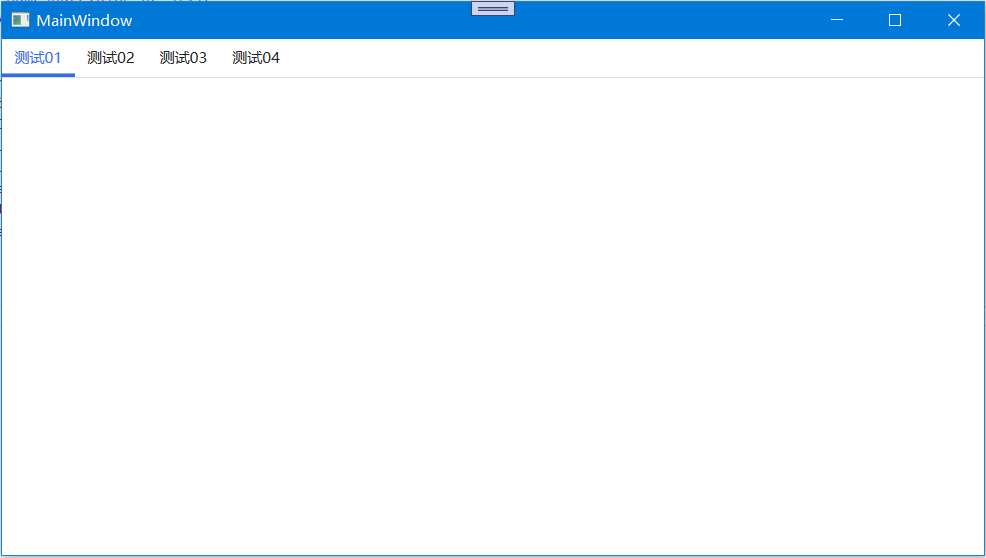
修改资源
如果只是为了替换默认色系,可以直接替换
App.xaml
中上文提过的
SkinXXX.xaml
,即可
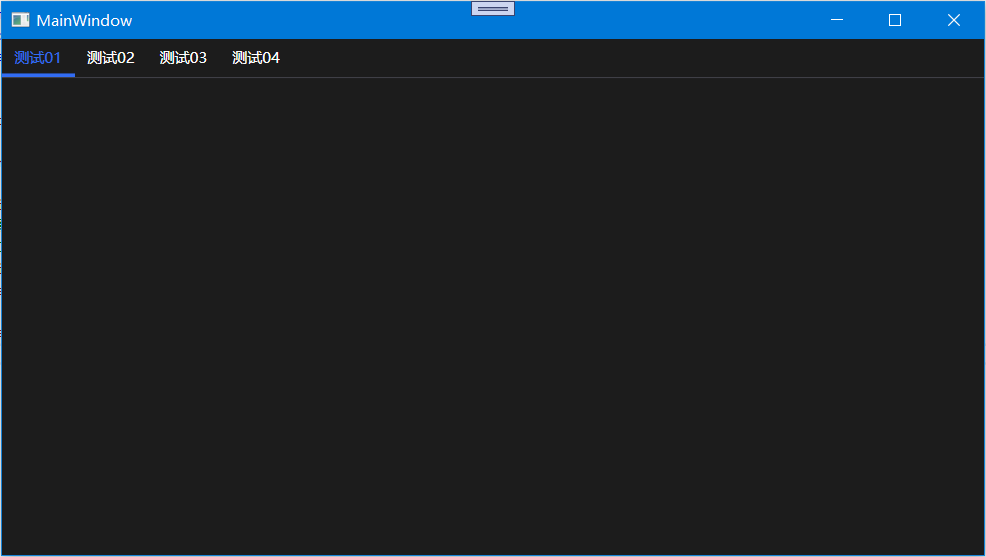
App.xaml
,如下,将色系修改为
HandyControl
库中自带的
Dark
色系
    <Application.Resources>
        <ResourceDictionary>
            <ResourceDictionary.MergedDictionaries>
                <ResourceDictionary>
                    <ResourceDictionary.MergedDictionaries>
                        <!--合并Dark为目标色系-->
                        <ResourceDictionary Source="pack://application:,,,/HandyControl;component/Themes/SkinDark.xaml"/>
                        <!--替换原始色系-->
                        <!--<ResourceDictionary Source="pack://application:,,,/HandyControl;component/Themes/SkinDefault.xaml"/>-->
                        <ResourceDictionary Source="pack://application:,,,/HandyControl;component/Themes/Theme.xaml"/>
                    </ResourceDictionary.MergedDictionaries>
                </ResourceDictionary>
            </ResourceDictionary.MergedDictionaries>
        </ResourceDictionary>
    </Application.Resources>
运行效果
自定义本地色系
自定义本地色系时,需要将源码
Colors.xaml
中的所有内容拷贝到本地项目内的资源样式中文件中,主要 目的是为了保持,色系和皮肤的结构的统一性,便于日后维护,自定义本地色系依旧是基于上述案例项目进行本地改造
调整色值
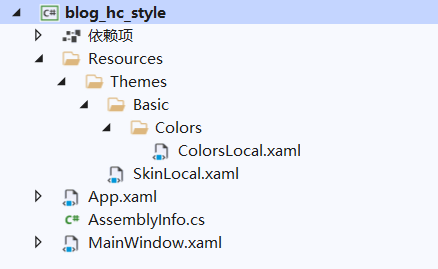
新建
ColorsLocal.xaml
以及
SkinLocal.xaml
,
ColorsLocal.xaml
用于存放本地颜色值,
SkinLocal.xaml
用于作为中间层进行字典合并,同时保证目录结构的统一性
复制
HandyControl
源码
HandyControl_Shared
中的
Colors.xaml
,每个颜色样式的的说明可查看[
官方文档-颜色
]https://handyorg.gitee.io/handycontrol/basic_xaml/colors/,依据用途调整对应的色值,以下是笔者自己调整之后的样式
<ResourceDictionary xmlns="http://schemas.microsoft.com/winfx/2006/xaml/presentation"
                    xmlns:x="http://schemas.microsoft.com/winfx/2006/xaml"
                    xmlns:system="clr-namespace:System;assembly=mscorlib">

    <Color x:Key="LightPrimaryColor">#8b7fb6</Color>
    <Color x:Key="PrimaryColor">#5d5386</Color>
    <Color x:Key="DarkPrimaryColor">#312a59</Color>

    <Color x:Key="LightDangerColor">#ff6b70</Color>
    <Color x:Key="DangerColor">#db3340</Color>
    <Color x:Key="DarkDangerColor">#db3340</Color>

    <Color x:Key="LightWarningColor">#ffe158</Color>
    <Color x:Key="WarningColor">#e9af20</Color>
    <Color x:Key="DarkWarningColor">#e9af20</Color>

    <Color x:Key="LightInfoColor">#60d4ea</Color>
    <Color x:Key="InfoColor">#00bcd4</Color>
    <Color x:Key="DarkInfoColor">#00bcd4</Color>

    <Color x:Key="LightSuccessColor">#64da73</Color>
    <Color x:Key="SuccessColor">#2db84d</Color>
    <Color x:Key="DarkSuccessColor">#2db84d</Color>

    <Color x:Key="PrimaryTextColor">#212121</Color>
    <Color x:Key="SecondaryTextColor">#757575</Color>
    <Color x:Key="ThirdlyTextColor">#bdbdbd</Color>
    <Color x:Key="ReverseTextColor">#212121</Color>
    <Color x:Key="TextIconColor">White</Color>

    <Color x:Key="BorderColor">#e0e0e0</Color>
    <Color x:Key="SecondaryBorderColor">#e0e0e0</Color>
    <Color x:Key="BackgroundColor">#f1f2f7</Color>
    <Color x:Key="RegionColor">#ffffff</Color>
    <Color x:Key="SecondaryRegionColor">#f9f9f9</Color>
    <Color x:Key="ThirdlyRegionColor">White</Color>
    <Color x:Key="TitleColor">#326cf3</Color>
    <Color x:Key="SecondaryTitleColor">#326cf3</Color>

    <Color x:Key="DefaultColor">#f9f9f9</Color>
    <Color x:Key="DarkDefaultColor">#2c304d</Color>

    <Color x:Key="AccentColor">#f8491e</Color>
    <Color x:Key="DarkAccentColor">#f8491e</Color>

    <Color x:Key="DarkMaskColor">#20000000</Color>
    <Color x:Key="DarkOpacityColor">#40000000</Color>
    <system:UInt32 x:Key="BlurGradientValue">0x99FFFFFF</system:UInt32>
    <Color x:Key="PinkColor">#e76c90</Color>

</ResourceDictionary>
SkinLocal.xaml
<ResourceDictionary xmlns="http://schemas.microsoft.com/winfx/2006/xaml/presentation">
    <ResourceDictionary.MergedDictionaries>
        <ResourceDictionary Source="pack://application:,,,/blog_hc_style;component/Resources/Themes/Basic/Colors/ColorsLocal.xaml"/>
    </ResourceDictionary.MergedDictionaries>
</ResourceDictionary>
替换色系资源
修改
App.xaml
中合并资源的
SkinDark.xaml
为
SkinLocal.xaml
<Application.Resources>
        <ResourceDictionary>
            <ResourceDictionary.MergedDictionaries>
                <ResourceDictionary>
                    <ResourceDictionary.MergedDictionaries>
                        <ResourceDictionary Source="pack://application:,,,/blog_hc_style;component/Resources/Themes/SkinLocal.xaml"/>
                        <!--合并Dark为目标色系-->
                        <!--<ResourceDictionary Source="pack://application:,,,/HandyControl;component/Themes/SkinDark.xaml"/>-->
                        <!--替换原始色系-->
                        <!--<ResourceDictionary Source="pack://application:,,,/HandyControl;component/Themes/SkinDefault.xaml"/>-->
                        <ResourceDictionary Source="pack://application:,,,/HandyControl;component/Themes/Theme.xaml"/>
                    </ResourceDictionary.MergedDictionaries>
                </ResourceDictionary>
            </ResourceDictionary.MergedDictionaries>
        </ResourceDictionary>
 </Application.Resources>
运行效果
组合色值(非必要)
此操作为可选操作,为用户对现有控件画刷颜色进行整体重写时可用(比较简单粗暴的操作),画刷用途请查看[官方文档-画刷]https://handyorg.gitee.io/handycontrol/basic_xaml/brushes/,这样的破坏性修改,建议在不熟悉
HandyControl
情况下不要轻易应用的实际生产中,容易打乱
HandyControl
的内部色系布局
注意
不少资源并未包含在
HandyControl.dll
程序集中,如果小伙伴瞧得起对应案例的资源样式,可以考虑自己从案例中刨出去使用即可,私聊回复【hcstyle】获取本文对应案例
后续将继续构建
HandyControl
的相关系列,有相关想法,进行留言:【
HandyControl
】