vue使用element的upload组件保存到springboot静态资源,网页可访问(超详细)
安装element ui组件
详细方法参考官网
如使用npm过慢或者失败可以使用cnpm安装
vue界面使用upload上传组件
参考官网代码,界面写上代码
<template>
<div class="hello">
<el-upload
class="avatar-uploader"
action="http://localhost:8088/test/upload"
:show-file-list="false"
:on-success="handleAvatarSuccess"
:before-upload="beforeAvatarUpload"
>
<img v-if="imageUrl" :src="imageUrl" class="avatar" />
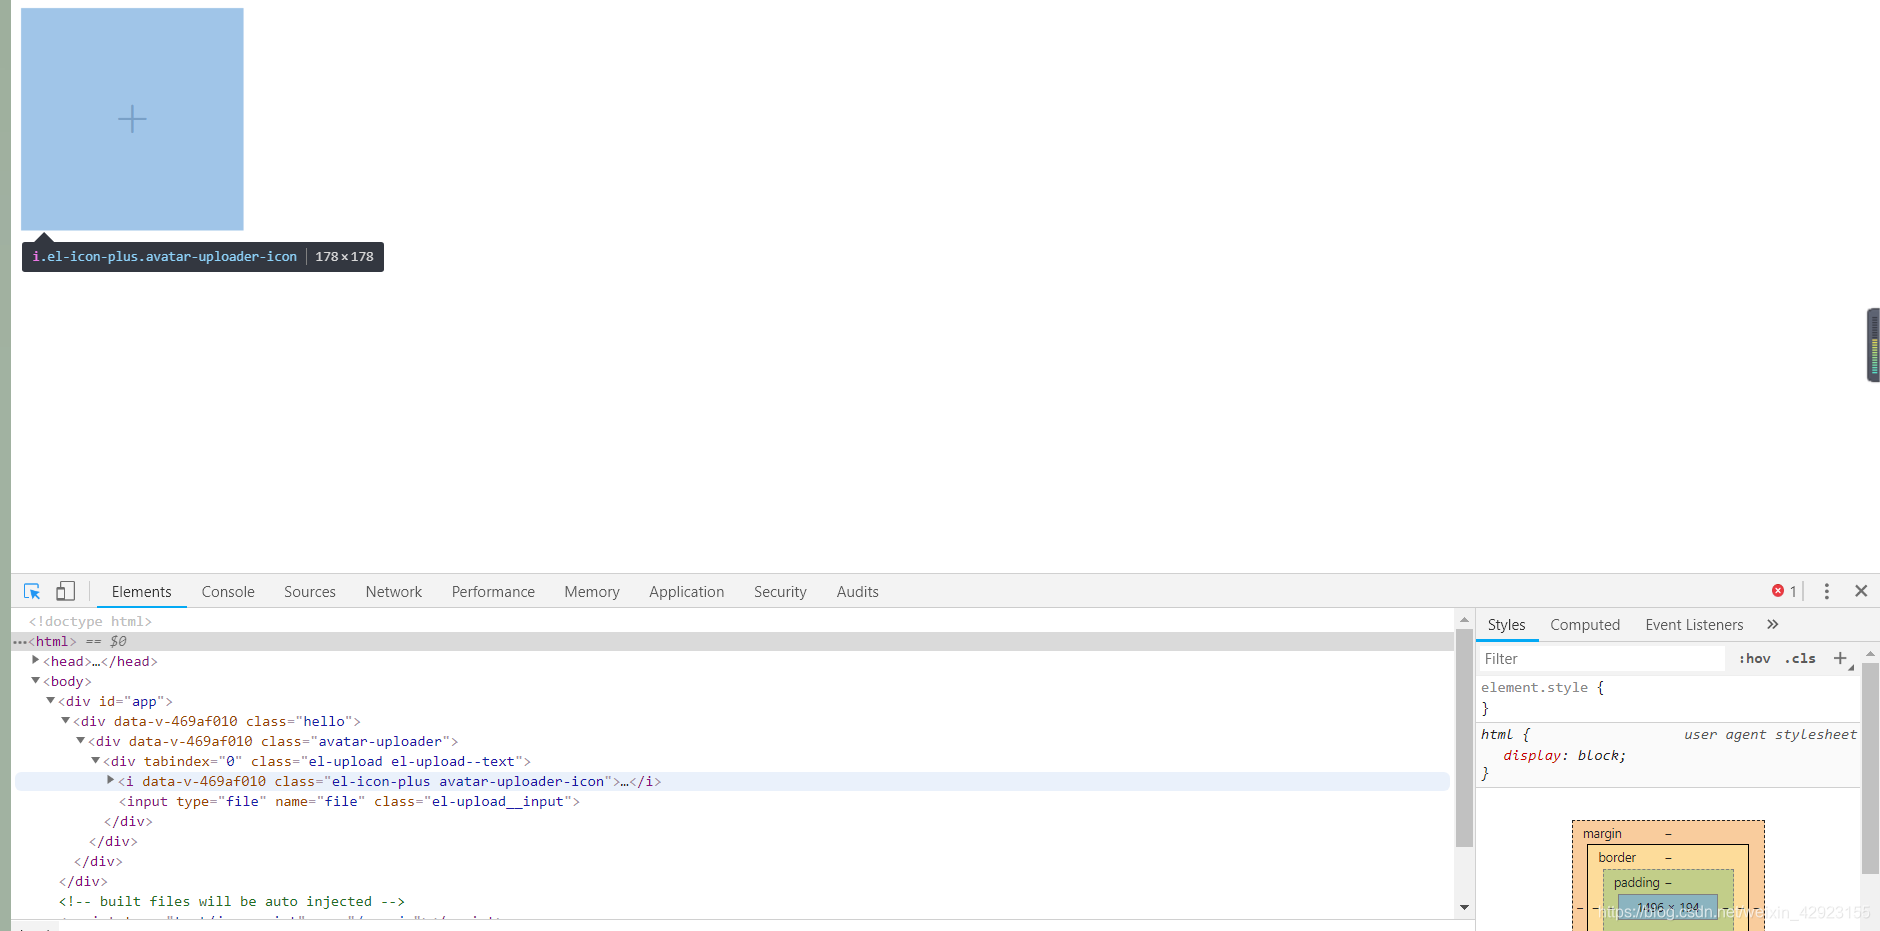
<i v-else class="el-icon-plus avatar-uploader-icon"></i>
</el-upload>
</div>
</template>
<script>
export default {
name: 'HelloWorld',
data() {
return {
imageUrl: ''
};
}
,
methods: {
handleAvatarSuccess(res, file) {
this.imageUrl = URL.createObjectURL(file.raw);
},
// beforeAvatarUpload(file) {
// const isJPG = file.type === 'image/jpeg';
// const isLt2M = file.size / 1024 / 1024 < 2;
//
// if (!isJPG) {
// this.$message.error('上传头像图片只能是 JPG 格式!');
// }
// if (!isLt2M) {
// this.$message.error('上传头像图片大小不能超过 2MB!');
// }
// return isJPG && isLt2M;
// }
}
};
</script>
<!-- Add "scoped" attribute to limit CSS to this component only -->
<style scoped>
.avatar-uploader .el-upload {
border: 1px dashed #d9d9d9;
border-radius: 6px;
cursor: pointer;
position: relative;
overflow: hidden;
}
.avatar-uploader .el-upload:hover {
border-color: #409EFF;
}
.avatar-uploader-icon {
font-size: 28px;
color: #8c939d;
width: 178px;
height: 178px;
line-height: 178px;
text-align: center;
}
.avatar {
width: 178px;
height: 178px;
display: block;
}
</style>
注意action为后端地址。
其中下文file需要与后端名称统一
handleAvatarSuccess(res, file) {
this.imageUrl = URL.createObjectURL(file.raw);
},
springboot后端保存到静态资源以及请求地址编写
保存到静态资源类
package com.spring.controller;
import java.io.File;
import java.io.IOException;
import org.springframework.web.multipart.MultipartFile;
public class FileUploadUtil {
/**
* 上传文件
*
* @param multipartFile
* @return 文件存储路径
*/
public static String upload(MultipartFile multipartFile) {
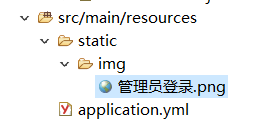
// 文件存储位置,文件的目录要存在才行,可以先创建文件目录,然后进行存储
String filePath = "F:/java Web/workspace/vueuplodimg/src/main/resources/static/img/" + multipartFile.getOriginalFilename();
File file = new File(filePath);
if (!file.exists()) {
try {
file.createNewFile();
} catch (IOException e) {
e.printStackTrace();
}
}
// 文件存储
try {
multipartFile.transferTo(file);
} catch (IOException e) {
e.printStackTrace();
}
return file.getAbsolutePath();
}
}
controller类编写
跨域我前端没有弄,后端是允许所有访问。
注意代码中的注释
package com.spring.controller;

import org.springframework.web.bind.annotation.CrossOrigin;
import org.springframework.web.bind.annotation.PostMapping;
import org.springframework.web.bind.annotation.RequestMapping;
import org.springframework.web.bind.annotation.RequestParam;
import org.springframework.web.bind.annotation.RestController;
import org.springframework.web.multipart.MultipartFile;

@RestController
@RequestMapping(value = "/test")
@CrossOrigin
public class TestController {
	@PostMapping(value = "/upload")
    // @RequestParam中的file名应与前端的值保持一致
    public String upload(@RequestParam("file") MultipartFile multipartFile) {
        // replaceAll 用来替换windows中的\\ 为 /
		System.out.println("访问");
        return FileUploadUtil.upload(multipartFile).replaceAll("\\\\", "/");
    }

}
注意 注意·······
我使用的是eclipse,图片保存到静态资源后需要手动刷新项目才可以,解决办法如下:
点击window —>preferences —>General —>Workspace —>勾选Refresh using native hooks or polling 保存设置完美解决。
idea请自行百度解决。
方法二:使用热部署,自行百度
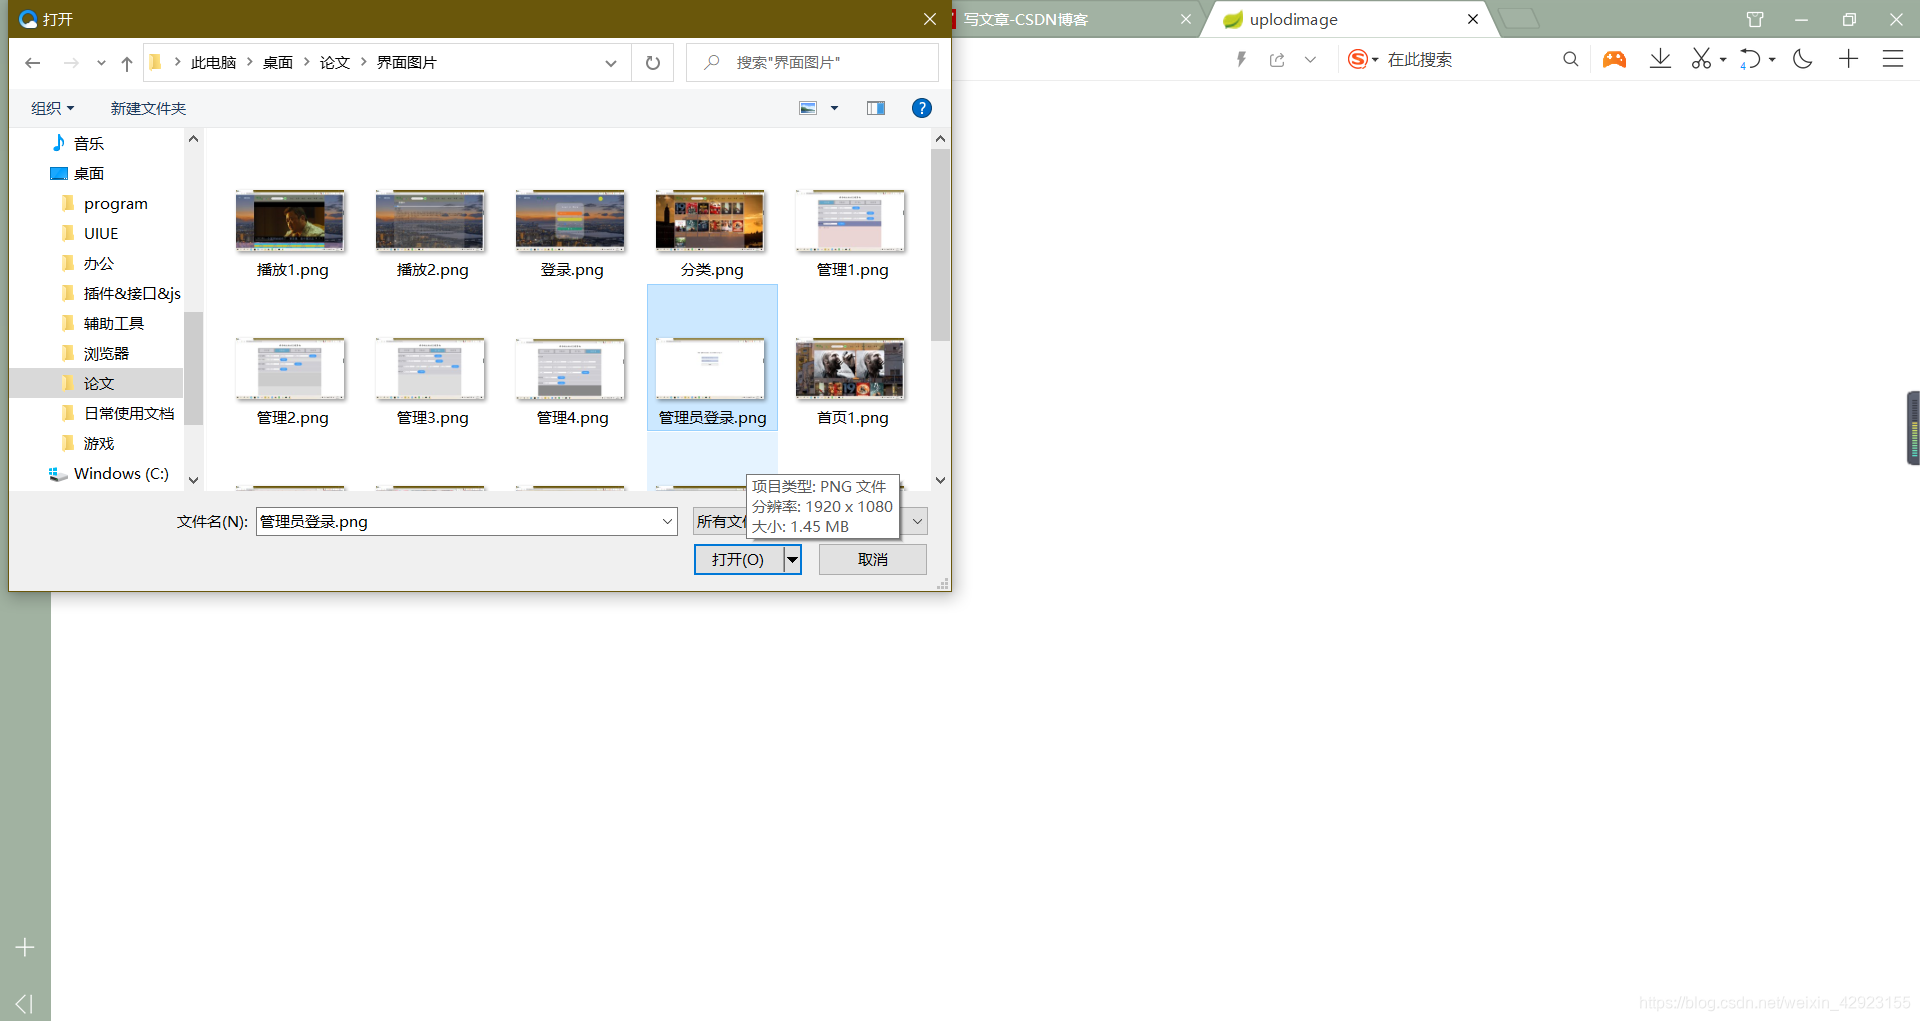
以下为效果图
想要demo的可联系qq148 570 2004
版权声明:本文为weixin_42923155原创文章,遵循 CC 4.0 BY-SA 版权协议,转载请附上原文出处链接和本声明。