背景:项目前端vue 2.0 + elementUI,后端spring boot 2.0.3,服务器是Windows 8。此处默认数据库已经安装到位。
1、服务器上安装NGINX,参考
https://blog.csdn.net/yangfengjueqi/article/details/87973698
2、后端项目生成可执行jar包,参考
https://blog.csdn.net/yangfengjueqi/article/details/79076350
3、前端项目打包,进入本地代码所在目录,执行命令“npm run build”,如下
F:\work\custom\custom-declaration-vue>npm run build
> custom-declaration-vue@1.2.2 build F:\work\custom\custom-declaration-vue
> gulp
[14:42:42] Using gulpfile F:\work\custom\custom-declaration-vue\gulpfile.js
[14:42:42] Starting 'clean'...
[14:42:42] Finished 'clean' after 9.41 ms
[14:42:42] Starting 'default'...
[14:42:42] Starting 'build'...
[14:42:42] Finished 'default' after 20 ms
Hash: e5d81ef32202e815211a
Version: webpack 3.6.0
Time: 30118ms
。。。。。。此处省略。。。。。。
Build complete.
Tip: built files are meant to be served over an HTTP server.
Opening index.html over file:// won't work.
[14:43:16] Finished 'build' after 34 s
[14:43:16] Starting 'create:versionCatalog'...
[14:43:19] Finished 'create:versionCatalog' after 3.22 s
[14:43:19] Starting 'replace:cdnUrl'...
[14:43:19] Starting 'replace:version'...
[14:43:19] Finished 'replace:version' after 13 ms
[14:43:19] Starting 'concat:config'...
[14:43:19] Finished 'replace:cdnUrl' after 160 ms
[14:43:19] Finished 'concat:config' after 53 ms
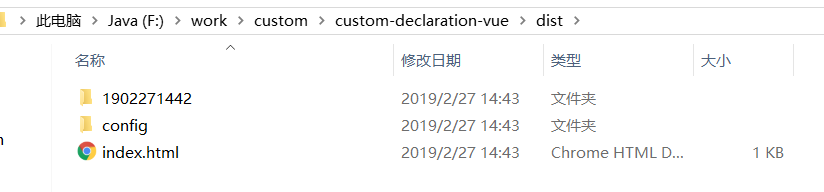
F:\work\custom\custom-declaration-vue>命令执行完后,会在项目路径下生成dist文件夹,其中目录结构如下:
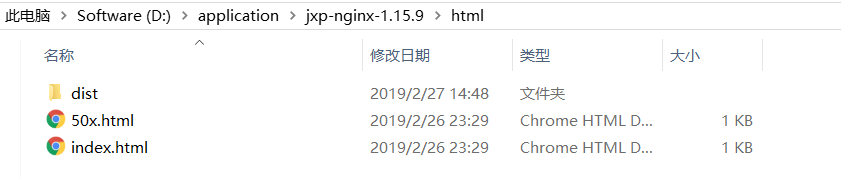
4、将dist文件夹部署到服务器的NGINX中
4.1 将dist复制到服务器NGINX安装目录的html文件夹下,如图
4.2 修改NGINX安装路径里conf/nginx.conf文件,如下三个地方进行修改即可
。。。。。。
http {
    。。。。。。

    server {
        listen       8081;   //前端服务启动后,访问用的端口
        server_name  localhost;   //访问前端服务的IP

        #charset koi8-r;

        #access_log  logs/host.access.log  main;

        location / {
            root   D:\application\jxp-nginx-1.15.9\html\dist;    //前端dist文件夹的绝对路径
            index  index.html index.htm;
        }
4.3 启动后端jar文件,启动NGINX,可以直接点击nginx安装目录下的nginx.exe,也可以在dos窗口进入安装目录下,用命令“start nginx”来启动NGINX
4.4 访问测试,浏览器输入:http://localhost:8081,正常情况下会跳转到登录页面,即dist文件夹下的index.html

将4.2中的localhost换成IP,例如10.8.20.300,即可在内网其他电脑上通过“http://10.8.20.300:8081”访问系统。
注意:由于4.2的步骤中root这个路径的修改,默认会是“D:\application\nginx-1.15.9\html\dist”,访问项目时,会将“\n”进行转义,导致项目启动报错如下:
2019/02/27 11:13:14 [crit] 5128#5528: *1 GetFileAttributesEx()
"D:\applicationginx-1.15.9\html\dist" failed (123: The filename, directory name,
 or volume label syntax is incorrect), client: 127.0.0.1, server: localhost, request: "GET / HTTP/1.1", host: "localhost:8081"
可以将nginx的目录名字修改一个不会转义的开头,如“jxp-nginx-1.15.9”。