文章目录
一、前言
这里记录下Fragment之间通讯的方式。官方推荐使用ViewModel来进行通讯。或者使用比较传统的接口进行通讯。以及直接通过findFragmentById获取Fragment实例进行通讯(不过随着结偶,这种方式可能无法再使用)。本文对一种比较新的通讯方式FragmentResultListener做下记录。
这里有以下需要注意的地方
-
requestKey 可以过滤掉 FragmentManager 发送的数据
-
只有生命周期处于onStart时候才能收到数据
-
页面结束后自动移除监听
二、代码
这里实现一个功能,页面有两个Fragment组成,当点击一个Fragment2时候,可以传递数据给其它Fragment1或者MainActivity。页面效果如下:
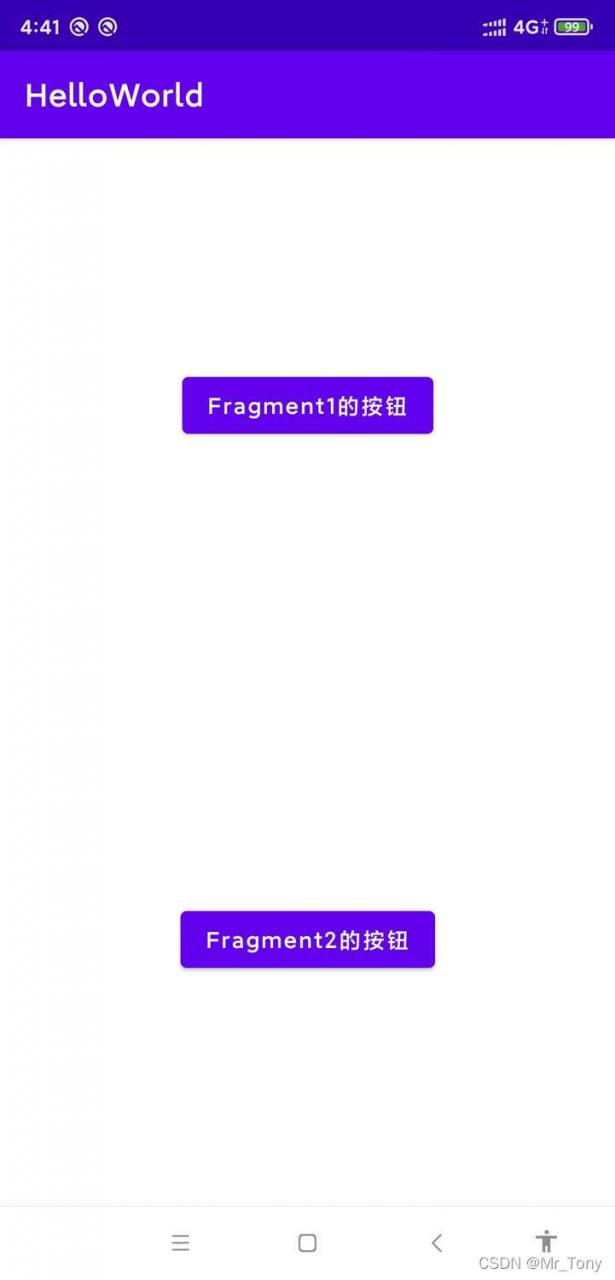
整体代码是两个Fragment和一个Activity,Fragment1和Fragment2以及MainActivity
Fragment1.kt
class Fragment1 : Fragment() {

    override fun onCreateView(
        inflater: LayoutInflater, container: ViewGroup?,
        savedInstanceState: Bundle?
    ): View? {
        // Inflate the layout for this fragment
        return inflater.inflate(R.layout.fragment_1, container, false)
    }
    override fun onViewCreated(view: View, savedInstanceState: Bundle?) {
        super.onViewCreated(view, savedInstanceState)
        initFragmentListener()
    }

    private fun initFragmentListener() {
        parentFragmentManager.setFragmentResultListener("act", this,
            { requestKey, result ->

                val key = result.containsKey("key")
                Log.e("YM","Fragment1--->key值是否包括:$key")
            })
    }
}
fragment_1.xml
<?xml version="1.0" encoding="utf-8"?>
<androidx.constraintlayout.widget.ConstraintLayout xmlns:android="http://schemas.android.com/apk/res/android"
    xmlns:tools="http://schemas.android.com/tools"
    android:layout_width="match_parent"
    android:layout_height="match_parent"
    xmlns:app="http://schemas.android.com/apk/res-auto"
    tools:context=".Fragment1">

    <Button
        android:id="@+id/fragment1_btn"
        android:layout_width="wrap_content"
        android:layout_height="wrap_content"
        android:text="Fragment1的按钮"
        android:textAllCaps="false"
        app:layout_constraintTop_toTopOf="parent"
        app:layout_constraintBottom_toBottomOf="parent"
        app:layout_constraintStart_toStartOf="parent"
        app:layout_constraintEnd_toEndOf="parent"/>

</androidx.constraintlayout.widget.ConstraintLayout>
Fragment2.kt
class Fragment2 : Fragment() {

    override fun onCreateView(
        inflater: LayoutInflater, container: ViewGroup?,
        savedInstanceState: Bundle?
    ): View? {
        // Inflate the layout for this fragment
        return inflater.inflate(R.layout.fragment_2, container, false)
    }


    override fun onViewCreated(view: View, savedInstanceState: Bundle?) {
        super.onViewCreated(view, savedInstanceState)
        view.findViewById<Button>(R.id.fragment1_btn).setOnClickListener {
            parentFragmentManager.setFragmentResult("act",Bundle().apply {
                putString("key","Fragment2")
            })
        }
    }
}
fragment_2.xml
<?xml version="1.0" encoding="utf-8"?>
<androidx.constraintlayout.widget.ConstraintLayout
    xmlns:android="http://schemas.android.com/apk/res/android"
    xmlns:app="http://schemas.android.com/apk/res-auto"
    xmlns:tools="http://schemas.android.com/tools"
    android:layout_width="match_parent"
    android:layout_height="match_parent"
    tools:context=".Fragment2">

    <Button
        android:id="@+id/fragment1_btn"
        android:layout_width="wrap_content"
        android:layout_height="wrap_content"
        android:text="Fragment2的按钮"
        android:textAllCaps="false"
        app:layout_constraintTop_toTopOf="parent"
        app:layout_constraintBottom_toBottomOf="parent"
        app:layout_constraintStart_toStartOf="parent"
        app:layout_constraintEnd_toEndOf="parent"/>

</androidx.constraintlayout.widget.ConstraintLayout>
MainActivity.kt
class MainActivity : AppCompatActivity() {
    override fun onCreate(savedInstanceState: Bundle?) {
        super.onCreate(savedInstanceState)
        setContentView(R.layout.activity_main)
        initFragmentListener()
    }
//    requestKey 可以过滤掉 FragmentManager 发送的数据
//    只有生命周期处于onStart时候才能收到数据
//    页面结束后自动移除监听
    private fun initFragmentListener() {
        supportFragmentManager.setFragmentResultListener("act", this,
            { requestKey, result ->

                val key = result.containsKey("key")
                Log.e("YM","MainActivity--->key值是否包括:$key")
            })
    }
}
activity_main.xml
<?xml version="1.0" encoding="utf-8"?>
<androidx.constraintlayout.widget.ConstraintLayout xmlns:android="http://schemas.android.com/apk/res/android"
    xmlns:app="http://schemas.android.com/apk/res-auto"
    xmlns:tools="http://schemas.android.com/tools"
    android:layout_width="match_parent"
    android:layout_height="match_parent"
    tools:context=".MainActivity">
    <androidx.fragment.app.FragmentContainerView
        android:id="@+id/fragment1_container"
        android:layout_width="match_parent"
        android:layout_height="0dp"
        android:name="com.hello.world.Fragment1"
        app:layout_constraintTop_toTopOf="parent"
        app:layout_constraintBottom_toTopOf="@+id/fragment2_container"/>

    <androidx.fragment.app.FragmentContainerView
        android:id="@+id/fragment2_container"
        android:layout_width="match_parent"
        android:layout_height="0dp"
        android:name="com.hello.world.Fragment2"
        app:layout_constraintTop_toBottomOf="@+id/fragment1_container"
        app:layout_constraintBottom_toBottomOf="parent"/>

</androidx.constraintlayout.widget.ConstraintLayout>
当测试上述代码时候需要注意FragmentManager::setFragmentResultListener同时只能存在一个,例如MainActivity和Fragment1同时存在时候,只会有一个生效。哪一个生效取决于谁最后注册。
需要注意的是listener 必须设置的Fragment 相同的 FragmentManager。也就是说假若两个Fragment处于同级时候都使用parentFragmentManager。但是如果Fragment嵌套的话,则需要一个使用childFragmentManager。一个使用parentFragmentManager。代码如下
三、Fragment嵌套通信问题
上文说了listener 必须设置的Fragment 相同的 FragmentManager。所以这里举一个Fragment嵌套的例子,页面如下:
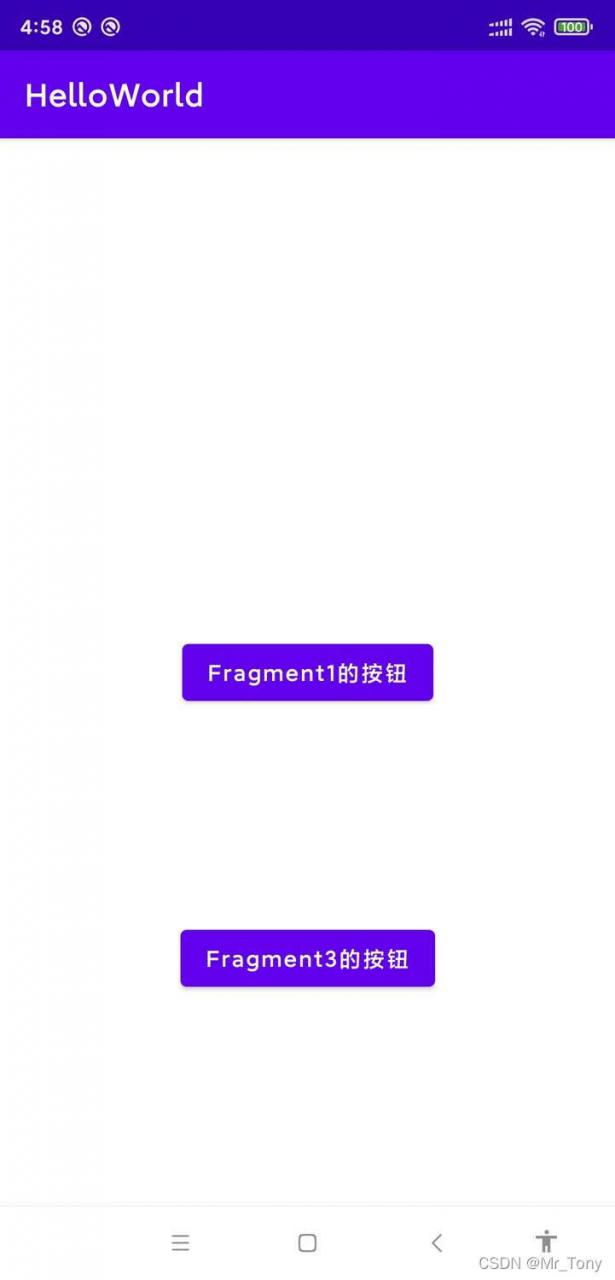
页面Fragment1中嵌套了Fragment3。使两个Fragment可以相互通信
Fragment1.kt
class Fragment1 : Fragment() {


    override fun onCreateView(
        inflater: LayoutInflater, container: ViewGroup?,
        savedInstanceState: Bundle?
    ): View? {
        // Inflate the layout for this fragment
        return inflater.inflate(R.layout.fragment_1, container, false)
    }

    override fun onViewCreated(view: View, savedInstanceState: Bundle?) {
        super.onViewCreated(view, savedInstanceState)
        initChildFragment()
        view.findViewById<Button>(R.id.fragment1_btn).setOnClickListener {
            childFragmentManager.setFragmentResult("Fragment3",Bundle().apply {
                putString("key","Fragment1")
            })
        }
    }

    private fun initChildFragment(){
        childFragmentManager.setFragmentResultListener("Fragment1", this,
            { requestKey, result ->

                val key = result.containsKey("key")
                Log.e("YM","Fragment1-Fragment3--->key值是否包括:$key")
            })
    }

}
fragment_1.xml
<?xml version="1.0" encoding="utf-8"?>
<androidx.constraintlayout.widget.ConstraintLayout xmlns:android="http://schemas.android.com/apk/res/android"
    xmlns:tools="http://schemas.android.com/tools"
    android:layout_width="match_parent"
    android:layout_height="match_parent"
    xmlns:app="http://schemas.android.com/apk/res-auto"
    tools:context=".Fragment1">

    <Button
        android:id="@+id/fragment1_btn"
        android:layout_width="wrap_content"
        android:layout_height="wrap_content"
        android:text="Fragment1的按钮"
        android:textAllCaps="false"
        app:layout_constraintTop_toTopOf="parent"
        app:layout_constraintBottom_toBottomOf="parent"
        app:layout_constraintStart_toStartOf="parent"
        app:layout_constraintEnd_toEndOf="parent"/>

    <androidx.fragment.app.FragmentContainerView
        android:id="@+id/fragment2_container"
        android:layout_width="match_parent"
        android:layout_height="0dp"
        android:name="com.hello.world.Fragment3"
        app:layout_constraintTop_toBottomOf="@+id/fragment1_btn"
        app:layout_constraintBottom_toBottomOf="parent"/>
</androidx.constraintlayout.widget.ConstraintLayout>
Fragment3.kt
class Fragment3 : Fragment() {

    override fun onCreateView(
        inflater: LayoutInflater, container: ViewGroup?,
        savedInstanceState: Bundle?
    ): View? {
        return inflater.inflate(R.layout.fragment_3, container, false)
    }

    override fun onViewCreated(view: View, savedInstanceState: Bundle?) {
        super.onViewCreated(view, savedInstanceState)
        initChildFragment()
        view.findViewById<Button>(R.id.fragment1_btn).setOnClickListener {
            parentFragmentManager.setFragmentResult("Fragment1",Bundle().apply {
                putString("key","Fragment3")
            })
        }
    }
    private fun initChildFragment(){
        parentFragmentManager.setFragmentResultListener("Fragment3", this,
            { requestKey, result ->

                val key = result.containsKey("key")
                Log.e("YM","Fragment3--->key值是否包括:$key")
            })
    }
}
fragment_3.xml
<?xml version="1.0" encoding="utf-8"?>
<androidx.constraintlayout.widget.ConstraintLayout
    xmlns:android="http://schemas.android.com/apk/res/android"
    xmlns:app="http://schemas.android.com/apk/res-auto"
    xmlns:tools="http://schemas.android.com/tools"
    android:layout_width="match_parent"
    android:layout_height="match_parent"
    tools:context=".Fragment3">

    <Button
        android:id="@+id/fragment1_btn"
        android:layout_width="wrap_content"
        android:layout_height="wrap_content"
        android:text="Fragment3的按钮"
        android:textAllCaps="false"
        app:layout_constraintTop_toTopOf="parent"
        app:layout_constraintBottom_toBottomOf="parent"
        app:layout_constraintStart_toStartOf="parent"
        app:layout_constraintEnd_toEndOf="parent"/>

</androidx.constraintlayout.widget.ConstraintLayout>