一、安装
-
下载flume包
Download — Apache Flume
-
解压压缩包(至指定文件夹)
tar -zxf /opt/software/apache-flume-1.9.0-bin.tar.gz -C /opt/module/ -
修改flume的名称
mv /opt/module/apache-flume-1.9.0-bin /opt/module/flume -
将lib文件夹下的guava-11.0.2.jar删除以兼容
Hadoop
3.1.3rm /opt/module/flume/lib/guava-11.0.2.jar因为hadoop自带的版本高于该版本。
二、测试
-
安装netcat工具
sudo yum install -y nc -
测试4444端口是否被占用
sudo netstat -tunlp | grep 44444当然可以换成别的端口。

可以看到没有输出,说明端口没有被占用。
-
在flume目录下创建job文件夹并进入job文件夹。在job文件夹下创建Flume Agent配置文件flume-netcat-logger.conf。
 mkdir job

 cd job/

 vim flume-netcat-logger.conf
输入以下内容:
 # Name the components on this agent
 a1.sources = r1
 a1.sinks = k1
 a1.channels = c1

 # Describe/configure the source
 a1.sources.r1.type = netcat
 a1.sources.r1.bind = localhost
 a1.sources.r1.port = 44444

 # Describe the sink
 a1.sinks.k1.type = logger

 # Use a channel which buffers events in memory
 a1.channels.c1.type = memory
 a1.channels.c1.capacity = 1000
 a1.channels.c1.transactionCapacity = 100
 # Bind the source and sink to the channel
 a1.sources.r1.channels = c1
 a1.sinks.k1.channel = c1
-
开启监听端口
bin/flume-ng agent --conf conf/ --name a1 --conf-file job/flume-netcat-logger.conf -Dflume.root.logger=INFO,console -
新打开一个terminal,使用netcat工具向本机的44444端口发送内容
nc localhost 44444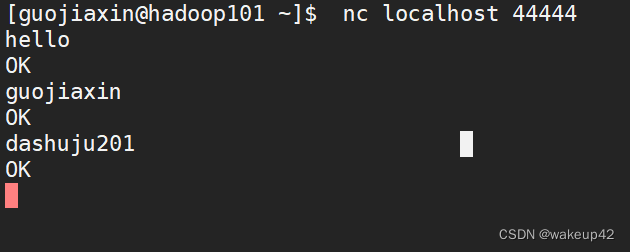
-
可以在监听的terminal已经输出了端口的信息

版权声明:本文为wake_up_42原创文章,遵循 CC 4.0 BY-SA 版权协议,转载请附上原文出处链接和本声明。