介绍
-
Koa 是一个新的 web 框架,
由 Express 幕后的原班人马打造
,致力于成为 web 应用和 API 开发领域中的一个更小、更富有表现力、更健壮的基石。
-
Koa 的原理和内部结构很像 Express,但是语法和内部结构进行了升级
-
Koa
内部使用 ES6 编写
,号称是下一代 Node.js Web 框架 -
它的主要特点是通过
利用 async 函数,帮你丢弃回调函数
-
-
Koa 1 是基于 ES2015 中的 Generator 生成器函数结合 CO 模块
-
Koa 2 完全抛弃了 Generator 和 co,升级为了 ES2017 中的 async/await 函数
-
-
正式由于 Koa 内部基于最新的异步处理方式,所以使用
Koa 处理异常更加简单
-
Koa 中提供了 CTX 上下文对象
-
-
Express 是扩展了 req 和 res
-
-
Koa 并没有捆绑任何中间件
, 而是提供了一套优雅的方法,帮助您快速而愉快地编写服务端应用程序。 -
有很多开发工具/框架都是基于 Koa 的
-
个人评价
-
-
koa 2 好用,设计上的确有优势。优势不在能实现更强的功能,而是可以更简单地完成功能。
-
koa 2 社区远不如 express
-
koa 1 在思想上与 koa 2 是一致的,但是 koa 2 的实现更漂亮
-
Koa 基本用法
1、安装 koa
npm i koa
Koa 依赖 node v7.6.0 或 ES2015及更高版本和 async 方法支持。
2、app.js
const Koa = require('koa');
const app = new Koa();
app.use(async ctx => {
ctx.body = 'Hello World';
});
app.listen(3000);
-
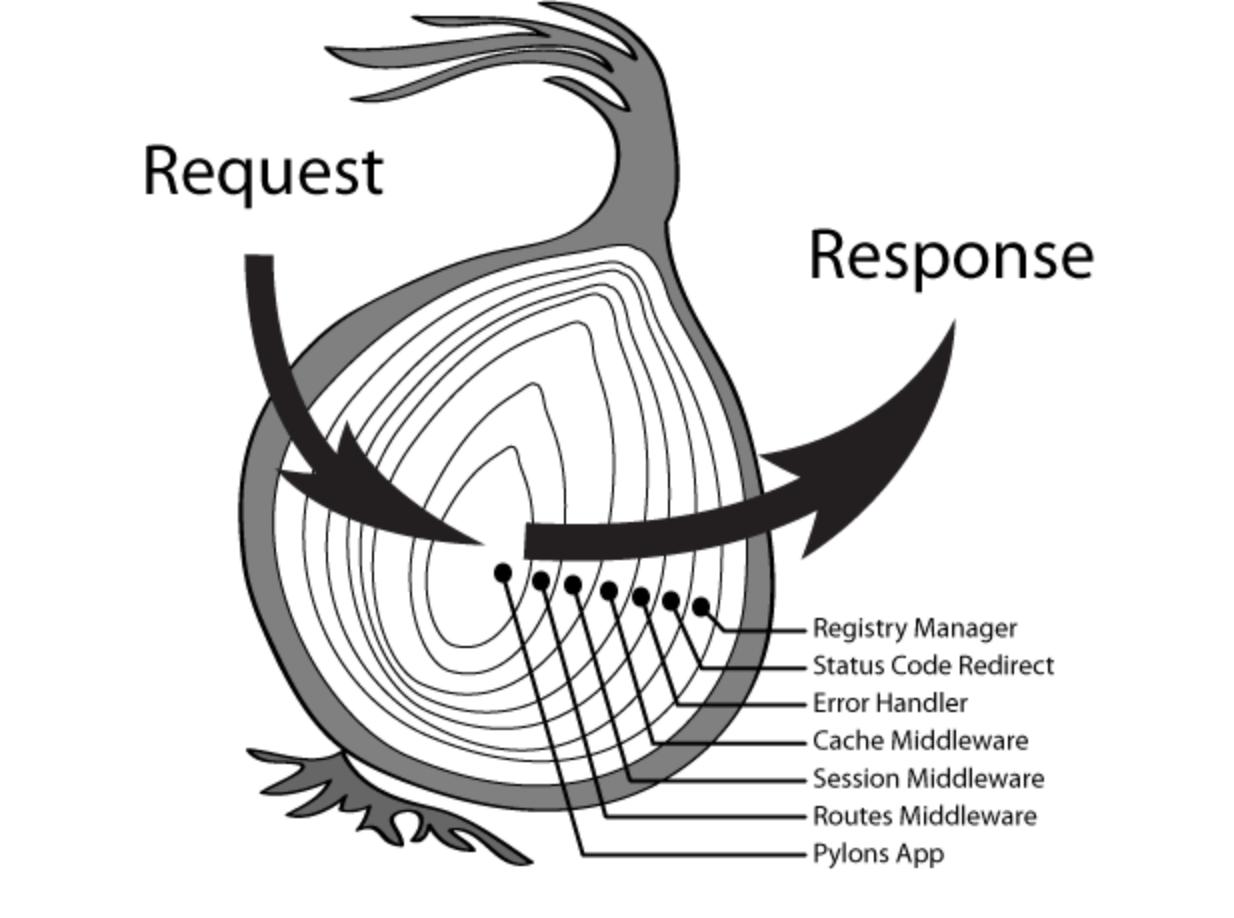
Koa 应用程序是一个包含一组中间件函数的对象
-
它是按照类似堆栈的方式组织和执行的
-
Koa 内部没有捆绑任何中间件,甚至是路由功能
Koa 中的 Context 对象
参见:
Koa (koajs) — 基于 Node.js 平台的下一代 web 开发框架 | Koajs 中文文档
。
Koa 中的路由
原生路由
网站一般都有多个页面。通过ctx.request.path可以获取用户请求的路径,由此实现简单的路由。
const main = ctx => {
  if (ctx.request.path !== '/') {
    ctx.response.type = 'html';
    ctx.response.body = '<a href="/">Index Page</a>';
  } else {
    ctx.response.body = 'Hello World';
  }
};
koa-router 模块
原生路由用起来不太方便,我们可以使用封装好的
koa-router
模块。
-
Express 路由风格(app.get、app.put、app.post …)
-
命名动态 URL 参数
-
具有 URL 生成的命名路由
-
使用允许的请求方法响应 OPTIONS 请求
-
支持 405 和 501 响应处理
-
支持多路由中间件
-
支持多个嵌套的路由中间件
-
支持 async/awai 语法
1、安装
npm i @koa/router
2、示例
const Koa = require('koa');
const Router = require('@koa/router');
const app = new Koa();
const router = new Router();
router.get('/', (ctx, next) => {
// ctx.router available
});
app
.use(router.routes())
.use(router.allowedMethods());
静态资源托管
如果网站提供静态资源(图片、字体、样式表、脚本……),为它们一个个写路由就很麻烦,也没必要。
koa-static
模块封装了这部分的请求。
1、安装
npm install koa-static
2、示例
const serve = require('koa-static');
const Koa = require('koa');
const app = new Koa();
// $ GET /package.json
app.use(serve('.'));
// $ GET /hello.txt
app.use(serve('test/fixtures'));
// or use absolute paths
app.use(serve(__dirname + '/test/fixtures'));
app.listen(3000);
console.log('listening on port 3000');
给静态资源设置虚拟路径
使用 Koa 提供的
koa-mount
。
重定向
有些场合,服务器需要重定向(redirect)访问请求。比如,用户登陆以后,将他重定向到登陆前的页面。ctx.response.redirect()方法可以发出一个302跳转,将用户导向另一个路由。
ctx.response.redirect('/');
ctx.response.body = '<a href="/">Index Page</a>';
Koa 中间件
Logger 功能
Koa 的最大特色,也是最重要的一个设计,就是中间件(middleware)。为了理解中间件,我们先看一下 Logger (打印日志)功能的实现。
const main = ctx => {
  console.log(`${Date.now()} ${ctx.request.method} ${ctx.request.url}`);
  ctx.response.body = 'Hello World';
};
中间件栈
-
多个中间件会形成一个栈结构(middle stack),以”先进后出”(first-in-last-out)的顺序执行。
-
最外层的中间件首先执行。
-
调用next函数,把执行权交给下一个中间件。
-
…
-
最内层的中间件最后执行。
-
执行结束后,把执行权交回上一层的中间件。
-
…
-
最外层的中间件收回执行权之后,执行next函数后面的代码。
中间件栈结构示例如下:
const one = (ctx, next) => {
  console.log('>> one');
  next();
  console.log('<< one');
}

const two = (ctx, next) => {
  console.log('>> two');
  next();
  console.log('<< two');
}

const three = (ctx, next) => {
  console.log('>> three');
  next();
  console.log('<< three');
}

app.use(one);
app.use(two);
app.use(three);
如果中间件内部没有调用
next
函数,那么执行权就不会传递下去。作为练习,你可以将
two
函数里面
next()
这一行注释掉再执行,看看会有什么结果。
异步中间件
迄今为止,所有例子的中间件都是同步的,不包含异步操作。如果有异步操作(比如读取数据库),中间件就必须写成 async 函数。
app.use(async (ctx, next) => {
  const data = await util.promisify(fs.readFile)('./views/index.html')
  ctx.type = 'html'
  ctx.body = data
  next()
})
上面代码中,
fs.readFile
是一个异步操作,必须写成 await
fs.readFile()
,然后中间件必须写成 async 函数。
中间件的合成
koa-compose
模块可以将多个中间件合成为一个。
1、安装
npm install koa-compose
2、示例
const compose = require('koa-compose');

const logger = (ctx, next) => {
  console.log(`${Date.now()} ${ctx.request.method} ${ctx.request.url}`);
  next();
}

const main = ctx => {
  ctx.response.body = 'Hello World';
};

const middlewares = compose([logger, main]);
app.use(middlewares);
Koa 中的错误处理
500 错误
如果代码运行过程中发生错误,我们需要把错误信息返回给用户。HTTP 协定约定这时要返回500状态码。Koa 提供了ctx.throw()方法,用来抛出错误,ctx.throw(500)就是抛出500错误。
const main = ctx => {
  ctx.throw(500);
};
404 错误
如果将ctx.response.status设置成404,就相当于ctx.throw(404),返回404错误。
const main = ctx => {
  ctx.response.status = 404;
  ctx.response.body = 'Page Not Found';
};
处理错误的中间件
为了方便处理错误,最好使用
try...catch
将其捕获。但是,为每个中间件都写
try...catch
太麻烦,我们可以让最外层的中间件,负责所有中间件的错误处理。
const handler = async (ctx, next) => {
  try {
    await next();
  } catch (err) {
    ctx.response.status = err.statusCode || err.status || 500;
    ctx.response.body = {
      message: err.message
    };
  }
};

const main = ctx => {
  ctx.throw(500);
};

app.use(handler);
app.use(main);
error 事件的监听
运行过程中一旦出错,Koa 会触发一个error事件。监听这个事件,也可以处理错误。
const main = ctx => {
  ctx.throw(500);
};

app.on('error', (err, ctx) =>
  console.error('server error', err);
);
如果 req/res 期间出现错误,并且
无法
响应客户端,Context实例仍然被传递:
app.on('error', (err, ctx) => {
  log.error('server error', err, ctx)
});
当发生错误并且仍然可以响应客户端时,也没有数据被写入 socket 中,Koa 将用一个 500 “内部服务器错误” 进行适当的响应。在任一情况下,为了记录目的,都会发出应用级 “错误”。
释放 error 事件
需要注意的是,如果错误被try…catch捕获,就不会触发error事件。这时,必须调用ctx.app.emit(),手动释放error事件,才能让监听函数生效。
const handler = async (ctx, next) => {
try {
await next();
} catch (err) {
ctx.response.status = err.statusCode || err.status || 500;
ctx.response.type = 'html';
ctx.response.body = '<p>Something wrong, please contact administrator.</p>';
ctx.app.emit('error', err, ctx);
}
};
const main = ctx => {
ctx.throw(500);
};
app.on('error', function(err) {
console.log('logging error ', err.message);
console.log(err);
});
上面代码中,
main
函数抛出错误,被
handler
函数捕获。
catch
代码块里面使用
ctx.app.emit()
手动释放
error
事件,才能让监听函数监听到。
Koa 开发 Web App 功能
Cookies
ctx.cookies
用来读写 Cookie。
const main = function(ctx) {
  const n = Number(ctx.cookies.get('view') || 0) + 1;
  ctx.cookies.set('view', n);
  ctx.response.body = n + ' views';
}
访问
http://127.0.0.1:3000
,你会看到1 views。刷新一次页面,就变成了2 views。再刷新,每次都会计数增加1。
表单
Web 应用离不开处理表单。本质上,表单就是 POST 方法发送到服务器的键值对。koa-body模块可以用来从 POST 请求的数据体里面提取键值对。
const koaBody = require('koa-body');
const main = async function(ctx) {
const body = ctx.request.body;
if (!body.name) ctx.throw(400, '.name required');
ctx.body = { name: body.name };
};
app.use(koaBody());
文件上传
koa-body 模块还可以用来处理文件上传。
const os = require('os');
const path = require('path');
const koaBody = require('koa-body');
const main = async function(ctx) {
const tmpdir = os.tmpdir();
const filePaths = [];
const files = ctx.request.body.files || {};
for (let key in files) {
const file = files[key];
const filePath = path.join(tmpdir, file.name);
const reader = fs.createReadStream(file.path);
const writer = fs.createWriteStream(filePath);
reader.pipe(writer);
filePaths.push(filePath);
}
ctx.body = filePaths;
};
app.use(koaBody({ multipart: true }));
若有收获,就点个赞吧