更加优雅的实现网络请求
完整项目Github地址:
https://github.com/pokerfaceCmy/rxjava_retrofit_demo/tree/master
前言
最近在用RxJava2+retrofit2来实现网络请求,一开始的时候我参考了这篇文章:
如何用RxJava2.0.7和Retrofit2.2.0优雅的实现网络请求来封装自己的网络请求的逻辑。
一开始的使用用的很爽,毕竟当初不会用Rxjava和retrofit时候,网络请求着实是一件十分痛苦的事情,要考虑的东西太多了。例如异步发起请求,主线程中处理UI的变化。网络请求失败后怎么办,网络很慢的时候如何展示一个通用的loading提示等等…现在大部分问题都能很好的得到解决,
但是仍然有其他不方便的地方在困扰着我们。
存在的问题
网络请求越来越多的情况下,会不停的在HttpMethods类中增加新的方法,网络请求的代码和业务逻辑紧紧的耦合在了一起,不符合我们程序员优雅的气质。能不能把HttpMethods封装好之后,不随着业务的改变而变动呢?
每次发送一个请求,都需要自己去处理rxjava中的onSubscribe(),onError(),onNext()和onComplete()方法。代码十分的冗余。其实我们大部分时候只需要关心onNext()的回调。其他的回调方法做的事情几乎一模一样。
解决办法
首先我们来看一下第一个问题:
其实HttpMethods处理业务逻辑最关键的方法是这个
public void getJoke(Observer<List<MyJoke>> observer){

       apiService.getData()
                .subscribeOn(Schedulers.io())
                .unsubscribeOn(Schedulers.io())
                .observeOn(AndroidSchedulers.mainThread())
                .subscribe(observer);
    }
这个方法传入了一个observer,然后用来接收回调,处理发送请求之后的逻辑。我们只需要改造这个方法,就能解决我们的第一个问题。
    public <T> T getRetrofitService(Class<T> cls) {
                return createRetrofit(BASE_URL).create(cls);
            }


     private Retrofit createRetrofit(String baseUrl) {
                HttpLoggingInterceptor logInterceptor = new HttpLoggingInterceptor(new HttpLogger());
                logInterceptor.setLevel(HttpLoggingInterceptor.Level.BODY);
                OkHttpClient httpClient = new OkHttpClient().newBuilder()
                        .readTimeout(DEFAULT_MILLISECONDS, TimeUnit.SECONDS)
                        .connectTimeout(DEFAULT_MILLISECONDS, TimeUnit.SECONDS)
                        .writeTimeout(DEFAULT_MILLISECONDS, TimeUnit.SECONDS)
                        .retryOnConnectionFailure(true)
                        .build();

                return new Retrofit.Builder()
                        .baseUrl(baseUrl)
                        .client(httpClient)
                        .addConverterFactory(GsonConverterFactory.create(new Gson()))
                        .addCallAdapterFactory(RxJava2CallAdapterFactory.create())
                        .build();
            }
现在来看第二个问题,我们发现之前是传了一个叫observer的东西,然后就能处理onSubscribe(),onError(),onNext()和onComplete()方法,那么我们可以吧observer封装一下,提前处理好nSubscribe(),onError()和onComplete()方法,最后调用的时候只需要去处理onNext()就很完美了。
具体封装逻辑如下:
public abstract class ObserverWrapper<T extends BaseResponse> extends DisposableObserver<T> {
    private IBaseApiAction apiAction;

    protected ObserverWrapper(IBaseApiAction apiAction) {
        this.apiAction = apiAction;
    }

    @Override
    protected void onStart() {
        super.onStart();
        apiAction.showLoading();
    }


    @Override
    public void onNext(T t) {
        if (t.isSuccess()) {
            Gson gson = new Gson();
            success(t);
            Logger.i("开始打印服务器返回信息--->"
                    + "\n" +
                    "接口请求成功返回码--->"
                    + "\n" +
                    t.getCode()
                    + "\n" +
                    "接口请求成功返回信息--->"
                    + "\n" +
                    t.getMessage()
                    + "\n" +
                    "接口请求成功返回数据--->"
                    + "\n" +
                    gson.toJson(t)
            );
        } else {
            apiAction.showToast(t.getMessage());
            onFailure(t.getCode(), t.getMessage());
        }
        apiAction.dismissLoading();
    }

    @Override
    public void onError(Throwable e) {
        apiAction.dismissLoading();
        onFailure(200, e.getMessage());
    }

    @Override
    public void onComplete() {
        apiAction.dismissLoading();
        complete();
    }

    protected abstract void success(T t);

    private void onFailure(int code, String errorMsg) {
        apiAction.showToast(errorMsg);
        Logger.d("接口请求错误返回码--->" + "\n" +
                code);
        Logger.d("接口请求错误信息--->" + "\n" +
                errorMsg);
    }

    private void complete() {

    }
利用Java泛型的基础来进行封装,因为一般接口的返回都会带上返回码和返回信息,所以可以根据这个来判断处理接口请求的结果。
在onStart()方法中展示一个正在加载的动画
在onFailure()方法中弹出吐司提示错误信息
这个封装就算完成啦~
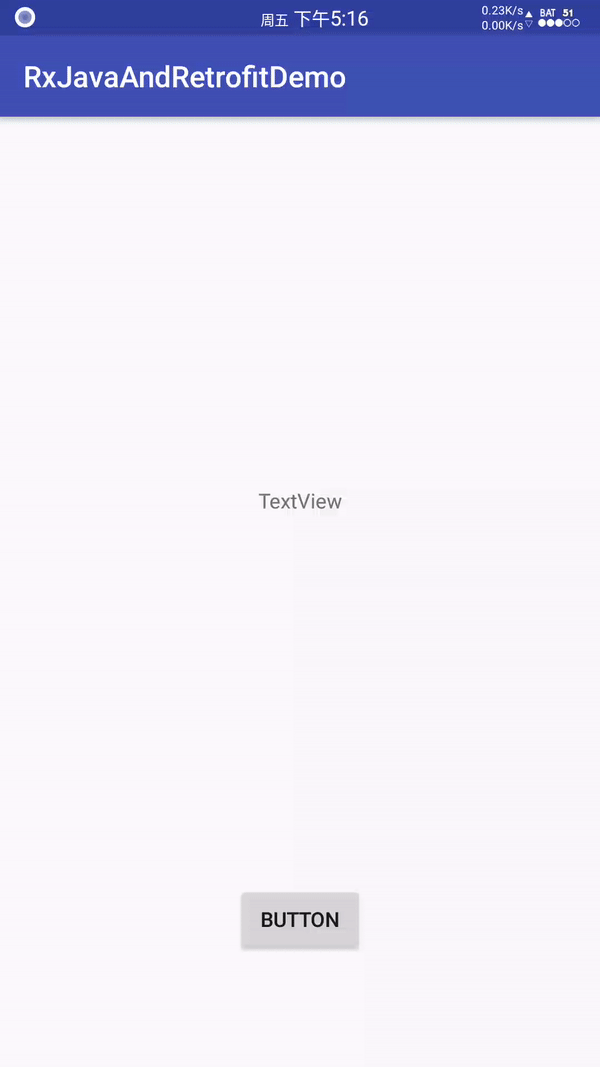
运行结果:

免费获取安卓开发架构的资料(包括Fultter、高级UI、性能优化、架构师课程、 NDK、混合式开发(ReactNative+Weex)和一线互联网公司关于android面试的题目汇总可以加群:936332305 / 群链接:点击链接加入群聊【安卓开发架构】:
https://jq.qq.com/?_wv=1027&k=515xp64
