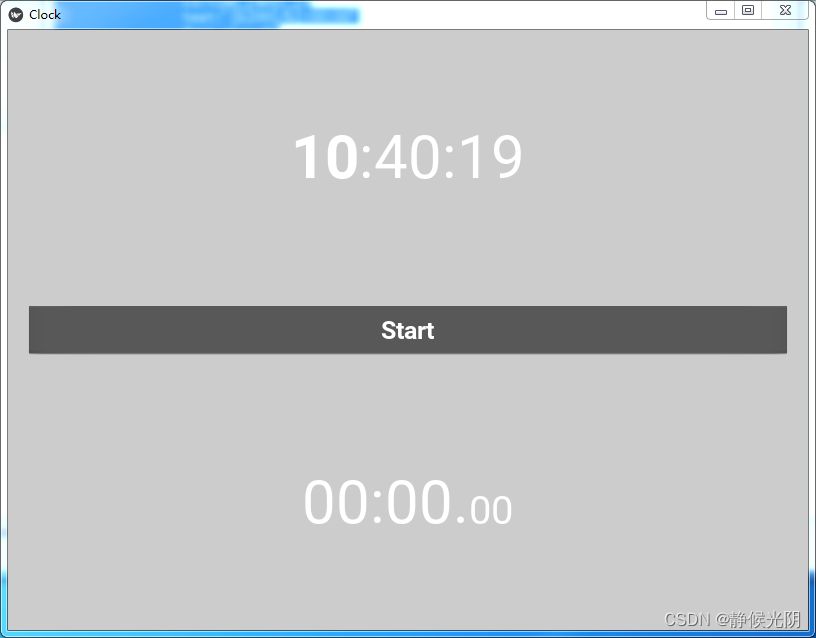
为了实现计时功能,在上一篇基础上再增加一个Label属性来设置计时时间,并添加一个Button来触发事件,将这两个部件放在一个BoxLayout布局中再嵌套进根布局中,新建clock.kv文件,内容具体如下:
<ClockBoxLayout>:
	orientation:'vertical'

	Label:
		id:time_label_id
		text:'[b]00[/b]:00:00'
		font_size:60
		markup:True
	BoxLayout:
		orientation:'horizontal'
		padding:20
		spacing:20
		size_hint:(1,None)
		height:90

		Button:
			id:start_stop_button_id
			text:'Start'
			font_size:25
			bold:True
			border:(2,2,2,2)
			on_press:root.start_or_stop()
	Label:
		id:stopwatch
		text:'00:00.[size=40]00[/size]'
		font_size:60
		markup:True
在main.py文件内,还是通过ID方式获取控件,并改变其text属性,切换按钮显示的文本并修改其状态。具体内容如下:
from time import strftime

from kivy.app import App
from kivy.clock import Clock
from kivy.uix.boxlayout import BoxLayout

class ClockBoxLayout(BoxLayout):
    def __init__(self,**kwargs):
        super().__init__(**kwargs)
        self.timing_flag = False
        self.timing_seconds = 0
        self.on_start()

    def on_start(self):
        #每0秒执行一次update_time()方法
        Clock.schedule_interval(self.update_time,0)

    def update_time(self,nap):
        if self.timing_flag:
            self.timing_seconds += nap

        #通过ID获取到time_label_id控件,并设置text属性值
        self.ids.time_label_id.text = strftime('[b]%H[/b]:%M:%S')
        m,s = divmod(self.timing_seconds,60)
        #同上设置text值
        self.ids.stopwatch.text=('%02d:%02d.[size=40]%02d[/size]'%(int(m),int(s),int(s*100%100)))

    def start_or_stop(self):
        #切换状态
        self.ids.start_stop_button_id.text='Start' if self.timing_flag else 'Stop'
        self.timing_flag = not self.timing_flag
class ClockApp(App):
    #实现App类的build()方法(继承自App类)
    def build(self):
        return ClockBoxLayout()

if __name__ == '__main__':
    #设置页面背景
    from kivy.core.window import Window
    Window.clearcolor = [.8,.8,.8,1]
    ClockApp().run()
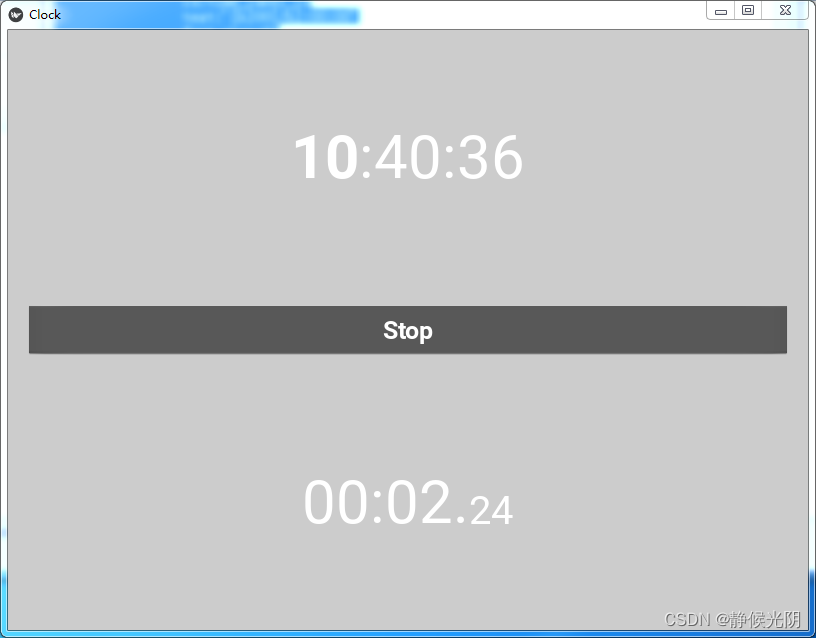
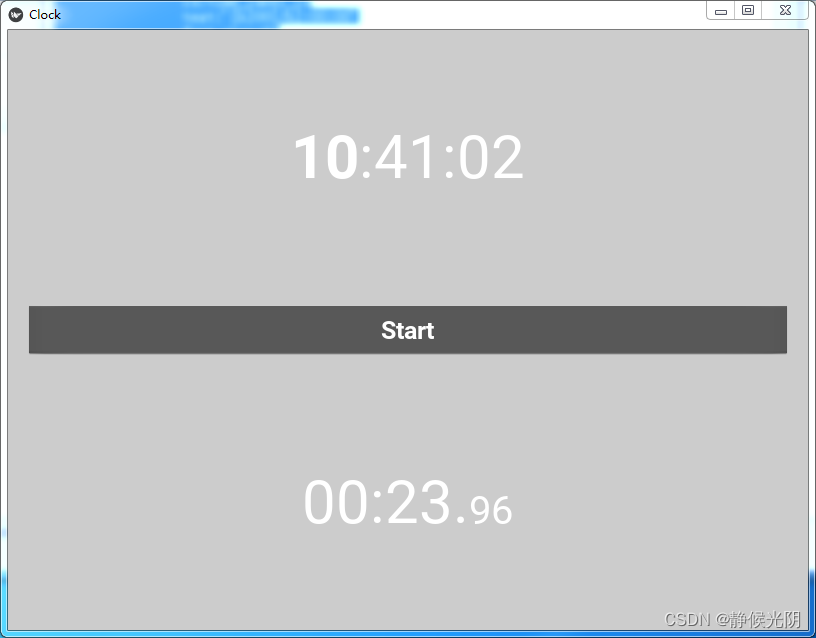
运行mian.py文件,单击’Start’按钮开始计时,同时按钮文字自动变为”Stop”再次单击计时暂停,按钮文字自动变回’Start’。

单击按钮:

再次单击按钮:

上一篇:
显示时间
下一篇:
计时重置
版权声明:本文为lstef原创文章,遵循 CC 4.0 BY-SA 版权协议,转载请附上原文出处链接和本声明。