1、样式部分(.css)
    <style>
        *{
            margin: 0;
            padding: 0;
        }
        a,li{
            text-decoration: none;
            list-style-type: none;
        }
        #app{
            padding-top: 50px;
            width: 100%;
            height: 1000px;
            background-color: rgb(92, 168, 92);
        }
        h2{
            margin-bottom: 10px;
            font-size: 21px;
            font-weight: 400;
            letter-spacing: 10px;
            text-align: center;
            color: rgb(222, 36, 36);
        }
        .div{
            padding: 10px;
            margin: auto;
            width: 500px;
            height: 339px;
            background-color: white;
            border: none;
            border-radius: 10px;
        }
        .logo{
            width:500px;
            height: 300px;
        }
        .zjt,
        .yjt{
            width: 50px;
            height: 50px;
            position: relative;
            top: -190px;
            background-color: rgba(0, 0, 0, 0.2);
        }
        .zjt:hover,
        .yjt:hover{
            background-color: rgba(0, 0, 0, 0.1);
        }
        .zjt{
            float: left;
        }
        .yjt{
            float: right;
        }
    </style>
2、.HTML+.JS
<div id="app">
        <div class="div">
            <!-- 标题 -->
            <h2>上海景色</h2>
            <!--通过改变图片的src来切换图片-->
            <img  class="logo" v-bind:src="imgArr[index]">
            <!-- 左箭头 -->
            <a href="#" class="zjtclass" >
                <!--
                    v-show="index!=0"
                    index不等于0的话,v-show的值为true,左箭头显示(非第一张图片)
                     index等于0的话,v-show的值为false,左箭头不显示(也就是第一种图片)
                 -->
                <img class="zjt" v-on:click="jian" v-show="index!=0" src="./VUE需要的各种图片/左箭头.png" alt="">
            </a>
            <!-- 右箭头 -->
            <a href="#" class="yjtclass" >
                <!--
                    v-show="index<imgArr.length-1"
                    index小于4的话v-show的值为true,右箭头显示(非最后一张图片)
                    index等于4的话v-show的值为false,右箭头不显示(也就是末尾图片)
                 -->
                <img class="yjt" v-on:click="jia" v-show="index<imgArr.length-1" src="./VUE需要的各种图片/右箭头.png" alt="">
            </a>
        </div>
    </div>
    <script src="../Vuejs/vue.js"></script>
    <script>
        new Vue({
            el:"#app",
            data:{
                imgArr:[
                "../Vue标签/VUE需要的各种图片/0.png" ,//索引0
                "../Vue标签/VUE需要的各种图片/1.png" ,//索引1
                "../Vue标签/VUE需要的各种图片/2.png" ,//索引2
                "../Vue标签/VUE需要的各种图片/3.png" ,//索引3
                "../Vue标签/VUE需要的各种图片/4.png" //索引4
                ],
                index:0
            },
            methods:{
                // 索引减
                jian:function(){
                    this.index--;
                },
                // 索引加
                jia:function(){
                    this.index++;
                },
            }
        })
    </script>
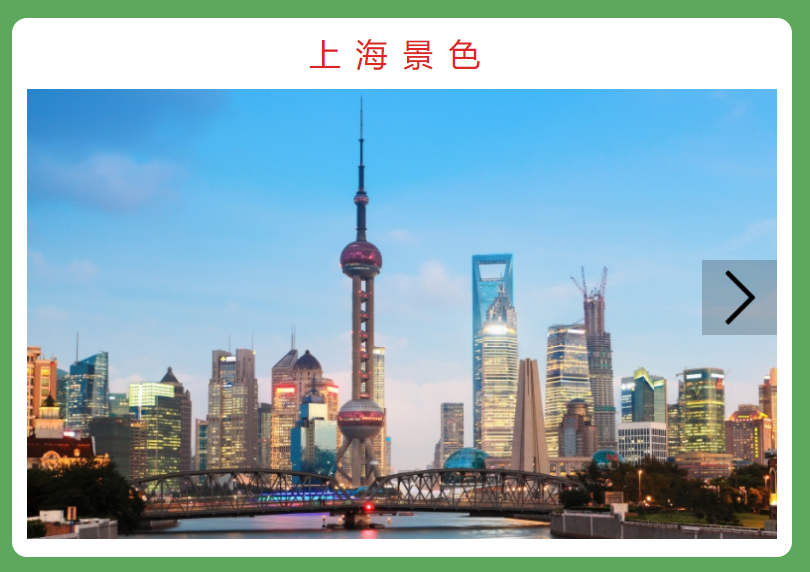
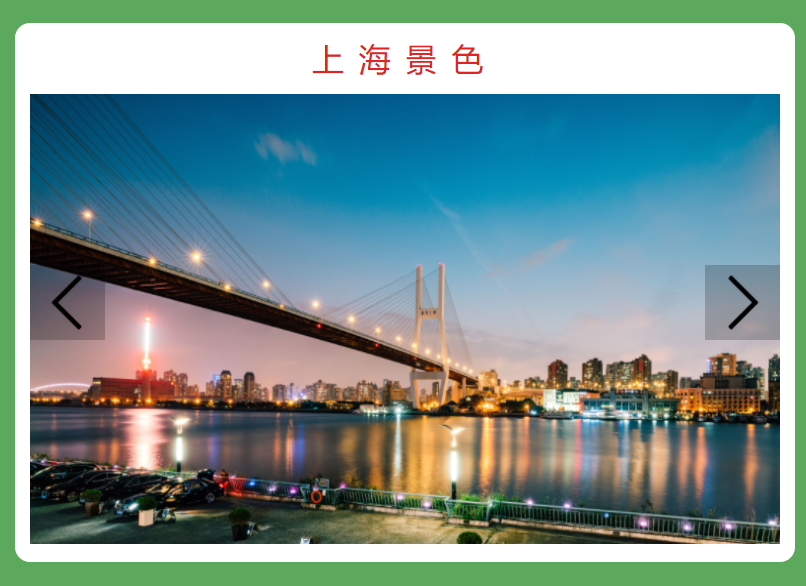
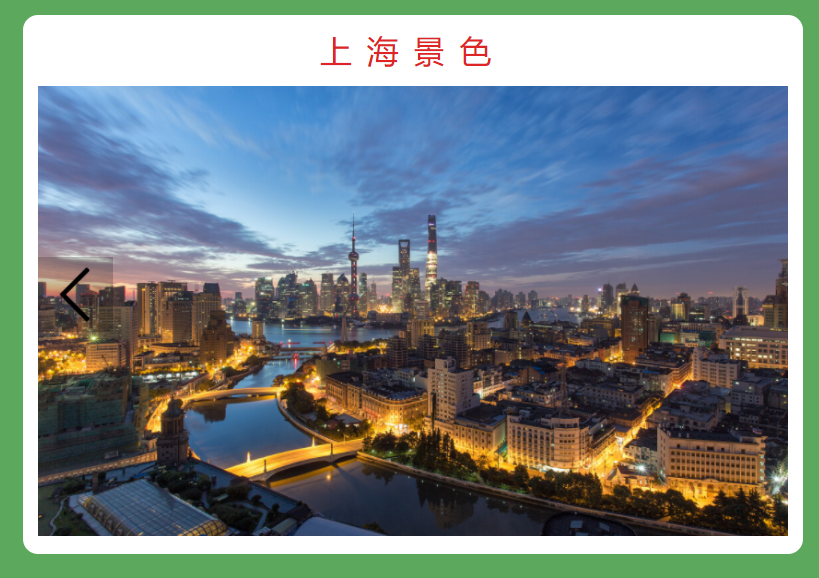
3、结果如图所示
第一张图片左边箭头隐藏右边箭头显示
末尾张图片左边箭头显示右边箭头隐藏
中间各图片左右箭头都有显示


版权声明:本文为weixin_45718431原创文章,遵循 CC 4.0 BY-SA 版权协议,转载请附上原文出处链接和本声明。