101.wget: unable to resolve host address ‘project-downloads.drogon.net’
无法解析主机地址
解决方法:
登入root(VPS)
/etc/resolv.conf
修改内容为下
nameserver 8.8.8.8 #google域名服务器
nameserver 8.8.4.4 #google域名服务器
2.若安装文件出现”dpkg: dependency problems prevent configuration… “这样的错误, 是因为未关联本机的python包,
解决方法非常简单, 输入:
$ sudo apt-get install –reinstall python
$ sudo apt-get -f install
3.树莓派换源出现问题:
W: GPG error: http://mirrors.tuna.tsinghua.edu.cn/raspbian/raspbian stretch InRelease: The following signatures couldn’t be verified because the public key is not available: NO_PUBKEY 9165938D90FDDD2E
解决办法:
添加公钥:
gpg --keyserver  keyserver.ubuntu.com --recv-keys 9165938D90FDDD2E
gpg --export --armor  9165938D90FDDD2E | sudo apt-key add -
4.fatal: unable to access ‘https://github.com/respeaker/seeed-voicecard.gi/’: GnuTLS recv error (-110): The TLS connection was non-properly terminated.
解决办法:
git config --global --unset http.proxy
git config --global --unset https.proxy
5.-bash: ./install.sh: Permission denied
解决办法:
chmod +x install.sh6.树莓派在使用vi编辑文件时,发现退格删除键(Backspace键),无法删除,方向键变成了ABCD(对应上下右左)还自动换行如图:

原因:
此问题根因是树莓派系统预装的是vim-tiny版本,就是简易版,且默认是兼容模式。ubuntu系统也有相同的问题。下面提供的方法通用适用ubuntu。使用vim命令时提示命令不支持,是因为新系统默认装了vi,没有装vim。
解决:
卸载重装vim full完整版
$sudo apt-get remove vim-common
$sudo apt-get install vim
如出现Package ‘vim’ has no installation candidate的报错,请更新软件列表
sudo apt-get update
树莓派源:
https://project-downloads.drogon.net/wiringpi-latest.deb7.E: Package xxx has no installation candidate 问题
首先找到源下载地址
vi /etc/apt/sources.list树莓派4安装库由于许多库不兼容,还有源地址更改需要添加源
deb http://mirrors.ustc.edu.cn/debian stable main contrib non-free
# deb-src http://mirrors.ustc.edu.cn/debian stable main contrib non-free
deb http://mirrors.ustc.edu.cn/debian stable-updates main contrib non-free
# deb-src http://mirrors.ustc.edu.cn/debian stable-updates main contrib non-free

# deb http://mirrors.ustc.edu.cn/debian stable-proposed-updates main contrib non-free
# deb-src http://mirrors.ustc.edu.cn/debian stable-proposed-updates main contrib non-free
保存退出后更新后再下载
apt-get update

apt-get upgrade
8.树莓派安装wiringpi
⽅法1:从官⽅获取deb包来安装
# 选择要保存的⽬录
# 下载deb包
wget https://project-downloads.drogon.net/wiringpi-latest.deb# 安装deb包
sudo dpkg -i wiringpi-latest.deb⽅法2:从GitHub获取WiringPi源码来安装
git.drogon.net is currently unavailable.
执⾏以下命令,获取源码:
git clone https://github.com/WiringPi/WiringPi.git进⼊刚下在完成的WiringPi⽬录
# 安装
./build验证:
gpio -v# 卸载
./build uninstall9.注意,wiringpi有权限,在树莓派4B中但凡是调用wiringpi的文件一定要使用管理员命令,否则运行不成功会卡住。比如串口打开函数serialOpen();还有树莓派4B串口调换时注意系统版本有的系统版本不支持例如armv7,armhf,目前测试支持的是arm64版本系统,在此系统中配置时需要在根目录boot>config.txt中添加
dtoverlay=miniuart-bt.dtbo         #miniuart-bt.dtbo是根目录下控制mini串口的文件在树莓派3B中为
                                    pi3-miniuart-bt
enable_uart=1
boot>cmdline.txt文件中删除console=serial0,115200关闭console
10.https://www.linux-projects.org/listing/uv4l_repo/raspbian wheezy InRelease 下列签名无效: 88E8F32F724468BA39585D4099DA5D2AFCE635A4 E: 无法定位软件包 uv4l E: 无法定位软件包 uv4l-raspicam https://www.linux-projects.org/listing/uv4l_repo/raspbian raring Release 404 Not Found
原因:
uv4l不同版本的下载地址不同
uv4l官网:Installation for ARM (Raspberry Pi) – (advanced) Projects
解决办法:
将以下行添加到文件/etc/apt/sources.list中:
sudo vi /etc/apt/sources.list在最后一行加入:
deb https://www.linux-projects.org/listing/uv4l_repo/raspbian/stretch stretch main下载已经修改软件源:如果运行的是Raspbian Stretch或Raspbian Buster(也称为Raspberry PI OS)比较新的版本运行
curl https://www.linux-projects.org/listing/uv4l_repo/lpkey.asc | sudo apt-key add -
echo "deb https://www.linux-projects.org/listing/uv4l_repo/raspbian/stretch stretch main" | sudo tee /etc/apt/sources.list.d/uv4l.list
最后准备更新系统并获取并安装软件包:
sudo apt-get update
sudo apt-get upgrade
sudo apt-get install uv4l uv4l-raspicam
如果要在启动时加载驱动程序,请同时安装此可选软件包:
sudo apt-get install uv4l-raspicam-extras重新启动:
sudo service uv4l_raspicam restart除了Raspberry Pi相机板的驱动程序之外,还可以选择安装以下Streaming Server前端和驱动程序:
sudo apt-get install uv4l-server uv4l-uvc uv4l-xscreen uv4l-mjpegstream uv4l-dummy uv4l-raspidisp11、树莓派更新源后卡在启动界面
原因:在网上根据教程操作的时候,系统还不是Debian 10(Buster)而是Debian 9(stretch)
deb http://xxxxx/ stretch main contrib non-free
再更改镜像源时需要注意更改为buster,如若忘记,当更新后就会无法开机
更新后无法开机解决办法:
使用装有Linux系统的电脑或者虚拟机,将树莓派系统卡挂载在该系统下,
mount找得到系统盘
![]()
将其卸载
umount /dev/sdb2使用超级用户命令对其进行修复
sudo fsck -f /dev/sdb2
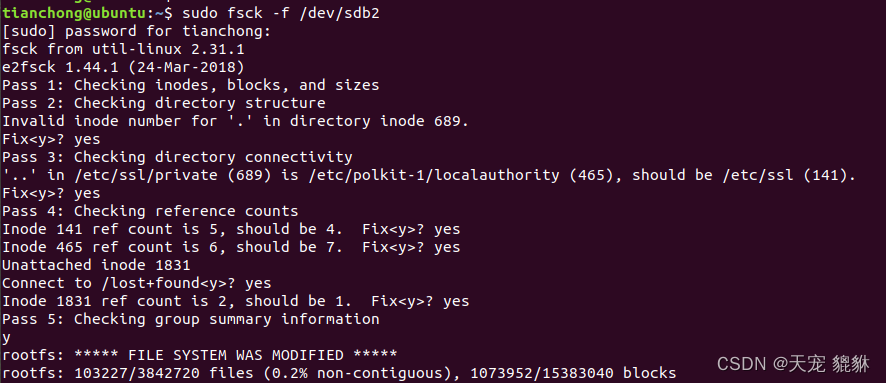
如果开机后卡在树莓派logo处可按e键继续,不行后重新上电后狂按e这时系统会正常引导并启动
12、使用PUTTY登录时无法登陆提示Access denied
解决方法:
原因:ssh 服务没有开启。 要手动开启的话,和 WiFi 配置相似,同样在 boot 分区新建一个文件,空白的即可,文件命名为 ssh。
13、树莓派换源
查看树莓派版本:
cat /etc/os-release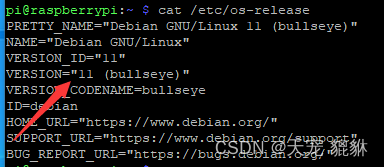
打开镜像源文件:
sudo nano /etc/apt/sources.list换源,注释掉原来的源地址,这里使用的是清华源

保存退出。
更改文件:
sudo nano /etc/apt/sources.list.d/raspi.list注释掉之前的地址,添加新的地址:

更新源;
sudo apt update14、安装MIPG后出现
ERROR: ld.so: object ‘NULL’ from LD_PRELOAD cannot be preloaded (cannot open sha red object file): ignored.
解决:添加动态库
export LD_PRELOAD=/usr/lib/uv4l/uv4lext/armv6l/libuv4lext.so
15、ERROR: ld.so: object ‘/usr/lib/uv4l/uv4lext/armv6l/libuv4lext.so’ from LD_PRELOAD cannot be preloaded (wrong ELF class: ELFCLASS32): ignored.
解决不要指定路径!!!!!既然指定路径没有动态库,就给它个大方向让它自己去找:
export LD_PRELOAD=但此方式有些BUG,只能在当前终端给调试过,可以尝试将此指令加入到开机启动文件中
sudo vi /etc/rc.local在在文件中exit 0 之前添加需要执行的命令,注意!!!!!如果程序是阻塞的,则必须加上&符号,表示在后台运行,否则系统无法启动。重新启动就可以了。
16、树莓派安装ncurses中文支持
sudo apt-get install libncursesw5 libncursesw5-dev需要调用setlocale.h头文件,在使用的程序中在initscr()之前需要配置环境setlocale(LC_ALL,””);
如果安装libncursesw5-dev安装失败
sudo apt-get update
sudo apt-get upgrade
17、树莓派使用xrdp连接时登录后不显示
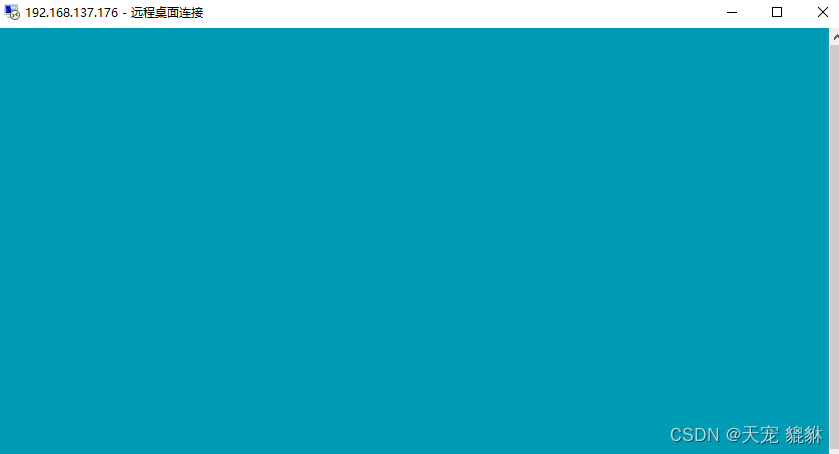
解决:执行命令:
sudo gpasswd -d pi video
sudo gpasswd -d pi render
进入设置:
sudo raspi-config
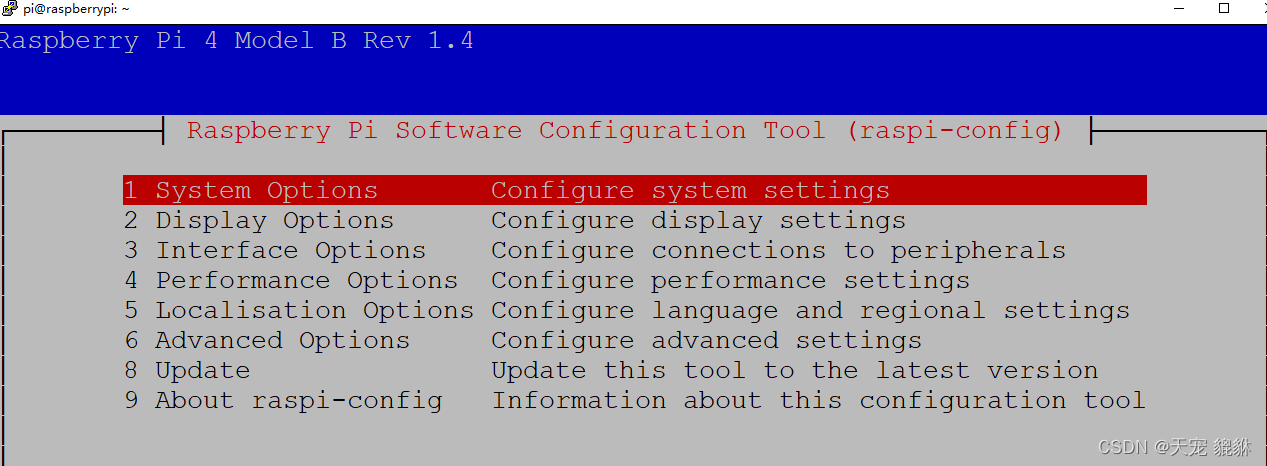
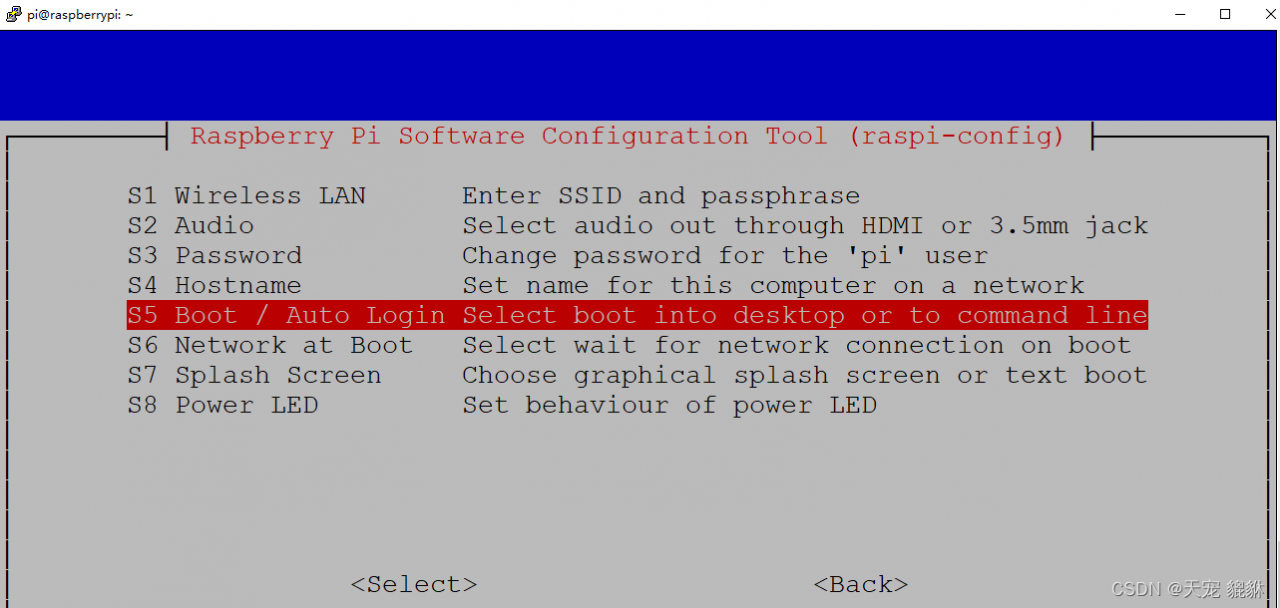

按照提示重启一下即可。