通常vscode配置remote打开文件夹后有 .vscode 文件夹

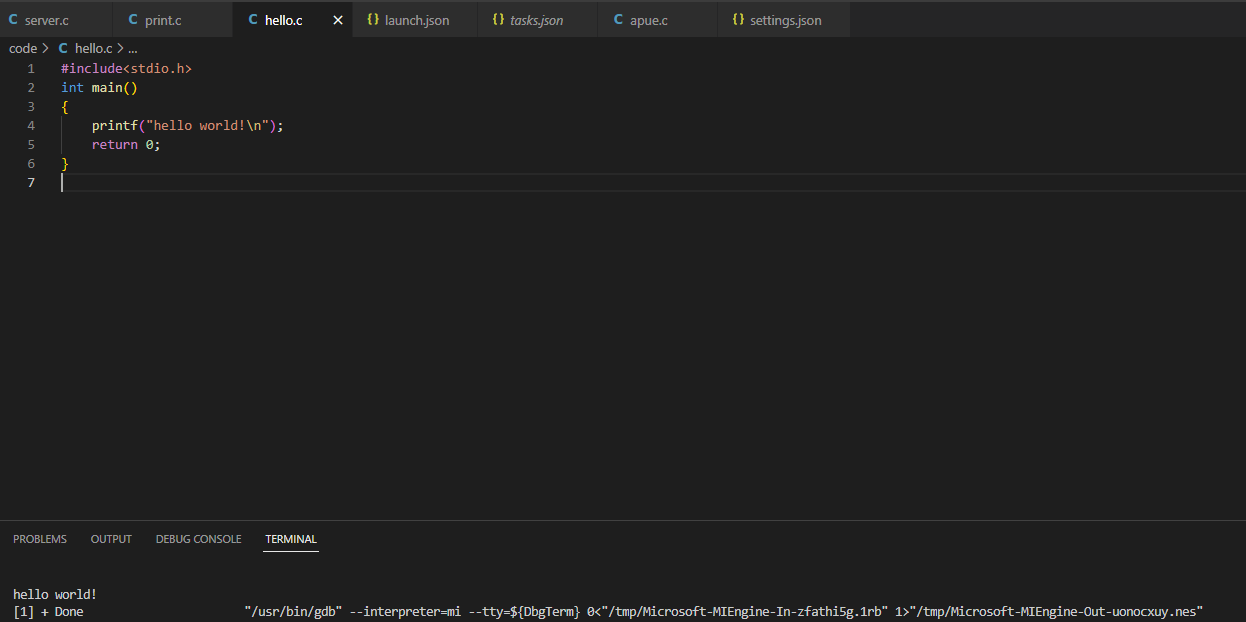
编写c文件:
#include<stdio.h>
int main()
{
    printf("hello world!\n");
    return 0;
}
按F5

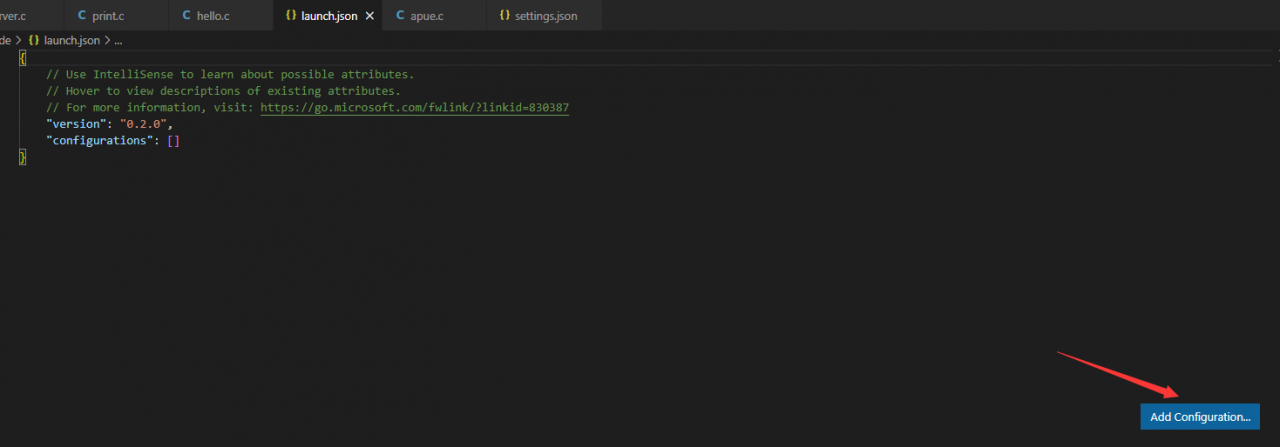
回自动创建 lauch.json 的配置文件,点击添加配置:

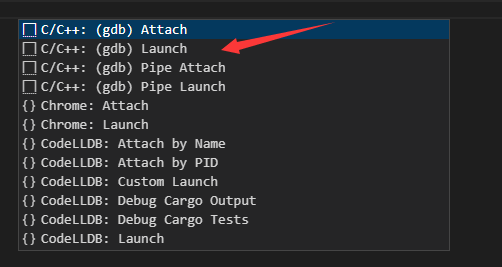
按需选择:

如果出现

说明没有自动编译c文件,或者 lauch.json 与 task.json 的链接没做好
{
    // Use IntelliSense to learn about possible attributes.
    // Hover to view descriptions of existing attributes.
    // For more information, visit: https://go.microsoft.com/fwlink/?linkid=830387
    "version": "0.2.0",
    "configurations": [
        {
            "name": "(gdb) Launch",
            "type": "cppdbg",
            "request": "launch",
            "program": "enter program name, for example ${workspaceFolder}/a.out",  // 此行按需修改 可修改为 ${fileDirname}/${fileBasenameNoExtension}
            "args": [],
            "stopAtEntry": false,
            "cwd": "${fileDirname}",
            "environment": [],
            "externalConsole": false,
            "MIMode": "gdb",
            "setupCommands": [
                {
                    "description": "Enable pretty-printing for gdb",
                    "text": "-enable-pretty-printing",
                    "ignoreFailures": true
                },
                {
                    "description":  "Set Disassembly Flavor to Intel",
                    "text": "-gdb-set disassembly-flavor intel",
                    "ignoreFailures": true
                }
            ],
            "preLaunchTask": "C/C++: gcc-9 build active file"   // 注意此行,与task.json 的 label一致。
        }
    ]
}
保存再按F5

大功告成!
launch.json文件是VSCode启动程序的配置文件,着重关注以下几个参数:
program:代表要运行的二进制文件(也就是你的C代码编译出来的程序)所在路径
miDebuggerPath:代表调试器(GDB)所在路径
preLaunchTask:在运行program前要做的前置任务,比如编译,task.json就是用于定义前置任务
task.json也是配置文件,有几个重要参数:
label:指定前置任务(比如:“C/C++: gcc 生成活动文件”)名称
command:任务执行命令,一般来说执行编译命令:gcc
args:用于command后面的参数,比如:-g(debug选项),-f等
版权声明:本文为u013257767原创文章,遵循 CC 4.0 BY-SA 版权协议,转载请附上原文出处链接和本声明。