Quartz方式
- 编写配置类
package com.pro.o2o.config;

import com.pro.o2o.service.ProductSellDailyService;
import org.springframework.beans.factory.annotation.Autowired;
import org.springframework.context.annotation.Bean;
import org.springframework.context.annotation.Configuration;
import org.springframework.scheduling.quartz.CronTriggerFactoryBean;
import org.springframework.scheduling.quartz.MethodInvokingJobDetailFactoryBean;
import org.springframework.scheduling.quartz.SchedulerFactoryBean;

/**
 * @Author Roy Yang
 * @Date 2020/3/26 19:07
 * @Version 1.0
 */
@Configuration
public class QuartzConfiguration {

    @Autowired
    private ProductSellDailyService productSellDailyService;

    @Autowired
    private MethodInvokingJobDetailFactoryBean jobDetailFactory;

    @Autowired
    private CronTriggerFactoryBean triggerFactoryBean;


    /**
     * 创建jobDetailFactory并返回
     * @return
     */
    @Bean(name = "jobDetailFactory")
    public MethodInvokingJobDetailFactoryBean createJobDetail(){

        MethodInvokingJobDetailFactoryBean jobDetailFactoryBean = new MethodInvokingJobDetailFactoryBean();

        jobDetailFactoryBean.setName("product_sell_daily_job");

        jobDetailFactoryBean.setGroup("job_product_sell_daily_group");

        jobDetailFactoryBean.setConcurrent(false);

        //指定运行任务的类
        jobDetailFactoryBean.setTargetObject(productSellDailyService);

        //指定运行任务的方法
        jobDetailFactoryBean.setTargetMethod("sellDailyCount");

        return jobDetailFactoryBean;
    }


    @Bean("triggerFactoryBean")
    public CronTriggerFactoryBean createProductSellDailyTrigger(){
        CronTriggerFactoryBean triggerFactoryBean = new CronTriggerFactoryBean();

        //设置名字
        triggerFactoryBean.setName("product_sell_daily_trigger");

        //设置组名
        triggerFactoryBean.setGroup("job_product_sell_daily_group");

        //绑定jobDetail
        triggerFactoryBean.setJobDetail(jobDetailFactory.getObject());

        //设定cron表达式(每日0点执行一次)
        triggerFactoryBean.setCronExpression("0 0 0 * * ? *");

        return triggerFactoryBean;

    }


    @Bean("schedulerFactory")
    public SchedulerFactoryBean createSchedulerFactory(){
        SchedulerFactoryBean schedulerFactory = new SchedulerFactoryBean();
        schedulerFactory.setTriggers(triggerFactoryBean.getObject());
        return schedulerFactory;
    }
}
根据cron表达式的内容,会在规定时间调用指定类中的指定方法
		//指定运行任务的类
        jobDetailFactoryBean.setTargetObject(productSellDailyService);

        //指定运行任务的方法
        jobDetailFactoryBean.setTargetMethod("sellDailyCount");
@Schedule
方式较简单,但是该注解里所填写cron表达式不能包括年份,不能超过6位
- 在启动类中加入@EnableScheduling注解
@SpringBootApplication
@EnableScheduling       //开启定时功能的注解
public class ScheduleApplication {

    public static void main(String[] args) {
        SpringApplication.run(ScheduleApplication.class, args);
    }

}
- 在需要定时执行的方法上加入注解@Schedule即可,例如:
@Scheduled(cron = "0 0 0 * * ?")
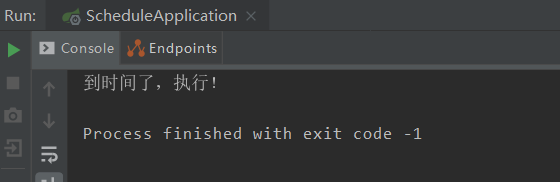
public void testSchedule(){
System.out.println("到时间了,执行!");
}
执行结果
希望对您有帮助!
版权声明:本文为qq_41727840原创文章,遵循 CC 4.0 BY-SA 版权协议,转载请附上原文出处链接和本声明。