文章目录
使用 IDEA 快速搭建 SpringBoot 入门项目
一、构建SpringBoot项目
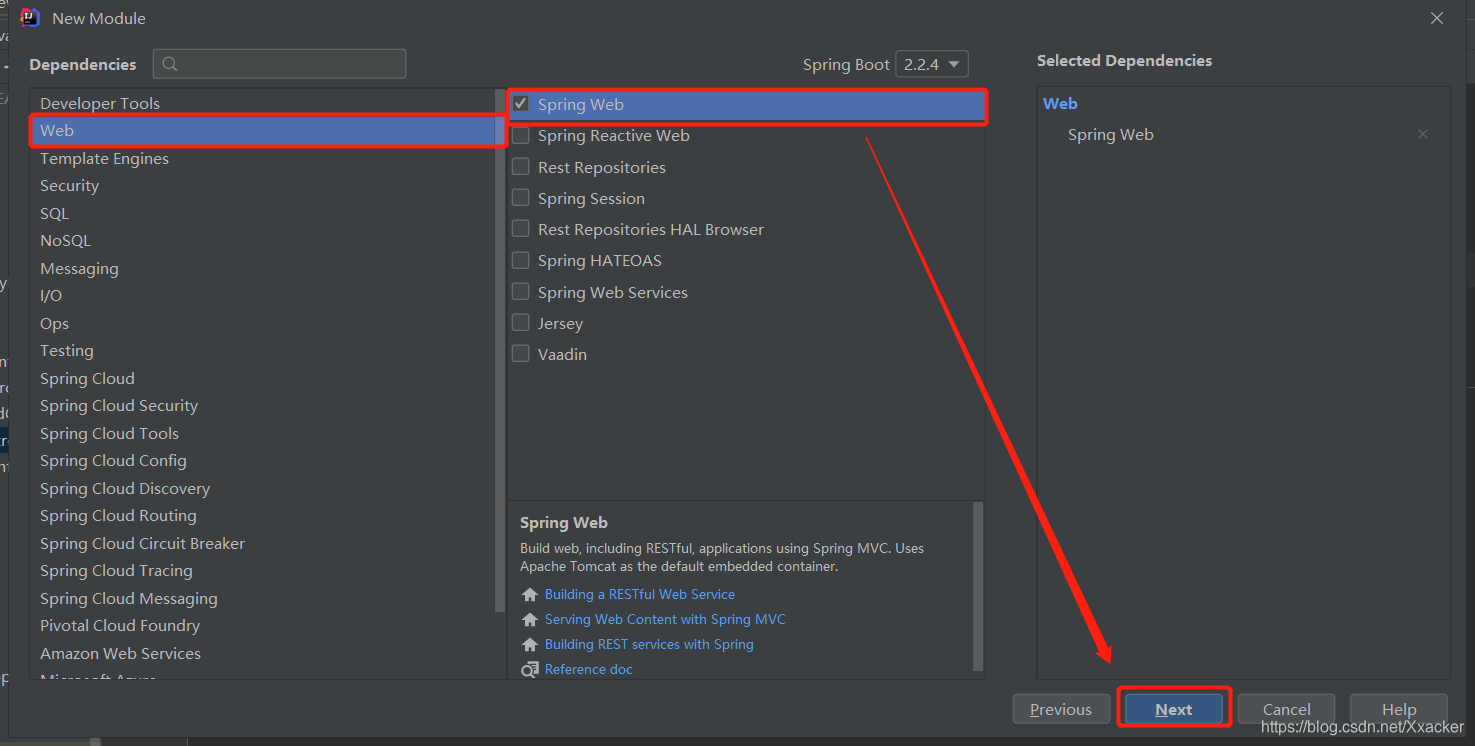
1.

2. 这里的packaging是指打包方式,可以是jar包,也可以是war包

3.

4.

入门项目构建完成!
二、在pom.xml文件中添加依赖
自动生成的SpringBoot项目中已经生成下面的依赖文件
   <parent>
       <groupId>org.springframework.boot</groupId>
       <artifactId>spring-boot-starter-parent</artifactId>
       <version>2.1.3.RELEASE</version>
       <relativePath/>
   </parent>
添加依赖
	<dependency>
            <groupId>org.springframework.boot</groupId>
            <artifactId>spring-boot-starter-web</artifactId>
    </dependency>
三、编写启动类Demo01Application
@SpringBootApplication
public class Demo01Application {
   public static void main(String[] args) {
       SpringApplication.run(Demo01Application.class, args);
   }
}
-
知识点:
@EnableAutoConfiguration
:表示
开启自动化配置
,由于项目添加了 spring-boot-starter-web 依赖,因此在开启了自动化配置之后会自动进行Spring SpringMVC 的配置。
@SpringBootConfiguration
:这是一个
配置类
,开发者可以在这个类中配置Bean 。
@ComponentScan
:完成
包扫描(扫描该类所在的包以及子子孙孙的包)
。
-
记:
项目启动类中的 @ComponentScan注解,除了扫描 @Service 、@Repository、 @Component、 @Controller、 @RestController 等之外 ,也会扫描@Configuration 注解的类。
-
也可以直接使用组合注解
@SpringBootApplication
来代替@EnableAutoConfiguration、
@ComponentScan和@SpringBootConf iguration
在这里就是使用了 @SpringBootApplication 代替了这三个注解。
四、创建 SpringMVC中的控制器:HelloController
@RestController
public class HelloController {
    @GetMapping("/hello")
    public String hello () {
        return "hello spring boot !";
    }
}
五、启动项目
通过SpringBoot项目的启动类启动该项目。

在浏览器中访问该项目,出现如下图所示表示项目启动成功!

版权声明:本文为Xxacker原创文章,遵循 CC 4.0 BY-SA 版权协议,转载请附上原文出处链接和本声明。