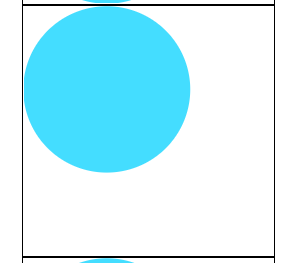
一、裁剪与蒙版
-
1.clipPath
只有路径范围内的内容会被显示, 路径范围外的内容不会被显示 -
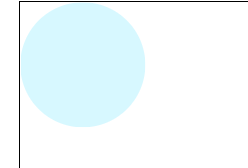
2.mask
mask和clipPath差不多
2.1.裁切路径是可见与不可见的突变
2.2.蒙版则是可见与不可见的渐变 -
注意点:
在指定裁剪和蒙版的时候需要通过url(#id)来指定
1.圆形在上,矩形在下
<svg width="500" height="500">
    <rect x="100" y="100" width="300" height="200" fill="4df"></rect>
    <circle cx="200" cy="200" r="100" fill="red"></circle>
 </svg>
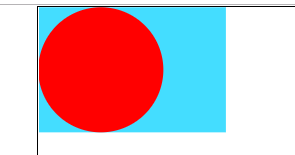
2.裁剪:将方形中被圆形盖住的部分裁剪下来。
<svg width="500" height="500">
    <clipPath id="myClip">
        <circle cx="50" cy="50" r="50" fill="red"></circle>
    </clipPath>
    <rect x="0" y="0" width="150" height="100" fill="#4df" clip-path="url(#myClip)"></rect>
 </svg>
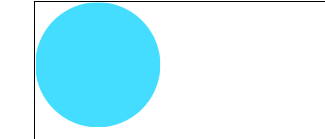
3.蒙版:同混合类似,但是蒙版会混合颜色,并有默认透明度
<svg width="500" height="500">
    <mask id="myMask">
        <circle cx="50" cy="50" r="50" fill="red"></circle>
    </mask>
    <rect x="0" y="0" width="150" height="100" fill="#4df" mask="url(#myMask)"></rect>
</svg>
二、渐变色
-
1.线性渐变和径向渐变
和Canvas一样, 在SVG中也可以生成渐变颜色
线性渐变
径向渐变 -
2.渐变属性
x1/y1: 渐变范围开始位置
x2/y2: 渐变范围结束位置
默认情况下x1/y1/x2/y2是当前元素的百分比,注意取值为百分比
x1/y1/x2/y2的单位可以通过gradientUnits(单位为百分比时可以不写gradientUnits属性)修改。
gradientUnits=“objectBoundingBox”:x1/y1/x2/y2的默认值为百分比
gradientUnits=“userSpaceOnUse”:修改x1/y1/x2/y2的的单位为像素3.注意点: 使用渐变颜色需要通过url(#id)格式来使用
<svg width="500" height="500">
    <defs>
       <linearGradient id="myColor" x1="0" y1="0" x2="1" y2="1" gradientUnits="objectBoundingBox">
            <!--从0%开始为一个颜色,到100%结束为一个颜色-->
            <stop offset="0" stop-color="#1df"></stop>
            <stop offset="1" stop-color="#faf"></stop>
        </linearGradient>
    </defs>
    <rect x="100" y="100" width="300" height="200" fill="url(#myColor)"></rect>
</svg>
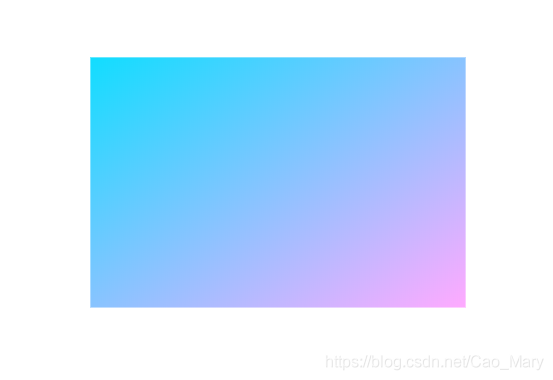
<svg width="500" height="500">
    <defs>
        <linearGradient id="myColor" x1="100" y1="100" x2="200" y2="200" gradientUnits="userSpaceOnUse">
            <!--从0%开始为一个颜色,到100%结束为一个颜色-->
            <stop offset="0" stop-color="#1df"></stop>
            <stop offset="1" stop-color="#faf"></stop>
        </linearGradient>
    </defs>
    <rect x="100" y="100" width="300" height="200" fill="url(#myColor)"></rect>
</svg>

三、画笔
- 1.Pattern(画笔)
在SVG中除了可以使用纯色和渐变色作为填充色以外, 还可以使用自定义图形作为填充 - 2.Pattern属性
width/height默认情况下也是百分比
可以通过gradientUnits修改
patternUnits=“objectBoundingBox”
patternUnits=“userSpaceOnUse”
<svg width="500" height="500">
    <!--使用小圆填满整个矩形 使用画笔工具-->
    <defs>
        <!--width="0.2":300的五分之一
            height="0.2":200的五分之一(0.2是1的五分之一)
            -->
        <pattern id="myPattern" width="0.2" height="0.2" patternUnits="objectBoundingBox">
            <circle cx="10" cy="10" r="10" fill="#faf"></circle>
        </pattern>
    </defs>
    <rect x="100" y="100" width="300" height="200" fill="url(#myPattern)"></rect>
</svg>
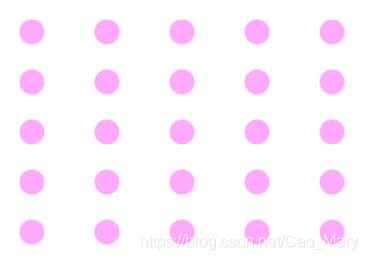
<svg width="500" height="500">
    <!--使用小圆填满整个矩形 使用画笔工具-->
    <defs>
        <!--width="20":300/20=15个点
          height="20":200/20=10个点(0.2是1的五分之一)
          -->
        <pattern id="myPattern" width="20" height="20" patternUnits="userSpaceOnUse">
            <circle cx="10" cy="10" r="10" fill="#faf"></circle>
        </pattern>
    </defs>
    <rect x="100" y="100" width="300" height="200" fill="url(#myPattern)"></rect>
</svg>
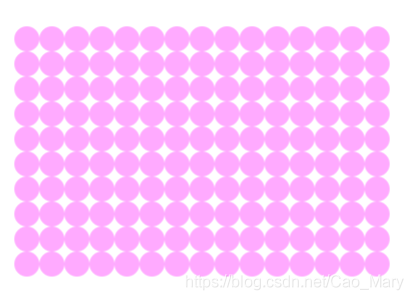
四、形变
和Canvas一样,改变的是坐标系。
- 正常
<rect x="100" y="20" width="300" height="200" fill="#adf"></rect>
<rect x="100" y="250" width="300" height="200" fill="#aef"></rect>
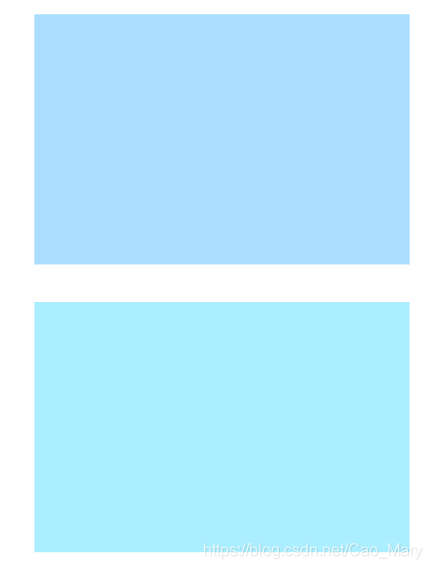
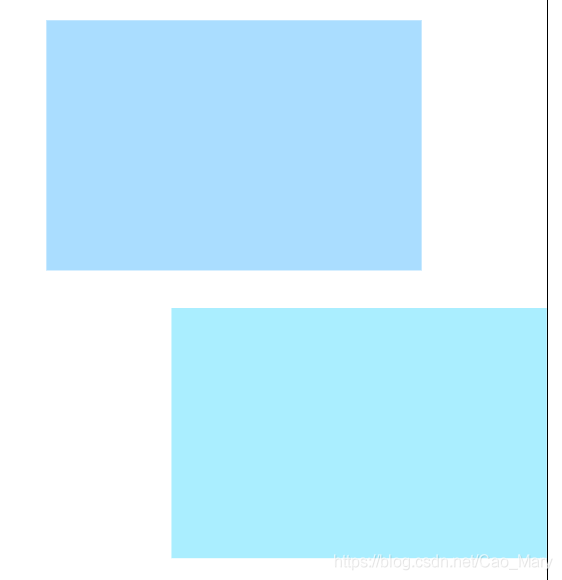
- x轴左移100像素
<rect x="100" y="20" width="300" height="200" fill="#adf"></rect>
<rect x="100" y="250" width="300" height="200" fill="#aef" transform="translate(100, 0)"></rect>
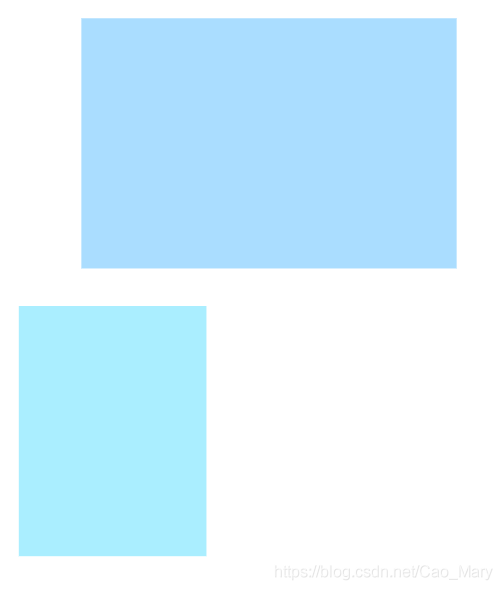
- x轴缩小一半
<rect x="100" y="20" width="300" height="200" fill="#adf"></rect>
<rect x="100" y="250" width="300" height="200" fill="#aef" transform="scale(0.5, 1)"></rect>
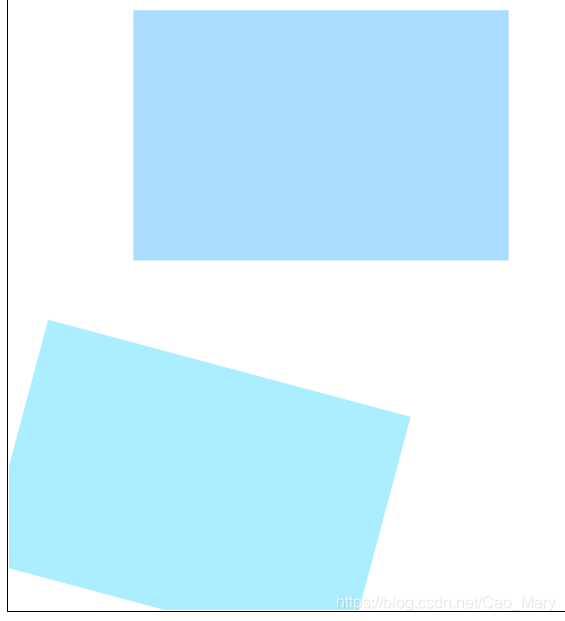
- 整个坐标系旋转15度
<rect x="100" y="20" width="300" height="200" fill="#adf"></rect>
<rect x="100" y="250" width="300" height="200" fill="#aef" transform="rotate(15)"></rect>
五、ViewBox
-
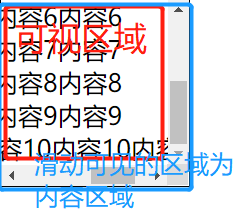
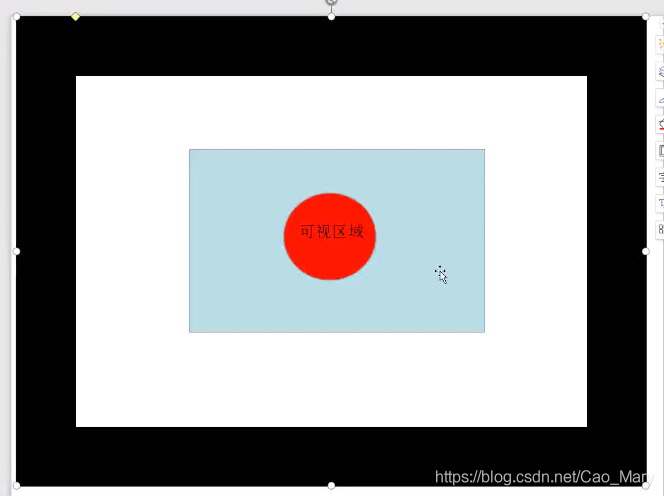
0.什么是可视区域和内容区域
可视区域:可以直接看到的区域
内容区域:可以直接看到的区域+滑动可以看到的区域
-
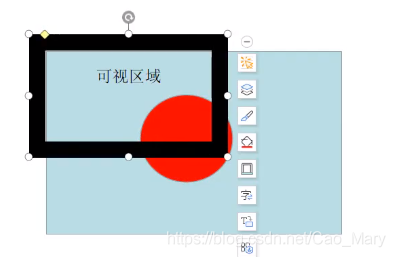
1.什么是ViewBox?
ViewBox就是可视区域, 用户能看到的区域。
默认情况下,可视区域的大小和内容区域(viewProt)大小是一致的
但是我们也可以手动修改可视区域的大小 -
2.修改可是区域使用ViewBox属性格式
viewBox=“x y width height”
x:修改可视区域x方向位置
y:修改可视区域y方向位置
width/height: 修改可视区域尺寸, 近大远小 -
3.案例
-
3.1.当前的viewBox为默认值,可视区域的大小和内容区域大小是一致的
<svg width="200" height="200" viewBox="0 0 200 200"><!---->
    <circle cx="100" cy="100" r="50" fill="#dfa"></circle>
</svg>

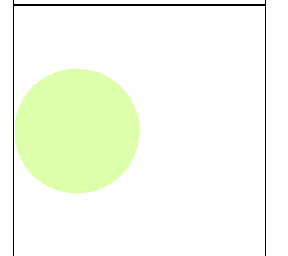
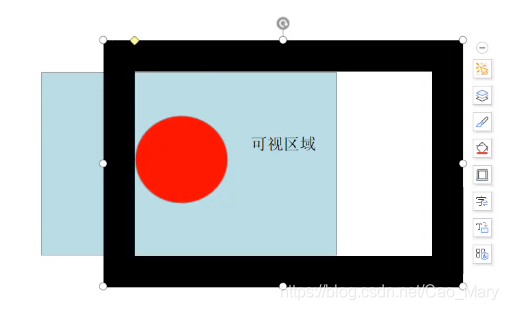
- 3.2.当前的viewBox的x为50。表示将可视区域向右平移50像素
<svg width="200" height="200" viewBox="50 0 200 200">
    <circle cx="100" cy="100" r="50" fill="#dfa"></circle>
</svg>
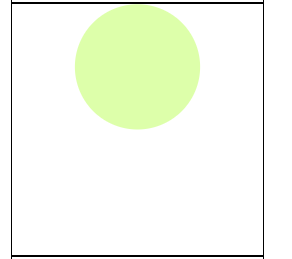
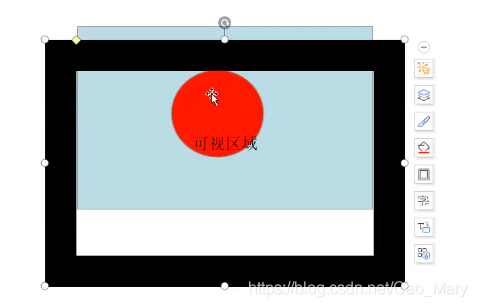
- 3.3.当前的viewBox的y为50。表示将可视区域向下平移50像素
<svg width="200" height="200" viewBox="0 50 200 200">
    <circle cx="100" cy="100" r="50" fill="#dfa"></circle>
</svg>
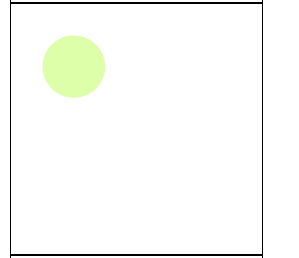
- 3.4.当前的viewBox的w/h为400,可视区域被放大。
可视区域在原来的宽高基础上,等比变大为400,变远
<svg width="200" height="200" viewBox="0 0 400 400">
    <circle cx="100" cy="100" r="50" fill="#dfa"></circle>
</svg>
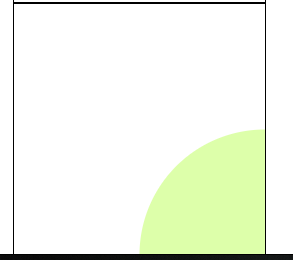
- 3.5.当前的viewBox的w/h为100,可视区域被缩小。
可视区域在原来的宽高基础上,等比缩小为100,变近
</svg>
<svg width="200" height="200" viewBox="0 0 100 100">
    <circle cx="100" cy="100" r="50" fill="#dfa"></circle>
</svg>
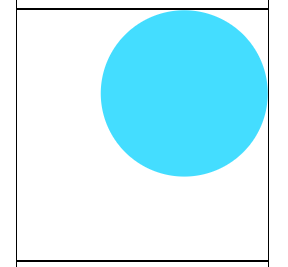
- 3.6.可视区域在原来的宽高基础上,不等比缩放。
viewBox的x/y失效。
原因:- 默认情况下如果viewBox的尺寸是等比缩放的, 那么调整后viewBox区域的xy和内容区域的xy对齐,
- 但是如果viewBox的尺寸不是等比缩放的, 那么系统就会调整viewBox的位置, 我们设置的x/y会失效
- 此时如果需要viewBox的xy和内容区域(viewProt)的xy继续保持重合, 那么就需要使用preserveAspectRatio属性来设置对齐方式
<svg width="200" height="200" viewBox="0 0 50 150">
    <circle cx="50" cy="50" r="50" fill="#4df"></circle>
</svg>
- 3.7 preserveAspectRatio属性的取值:
-
preserveAspectRatio 第一个参数
xMin viewport和viewBox左边对齐
xMid viewport和viewBox x轴中心对齐
xMax viewport和viewBox右边对齐
YMin viewport和viewBox上边缘对齐。注意Y是大写。
YMid viewport和viewBox y轴中心点对齐。注意Y是大写。
YMax viewport和viewBox下边缘对齐。注意Y是大写。 -
preserveAspectRatio 第二个参数
meet 保持纵横比缩放viewBox适应viewport,受
slice 保持纵横比同时比例小的方向放大填满viewport,攻
none 扭曲纵横比以充分适应viewport,变态
-
<svg width="200" height="200" viewBox="0 0 50 150" preserveAspectRatio="xMinYMin">
    <circle cx="50" cy="50" r="50" fill="#4df"></circle>
</svg>
