目的
开发一个仪表,在使用过程中发现用ESP32控制打印机和主控制有冲突,会造成数据采集流程慢。而控制蓝牙打印的过程需要回调函数,速度比较慢,考虑到ESP32具有两个核,实际上我们用Arduino进行编程时只使用到了第一个核,第0核并没有使用。想到将0核利用起来,这个核只控制BLE蓝牙打印机,带着这个想法开始试验。
程序编制
下面不说废话,进入编程。用Arduino自带的例子进行编程。
首先是要在程序程序中引用库:
#include "BLEDevice.h"
头文件的详细介绍这里就不展开了。
下面是定义要使用蓝牙打印机的两个参数:
// The remote service we wish to connect to.
static BLEUUID serviceUUID("000018f0-0000-1000-8000-00805f9b34fb");
// The characteristic of the remote service we are interested in.
static BLEUUID    charUUID("00002af1-0000-1000-8000-00805f9b34fb");
这两个参数是使用打印机的关键,一个是服务的标识,一个是服务的特性标识。这两个参数是我用一个免费的手机软件读取的,软件的名字叫“BLE调试宝”。在华为的商店里可以找到,下载,然后查找打印机的服务,也可以在这个软件上向打印机发送ASCII打印数据。如果有问题,可以另文介绍。也可以参见我的另一篇文章
ESP32蓝牙打印机
.
定义所有的静态变量:
// The remote service we wish to connect to.
static bool doConnect = false;				// 连接
static bool connected = false;				// 已经连接
static bool doScan = false;					// 扫描
static BLERemoteCharacteristic* pRemoteCharacteristic;
static BLEAdvertisedDevice* myDevice;
bool bBLEConnect = false;
bool bBLEPrinter = false;

// 定义Notify的回调函数,这个函数在我们的程序中不使用
static void notifyCallback(
  BLERemoteCharacteristic* pBLERemoteCharacteristic,
  uint8_t* pData,
  size_t length,
  bool isNotify)
{
    Serial.print("Notify callback for characteristic ");
    Serial.print(pBLERemoteCharacteristic->getUUID().toString().c_str());
    Serial.print(" of data length ");
    Serial.println(length);
    Serial.print("data: ");
    Serial.println((char*)pData);
}

// 定义回调的类,class
class MyClientCallback : public BLEClientCallbacks
{
    void onConnect(BLEClient* pclient)
    {
    	// 连接时可以添加代码,比如连接了打印机可以打印回车
    }

    void onDisconnect(BLEClient* pclient)
    {
      connected = false;
      Serial.println("onDisconnect");
    }
};

// 连接 Server 的分程序,当发现自己要连接的ServerUUID和CharacteristicUUID时执行
bool connectToServer()
{
    Serial.print("Forming a connection to ");
    Serial.println(myDevice->getAddress().toString().c_str());

    BLEClient*  pClient  = BLEDevice::createClient();
    Serial.println(" - Created client");

    pClient->setClientCallbacks(new MyClientCallback());

    // Connect to the remove BLE Server.
    pClient->connect(myDevice);
    // if you pass BLEAdvertisedDevice instead of address,
    //it will be recognized type of peer device address (public or private)
    Serial.println(" - Connected to server");

    // Obtain a reference to the service we are after in the remote BLE server.
    BLERemoteService* pRemoteService = pClient->getService(serviceUUID);
    if (pRemoteService == nullptr)
    {
      Serial.print("Failed to find our service UUID: ");
      Serial.println(serviceUUID.toString().c_str());
      pClient->disconnect();
      return false;
    }
    Serial.println(" - Found our service");


    // Obtain a reference to the characteristic in the service of the remote BLE server.
    pRemoteCharacteristic = pRemoteService->getCharacteristic(charUUID);
    if (pRemoteCharacteristic == nullptr)
    {
      Serial.print("Failed to find our characteristic UUID: ");
      Serial.println(charUUID.toString().c_str());
      pClient->disconnect();
      return false;
    }
    Serial.println(" - Found our characteristic");

    // Read the value of the characteristic.
    if(pRemoteCharacteristic->canRead())
    {
      std::string value = pRemoteCharacteristic->readValue();
      Serial.print("The characteristic value was: ");
      Serial.println(value.c_str());
    }

    if(pRemoteCharacteristic->canNotify())
      pRemoteCharacteristic->registerForNotify(notifyCallback);

    connected = true;
    return true;
}

// 定义发现蓝牙设备的类 class

/**
 * Scan for BLE servers and find the first one that advertises the service we are looking for.
 */
class MyAdvertisedDeviceCallbacks: public BLEAdvertisedDeviceCallbacks
{
 /**
   * Called for each advertising BLE server.
   */
  void onResult(BLEAdvertisedDevice advertisedDevice)
  {
    Serial.print("BLE Advertised Device found: ");
    Serial.println(advertisedDevice.toString().c_str());

    // We have found a device, let us now see if it contains the service we are looking for.
    if (advertisedDevice.haveServiceUUID() &&
        advertisedDevice.isAdvertisingService(serviceUUID))
    {
      BLEDevice::getScan()->stop();
      myDevice = new BLEAdvertisedDevice(advertisedDevice);
      doConnect = true;
      doScan = true;
     } // Found our server
    } // onResult
}; // MyAdvertisedDeviceCallbacks

// 定义三个指示灯,这个根据板子定义

/* 指示灯变量                                                      */
const byte RLED   = 14;           // run led
const byte DSEND  = 12;           // send led
const byte DRECV  = 13;           // receive led
/* --------------------------------------------------------------*/

uint32_t xCnt01 = 0;

// setup()函数,这个函数是在核1中执行的。可以在这里定义要运行核0的函数
void setup()
{
  Serial.begin(115200);
  Serial.println("Starting Arduino BLE Client application...");

  pinMode(RLED, OUTPUT);
  pinMode(DSEND, OUTPUT);
  pinMode(DRECV, OUTPUT);
  digitalWrite(RLED, HIGH);
  digitalWrite(DSEND, HIGH);
  digitalWrite(DRECV, HIGH);

  Serial.printf("ESP32 chip revision : %d\r\n", (int16_t)ESP.getChipRevision());
  Serial.printf("ESP32 SDK Version : %s\r\n", ESP.getSdkVersion());
  Serial.printf("ESP32 Speed : %u MHz\r\n", ESP.getCpuFreqMHz());
  Serial.print("Task ReadMMeter function running on core: ");
  Serial.println(xPortGetCoreID());

  xTaskCreatePinnedToCore(
    TaskPBle
    ,  "BLEPriter"   // A name just for humans
    ,  1024 * 10  // This stack size can be checked & adjusted by reading the Stack Highwater
    ,  NULL
    ,  1  // Priority, with 3 (configMAX_PRIORITIES - 1) being the highest, and 0 being the lowest.
    ,  NULL
    ,  0);     // 这个0,表示要执行的TaskPBle是在核0中执行。

} // End of setup.

// 核1 执行的程序,做了一个闪亮的指示灯

// This is the Arduino main loop function.
void loop()
{
  xCnt01++;
  if (xCnt01 > 2880000)
  {
    xCnt01 = 0;
    digitalWrite(RLED, !digitalRead(RLED));
  }


//  delay(1000); // Delay a second between loops.
} // End of loop

// 核 0 的程序,蓝牙打印机打印。
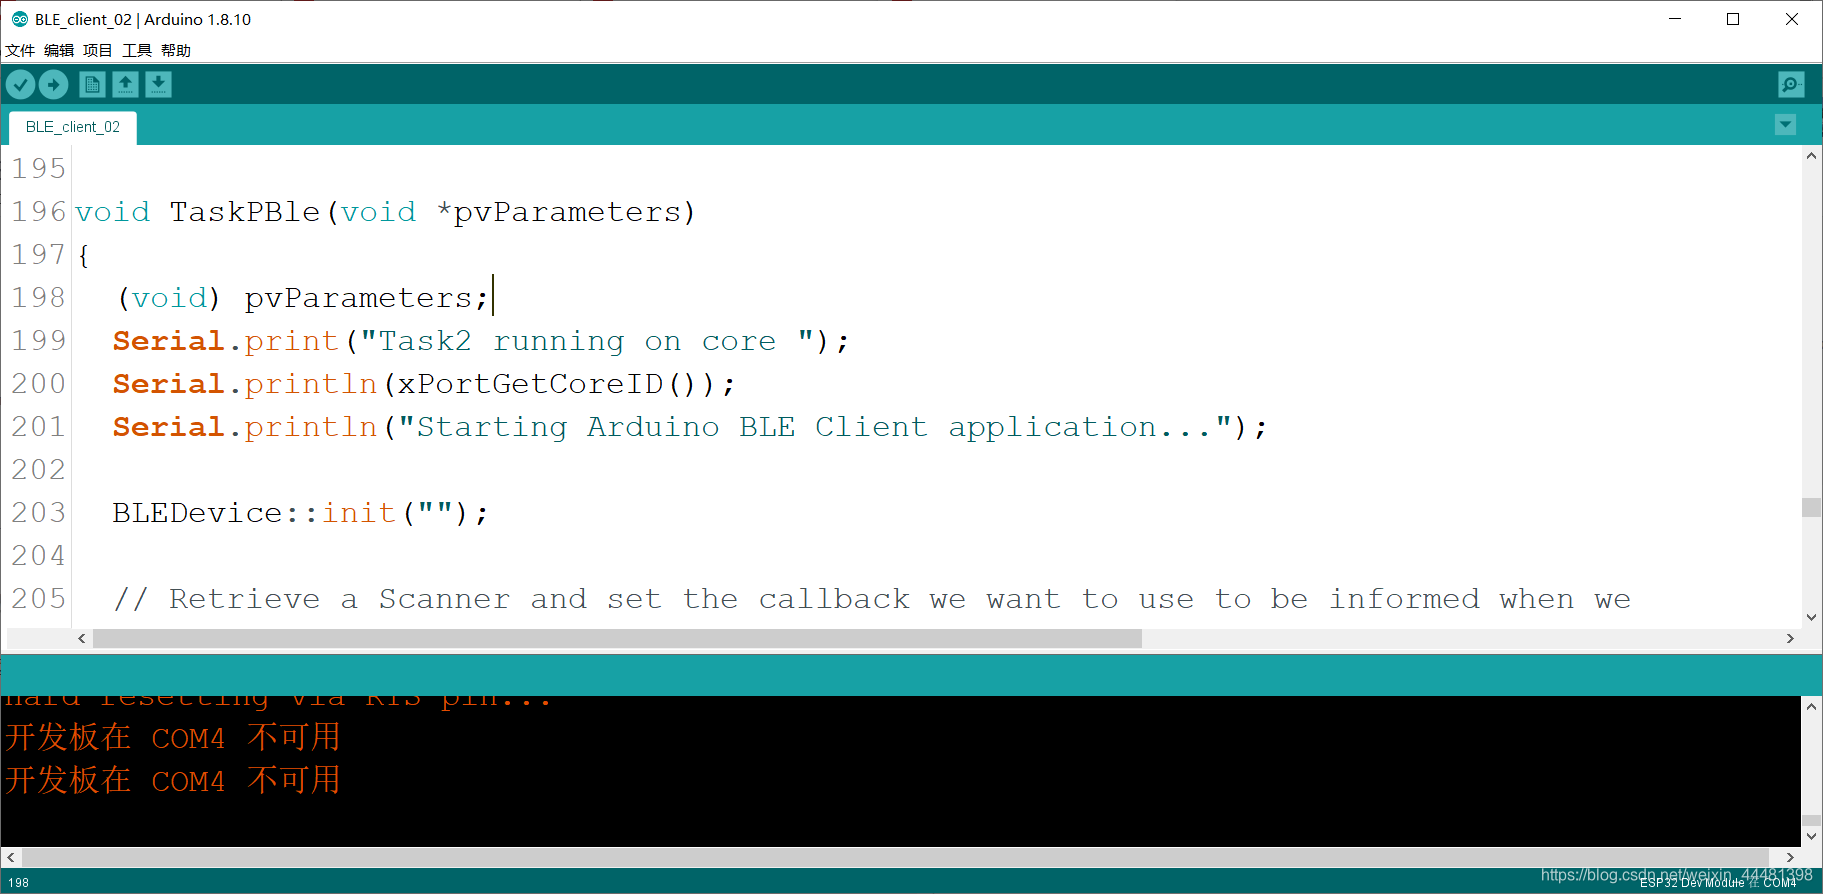
void TaskPBle(void *pvParameters)
{
  (void) pvParameters;
  Serial.print("Task2 running on core ");
  Serial.println(xPortGetCoreID());
  Serial.println("Starting Arduino BLE Client application...");

  BLEDevice::init("");

  // Retrieve a Scanner and set the callback we want to use to be informed when we
  // have detected a new device.  Specify that we want active scanning and start the
  // scan to run for 5 seconds.
  BLEScan* pBLEScan = BLEDevice::getScan();
  pBLEScan->setAdvertisedDeviceCallbacks(new MyAdvertisedDeviceCallbacks());
  pBLEScan->setInterval(1349);
  pBLEScan->setWindow(449);
  pBLEScan->setActiveScan(true);
  pBLEScan->start(10, false);

  for (;;)
  {
  // If the flag "doConnect" is true then we have scanned for and found the desired
  // BLE Server with which we wish to connect.  Now we connect to it.  Once we are
  // connected we set the connected flag to be true.
    if (doConnect == true)
    {
      if (connectToServer()) {
        Serial.println("We are now connected to the BLE Server.");
      } else {
        Serial.println("We have failed to connect to the server; there is nothin more we will do.");
      }
      doConnect = false;
    }

  // If we are connected to a peer BLE Server, update the characteristic each time we are reached
  // with the current time since boot.
    if (connected)
    {
      if ( Serial.available())
      {
        Serial.readString();
        String xStr = "----- Test Report -----\r\n";

        Serial.println(xStr);
        pRemoteCharacteristic->writeValue(xStr.c_str(), xStr.length());
        xStr = "Date:2020-5-30\r\n";
        pRemoteCharacteristic->writeValue(xStr.c_str(), xStr.length());
        xStr = "Time:19:18:30\r\n";
        pRemoteCharacteristic->writeValue(xStr.c_str(), xStr.length());
        xStr = "Max: 3.69 mm\r\n";
        pRemoteCharacteristic->writeValue(xStr.c_str(), xStr.length());
        xStr = "Min: 1.69 mm\r\n";
        pRemoteCharacteristic->writeValue(xStr.c_str(), xStr.length());
        xStr = "----------------------\r\n\r\n";
        pRemoteCharacteristic->writeValue(xStr.c_str(), xStr.length());
      }
    }else if(doScan)
    {
      BLEDevice::getScan()->start(0);  // this is just example to start scan after disconnect, most likely there is better way to do it in arduino
    }
    delay(2);
  }
}
总结
这个程序用Arduino 1.8.10编译通过。芯片采用了安信可的ESP32芯片。

程序的初始化在前面部分,for(;;)后面的程序是无线循环程序。当打印机连接时可以自动连接,当打印机断电再上电时可以自动连接。可以初步运行了。注意,在核0的程序最好需要增加延时,我增加了一个delay(2)的短延时,这也算是喂狗吧,没有这个延时会不断的重新启动。
程序的主要特点:
- 主程序在核1中执行。可以执行MCU需要时间紧迫处理的程序,比如我的程序是需要80ms时钟中断的仪表数据采集程序。
- 蓝牙部分在核0中运行,速度慢不会影响到核1的数据采集。
需要进一步的工作:
1、如果是产品,更换打印机需要识别,并能够设置。
2、设置可以记忆。