首先要安装·azure Kinect dk传感器和人体跟踪的软件
先安装传感器:
Azure-Kinect-Sensor-SDK/usage.md at develop · microsoft/Azure-Kinect-Sensor-SDK · GitHub
在这个网址里下载,
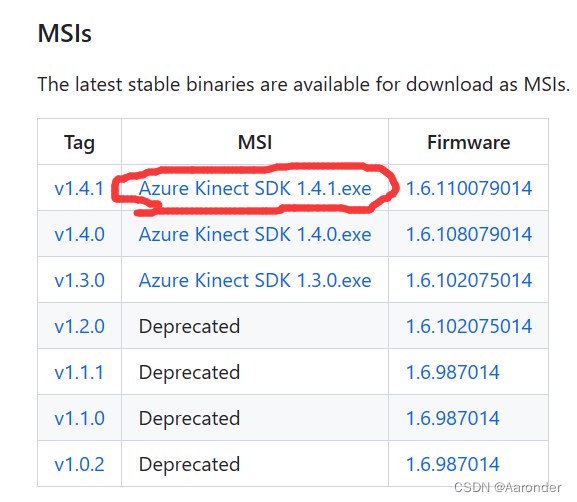
点击红笔画出来的地方,下载安装,记住安装路径,建议默认安装。
点击后就会出现
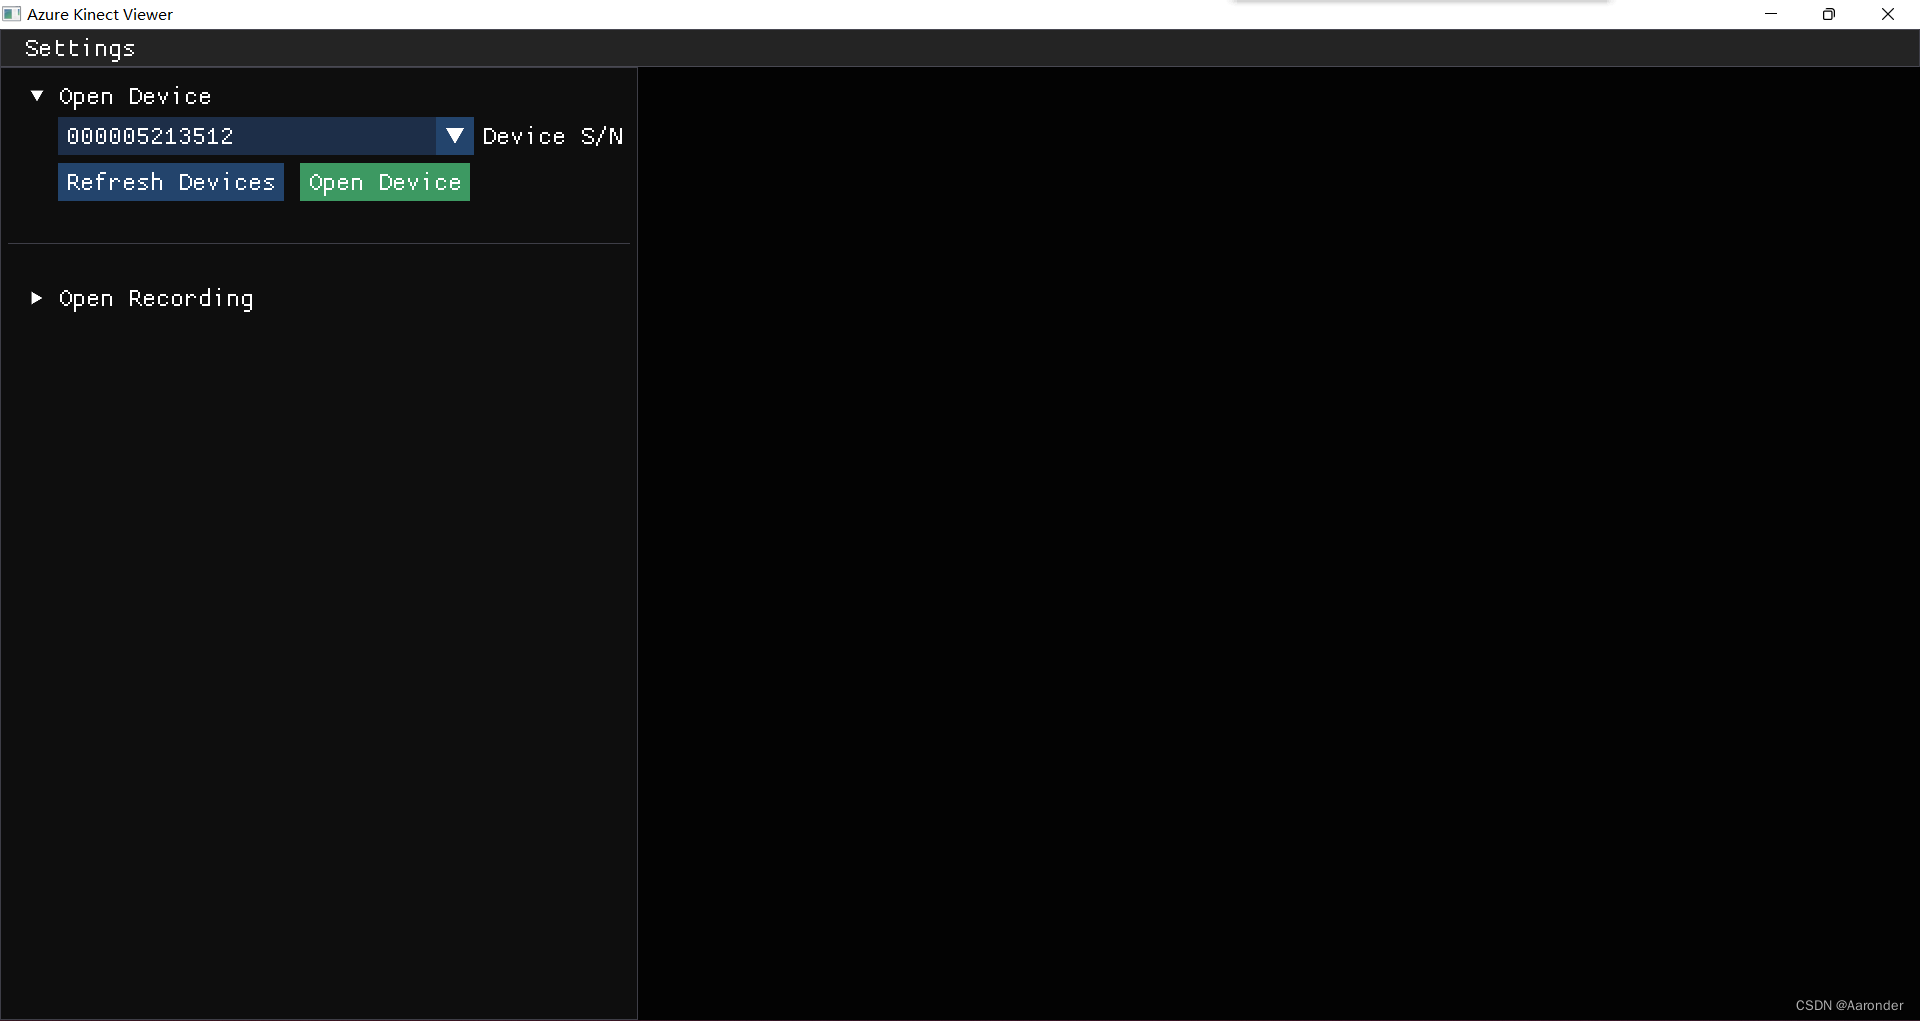
这个窗口,然后点绿色的按钮,打开设备,前提是先将相机连接在电脑上,相机后面的小白灯一直亮着就代表可以了。

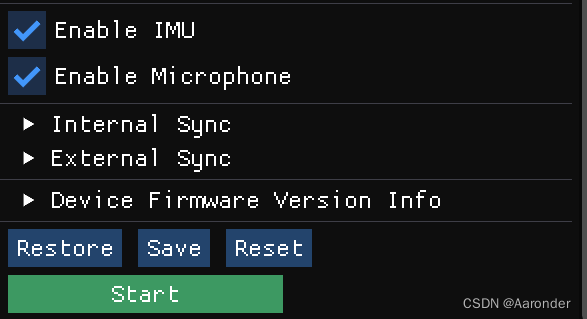
再点击start按钮就好了
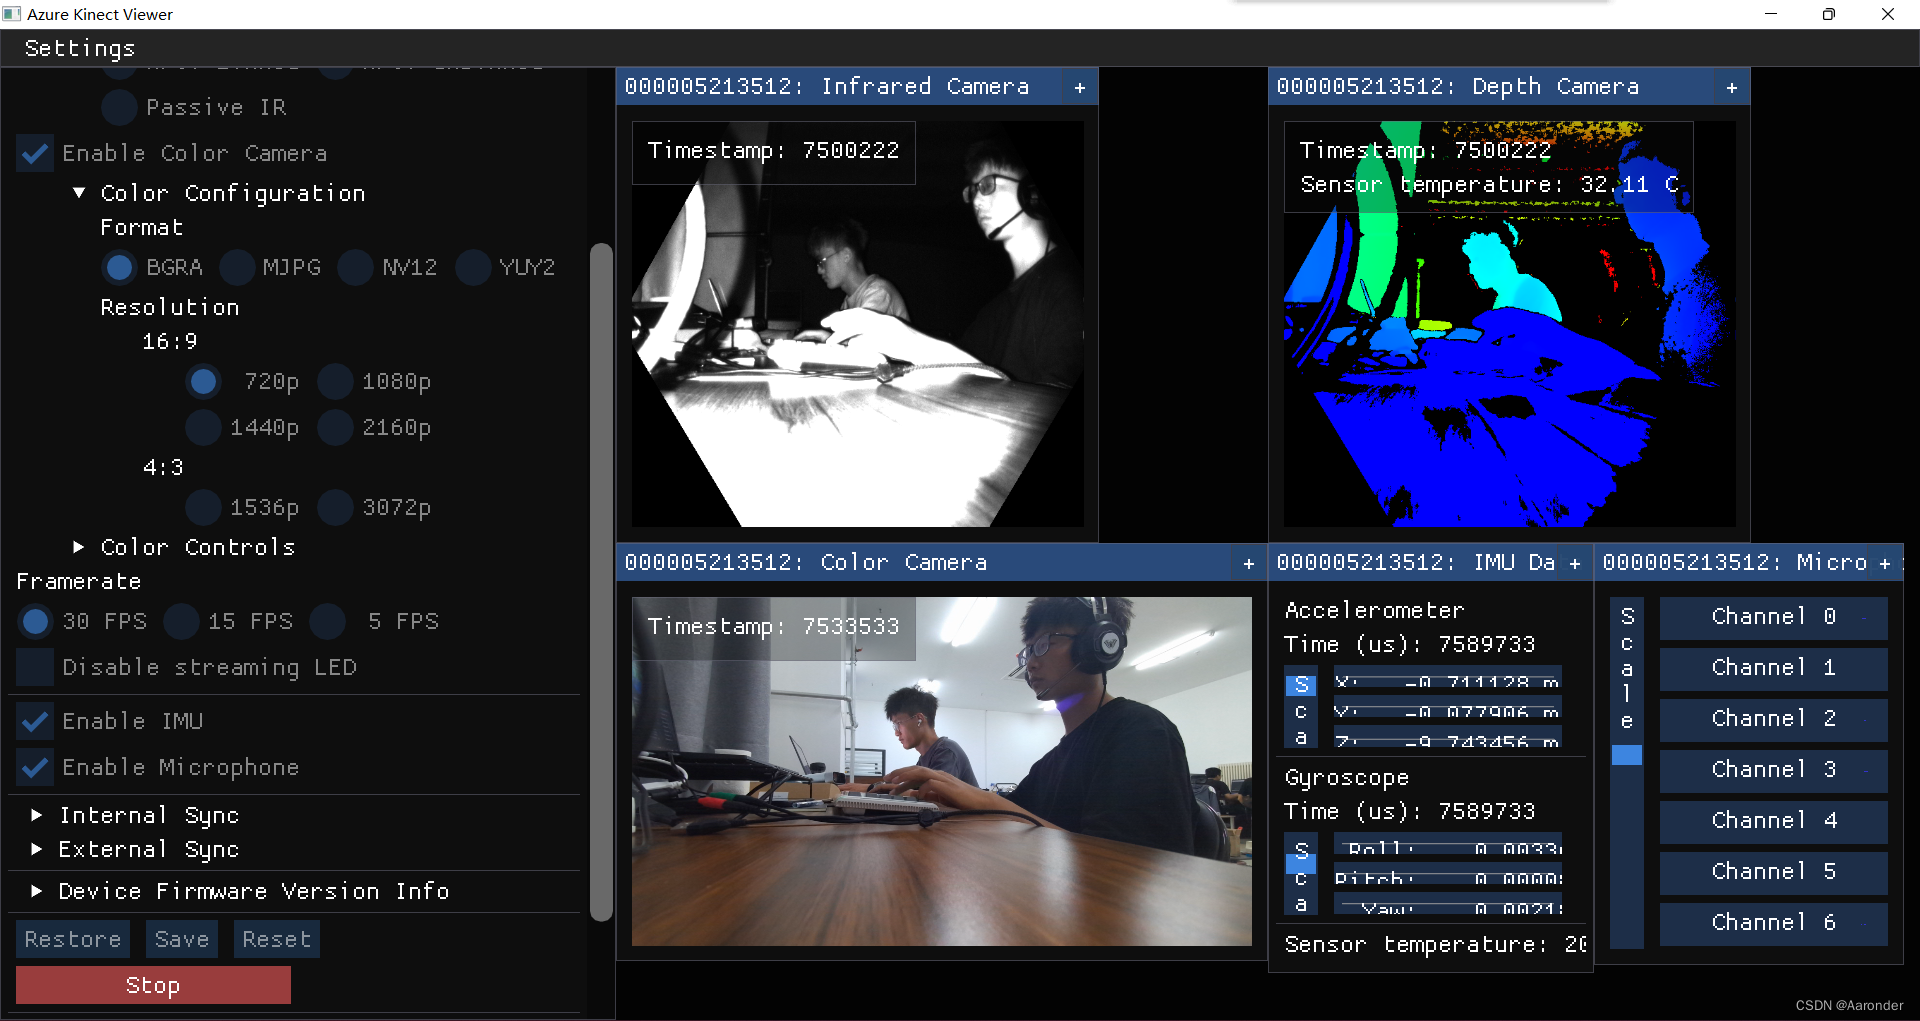
这样就打开了。
配置一下在visual studio里的环境。
先创建一个项目,然后右键项目找到“管理NuGet程序包”这个选项,点进去
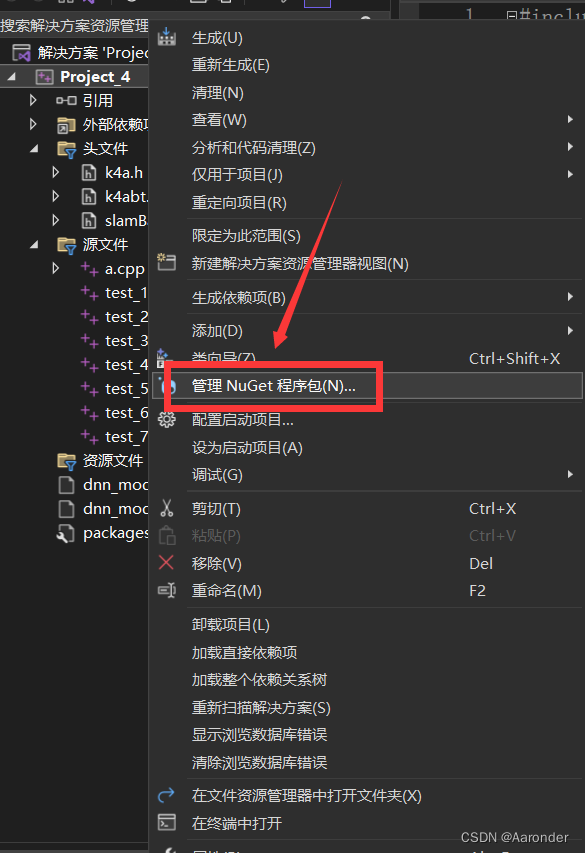
在浏览里面搜索Microsoft.Azure.Kinect.Sensor安装一下。

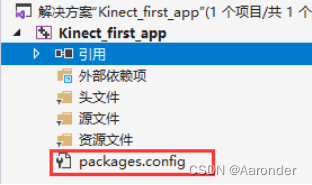
安装成功后在项目下面会有packages.config文件,就是安装成功了
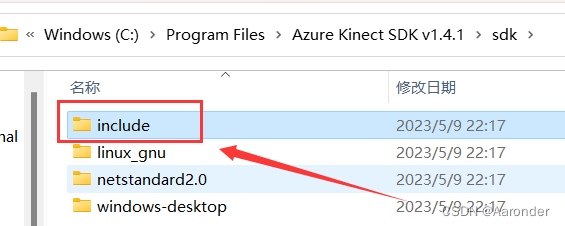
然后添加头文件k4a.h,默认的路径为”C:\Program Files\Azure Kinect SDK v1.4.1\sdk\include\k4a\k4a.h”
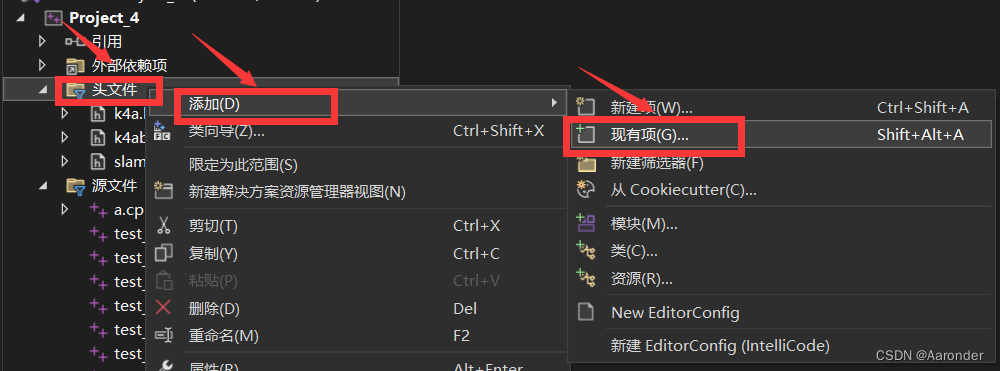
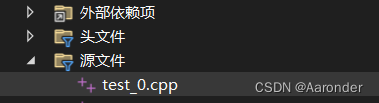
然后添加头文件目录和库文件目录,这里记得先创建一个cpp文件
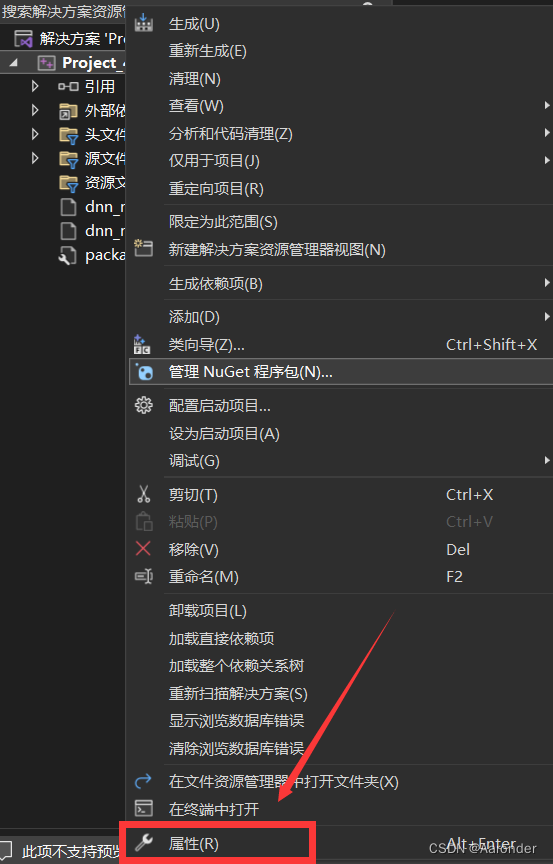
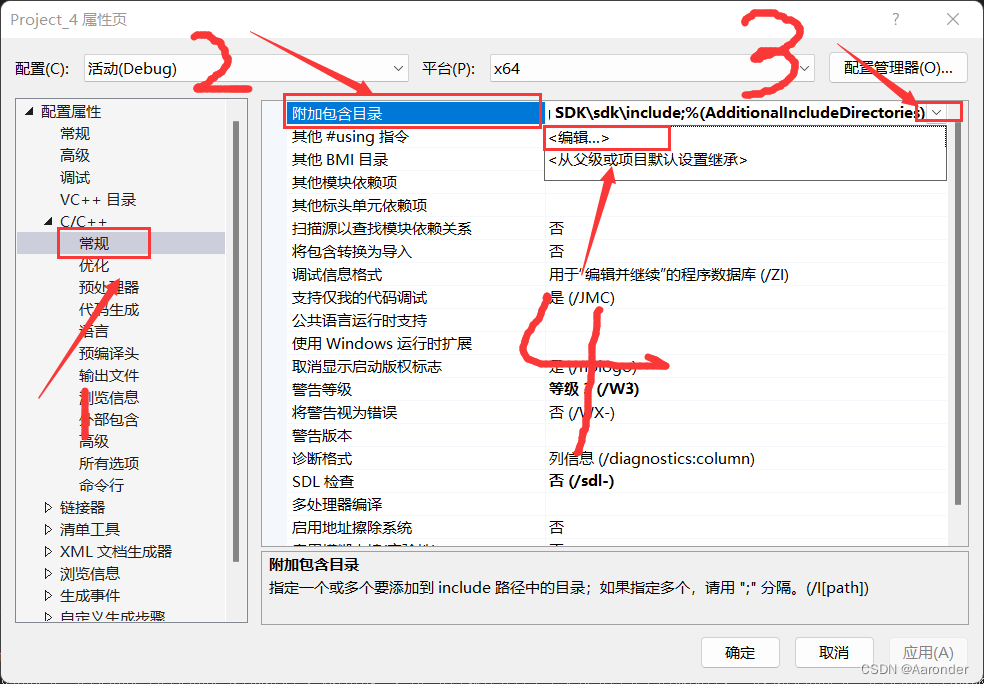
项目右键,找到属性,上面的平台改为x64
C++常规里,找到附加包含目录,加入sdk里include的路径
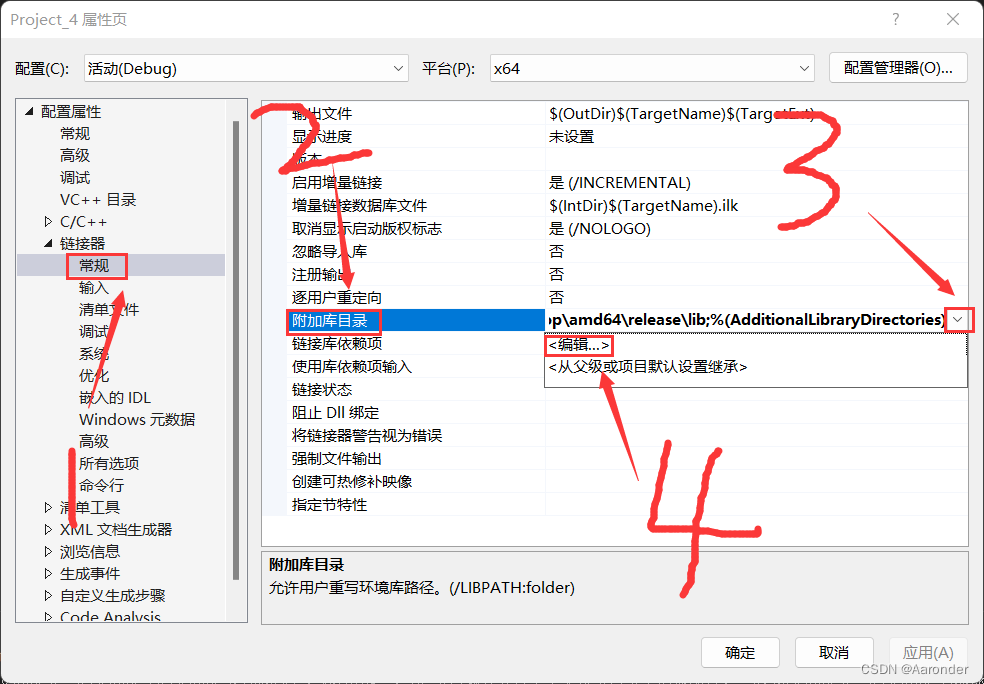
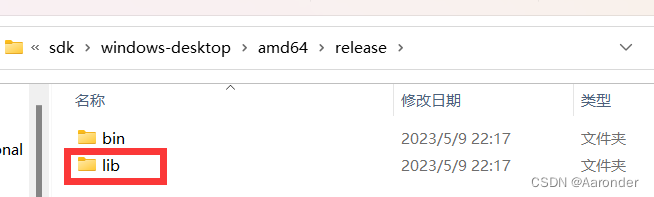
在链接器里找到附加库目录,加入sdk里的lib路径,默认路径为C:\Program Files\Azure Kinect SDK v1.4.1\sdk\windows-desktop\amd64\release\lib
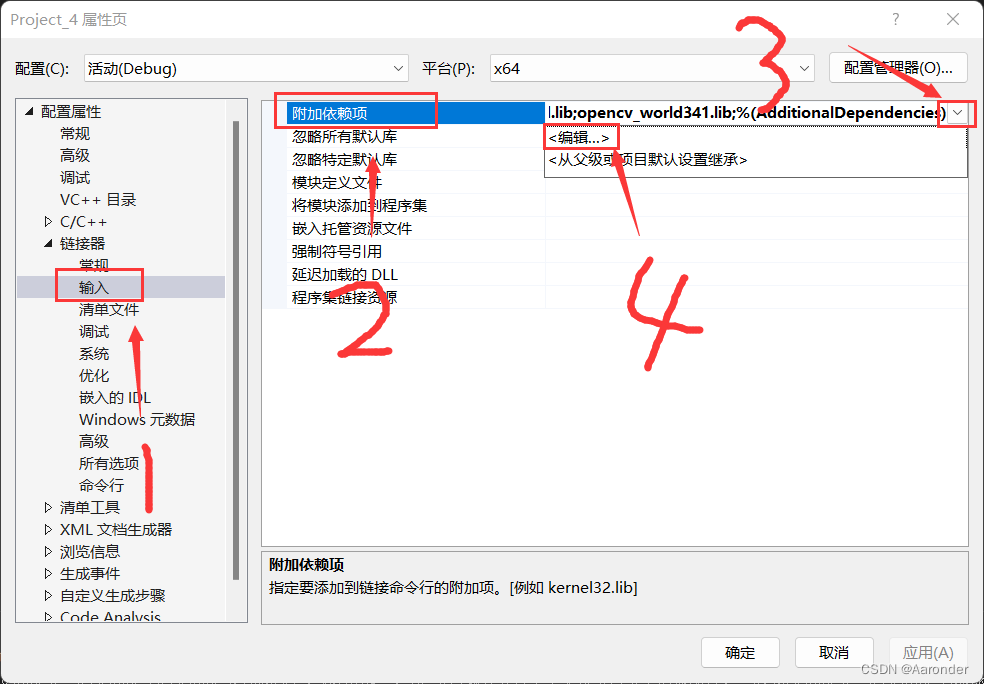
链接器,输入,找到附加依赖项,添加k4a.lib就行了
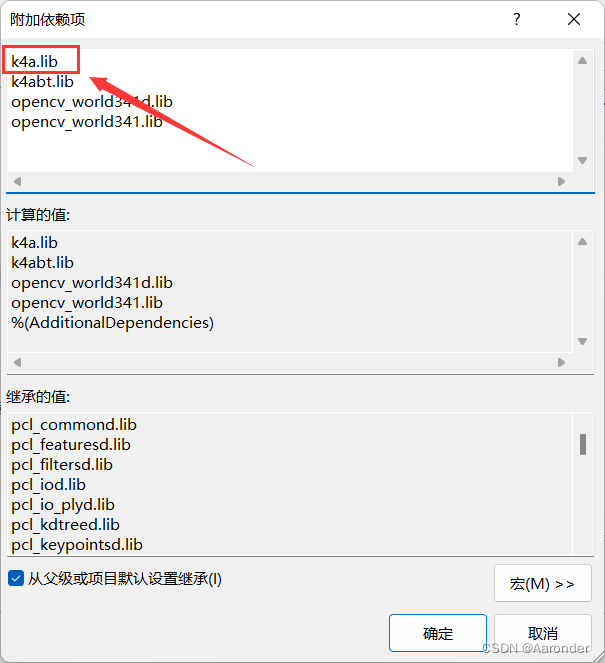
添加完后记得点下面的应用,然后点击确定。
全部完成后运行一下下面的代码
#pragma comment(lib, "k4a.lib")
#include <k4a/k4a.h>

#include <stdio.h>
#include <stdlib.h>

int main()
{
    uint32_t count = k4a_device_get_installed_count();
    if (count == 0)
    {
        printf("No k4a devices attached!\n");
        return 1;
    }

    // Open the first plugged in Kinect device
    k4a_device_t device = NULL;
    if (K4A_FAILED(k4a_device_open(K4A_DEVICE_DEFAULT, &device)))
    {
        printf("Failed to open k4a device!\n");
        return 1;
    }

    // Get the size of the serial number
    size_t serial_size = 0;
    k4a_device_get_serialnum(device, NULL, &serial_size);

    // Allocate memory for the serial, then acquire it
    char *serial = (char*)(malloc(serial_size));
    k4a_device_get_serialnum(device, serial, &serial_size);
    printf("Opened device: %s\n", serial);
    free(serial);

    // Configure a stream of 4096x3072 BRGA color data at 15 frames per second
    k4a_device_configuration_t config = K4A_DEVICE_CONFIG_INIT_DISABLE_ALL;
    config.camera_fps       = K4A_FRAMES_PER_SECOND_15;
    config.color_format     = K4A_IMAGE_FORMAT_COLOR_BGRA32;
    config.color_resolution = K4A_COLOR_RESOLUTION_3072P;

    // Start the camera with the given configuration
    if (K4A_FAILED(k4a_device_start_cameras(device, &config)))
    {
        printf("Failed to start cameras!\n");
        k4a_device_close(device);
        return 1;
    }

    // Camera capture and application specific code would go here

    // Shut down the camera when finished with application logic
    k4a_device_stop_cameras(device);
    k4a_device_close(device);

    return 0;
}
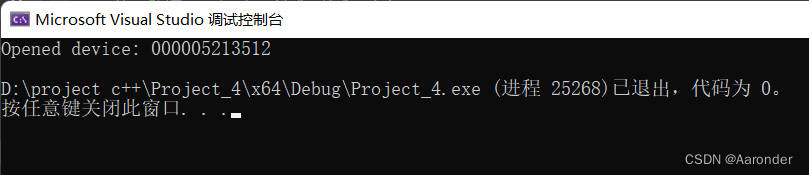
运行结果正常就是以上了
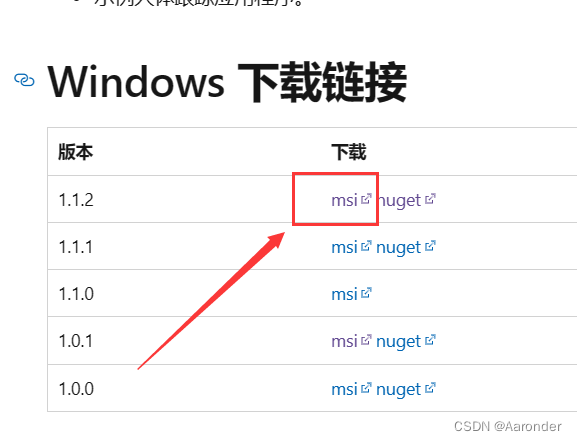
安装人体跟踪的软件
用这个网站
Azure Kinect 人体跟踪 SDK 下载 | Microsoft Learn
,下载最新版本,点击msi就直接下载了,也是建议默认安装
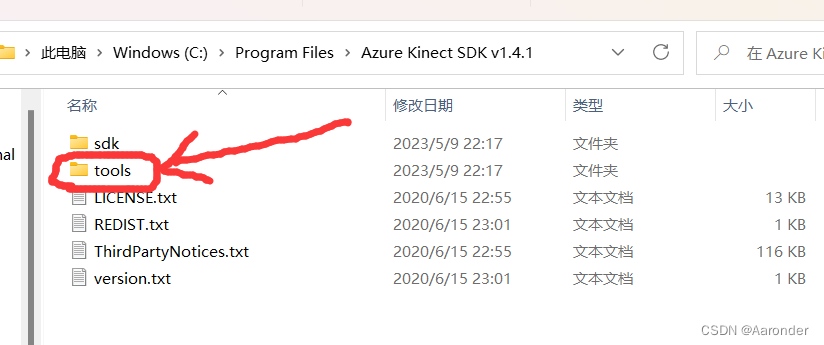
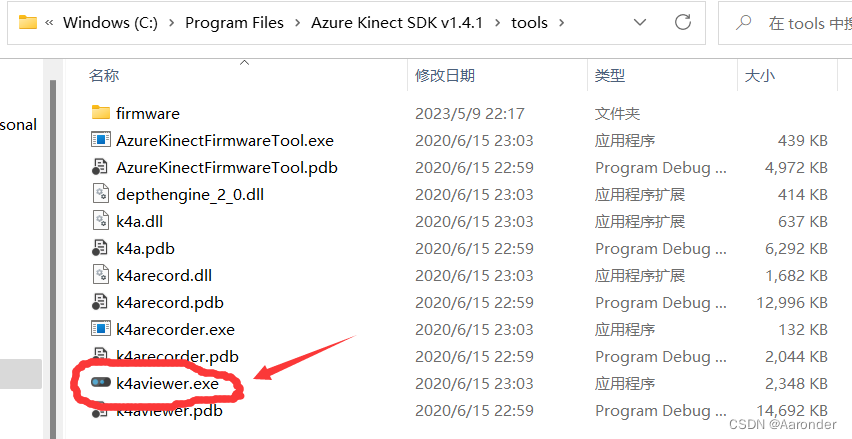
安装成功后找到安装位置,或者直接点击菜单键,
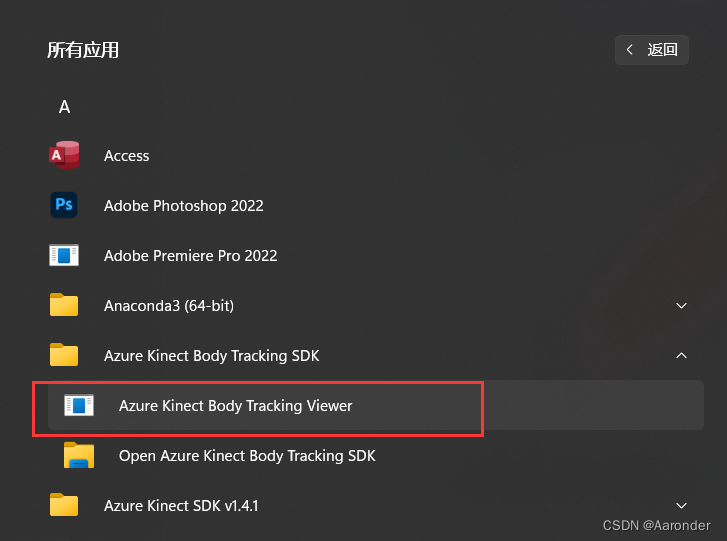
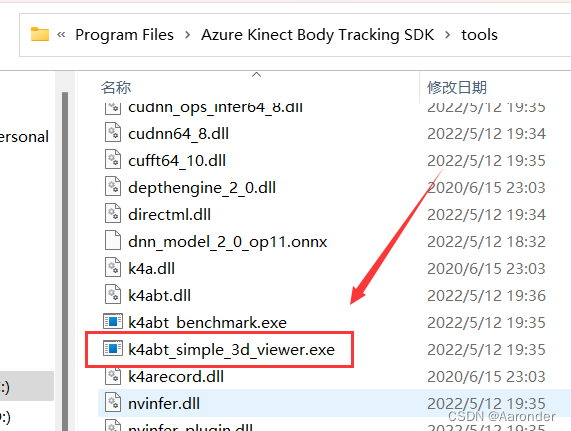
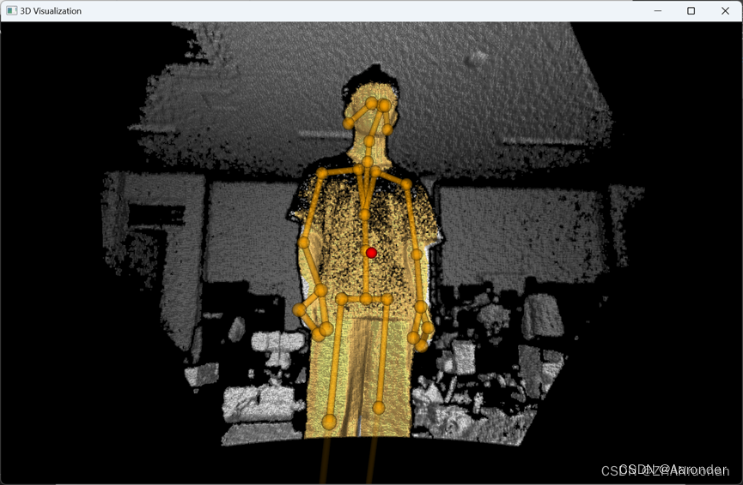
找到这个exe程序,点击运行
然后就是visual studio的环境配置了
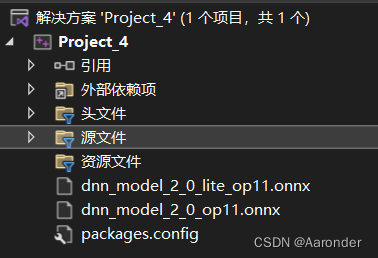
首先和之前一样,先找到“管理NuGet程序包”,搜索Microsoft.Azure.Kinect,下载第二个,第一个已经下过了。

下完后是这样的
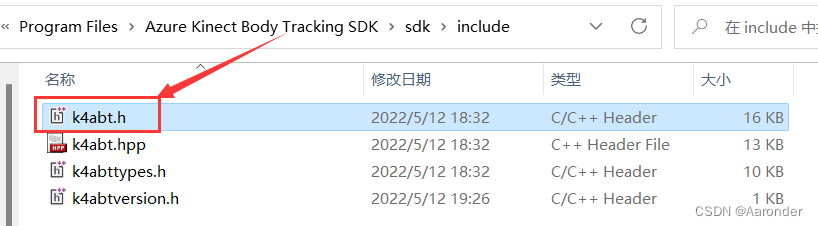
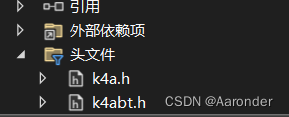
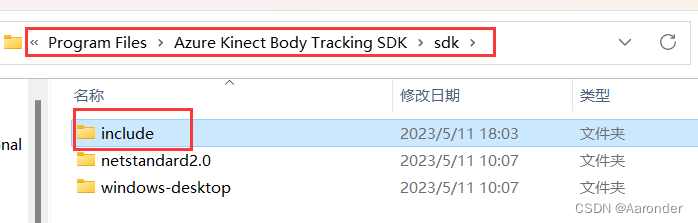
然后添加头文件,找到k4abt.h的文件路径,默认为”C:\Program Files\Azure Kinect Body Tracking SDK\sdk\include\k4abt.h”
然后配置库文件
C++常规里,找到附加包含目录,加入sdk里include的路径
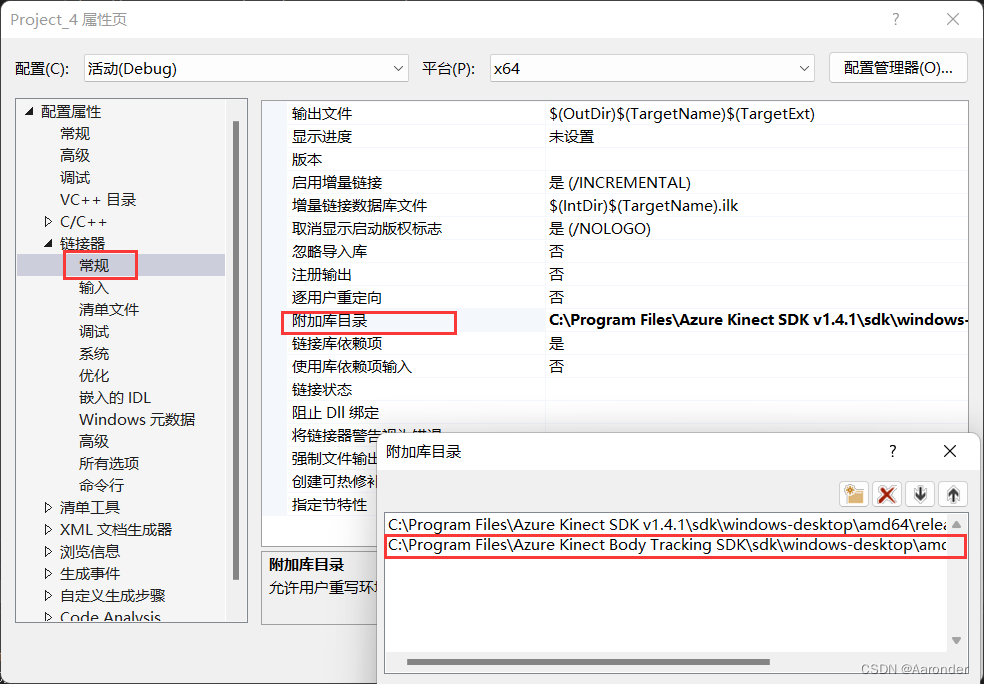
链接器——常规——附加库目录,加入sdk的lib路径,默认为C:\Program Files\Azure Kinect Body Tracking SDK\sdk\windows-desktop\amd64\release\lib
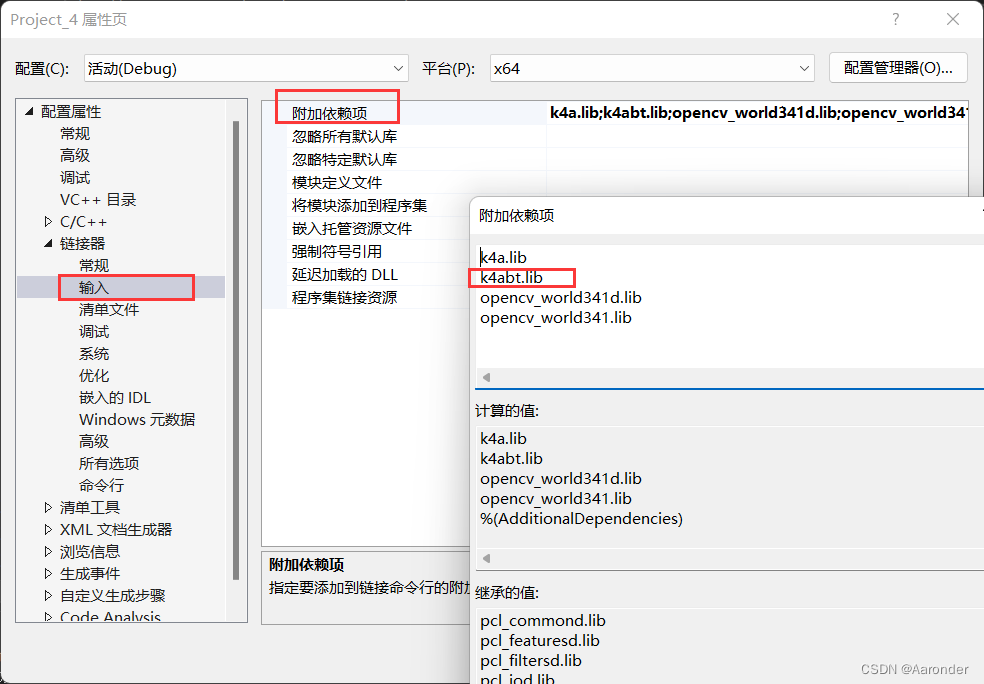
链接器——输入——依赖附加项,添加k4abt.lib
记得点应用,之后就好了
#include <stdio.h>
#include <stdlib.h>

#include <k4a/k4a.h>
#include <k4abt.h>

#define VERIFY(result, error)                                                                            \
    if(result != K4A_RESULT_SUCCEEDED)                                                                   \
    {                                                                                                    \
        printf("%s \n - (File: %s, Function: %s, Line: %d)\n", error, __FILE__, __FUNCTION__, __LINE__); \
        exit(1);                                                                                         \
    }                                                                                                    \

int main()
{
    k4a_device_t device = NULL;
    VERIFY(k4a_device_open(0, &device), "Open K4A Device failed!");

    // Start camera. Make sure depth camera is enabled.
    k4a_device_configuration_t deviceConfig = K4A_DEVICE_CONFIG_INIT_DISABLE_ALL;
    deviceConfig.depth_mode = K4A_DEPTH_MODE_NFOV_UNBINNED;
    deviceConfig.color_resolution = K4A_COLOR_RESOLUTION_OFF;
    VERIFY(k4a_device_start_cameras(device, &deviceConfig), "Start K4A cameras failed!");

    k4a_calibration_t sensor_calibration;
    VERIFY(k4a_device_get_calibration(device, deviceConfig.depth_mode, deviceConfig.color_resolution, &sensor_calibration),
        "Get depth camera calibration failed!");

    k4abt_tracker_t tracker = NULL;
    k4abt_tracker_configuration_t tracker_config = K4ABT_TRACKER_CONFIG_DEFAULT;
    VERIFY(k4abt_tracker_create(&sensor_calibration, tracker_config, &tracker), "Body tracker initialization failed!");

    int frame_count = 0;
    do
    {
        k4a_capture_t sensor_capture;
        k4a_wait_result_t get_capture_result = k4a_device_get_capture(device, &sensor_capture, K4A_WAIT_INFINITE);
        if (get_capture_result == K4A_WAIT_RESULT_SUCCEEDED)
        {
            frame_count++;
            k4a_wait_result_t queue_capture_result = k4abt_tracker_enqueue_capture(tracker, sensor_capture, K4A_WAIT_INFINITE);
            k4a_capture_release(sensor_capture); // Remember to release the sensor capture once you finish using it
            if (queue_capture_result == K4A_WAIT_RESULT_TIMEOUT)
            {
                // It should never hit timeout when K4A_WAIT_INFINITE is set.
                printf("Error! Add capture to tracker process queue timeout!\n");
                break;
            }
            else if (queue_capture_result == K4A_WAIT_RESULT_FAILED)
            {
                printf("Error! Add capture to tracker process queue failed!\n");
                break;
            }

            k4abt_frame_t body_frame = NULL;
            k4a_wait_result_t pop_frame_result = k4abt_tracker_pop_result(tracker, &body_frame, K4A_WAIT_INFINITE);
            if (pop_frame_result == K4A_WAIT_RESULT_SUCCEEDED)
            {
                // Successfully popped the body tracking result. Start your processing

                size_t num_bodies = k4abt_frame_get_num_bodies(body_frame);
                printf("%zu bodies are detected!\n", num_bodies);

                k4abt_frame_release(body_frame); // Remember to release the body frame once you finish using it
            }
            else if (pop_frame_result == K4A_WAIT_RESULT_TIMEOUT)
            {
                //  It should never hit timeout when K4A_WAIT_INFINITE is set.
                printf("Error! Pop body frame result timeout!\n");
                break;
            }
            else
            {
                printf("Pop body frame result failed!\n");
                break;
            }
        }
        else if (get_capture_result == K4A_WAIT_RESULT_TIMEOUT)
        {
            // It should never hit time out when K4A_WAIT_INFINITE is set.
            printf("Error! Get depth frame time out!\n");
            break;
        }
        else
        {
            printf("Get depth capture returned error: %d\n", get_capture_result);
            break;
        }

    } while (frame_count < 100);

    printf("Finished body tracking processing!\n");

    k4abt_tracker_shutdown(tracker);
    k4abt_tracker_destroy(tracker);
    k4a_device_stop_cameras(device);
    k4a_device_close(device);

    return 0;
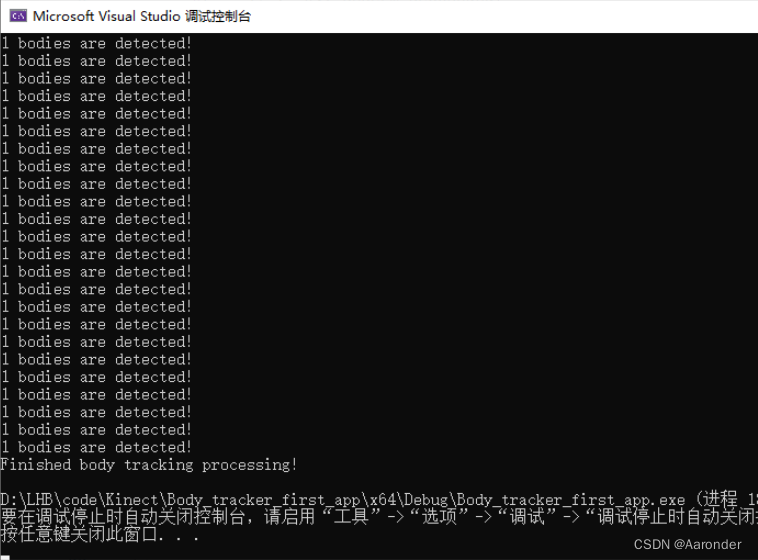
运行结果就是这样的
以上就是auzre kinect sdk的简单入门了
参考文章:
Azure Kinect DK 文档 | Microsoft Learn
(5条消息) Kinect Azure DK入门学习(二)——生成第一个应用程序_azure kinect dk开发教程_流水L的博客-CSDN博客
(5条消息) Kinect Azure DK入门学习(三)——设置人体跟踪SDK + 生成第一个人体跟踪应用程序_流水L的博客-CSDN博客