首先得自己搭建一个kafka,搭建教程请自行百度,本人是使用docker搭建了一个单机版的zookeeper+kafka作为演示,文末会有完整代码包提供给大家下载参考

废话不多说,教程开始
一、老规矩,先在pom.xml中添加kafka相关依赖
 <dependency>
     <groupId>org.springframework.kafka</groupId>
     <artifactId>spring-kafka</artifactId>
 </dependency>
二、在application.yml中添加相关配置
spring:
  #kafka配置
  kafka:
    #这里改为你的kafka服务器ip和端口号
    bootstrap-servers: 10.24.19.237:9092
    #=============== producer  =======================
    producer:
      #如果该值大于零时,表示启用重试失败的发送次数
      retries: 0
      #每当多个记录被发送到同一分区时,生产者将尝试将记录一起批量处理为更少的请求,默认值为16384(单位字节)
      batch-size: 16384
      #生产者可用于缓冲等待发送到服务器的记录的内存总字节数,默认值为3355443
      buffer-memory: 33554432
      #key的Serializer类,实现类实现了接口org.apache.kafka.common.serialization.Serializer
      key-serializer: org.apache.kafka.common.serialization.StringSerializer
      #value的Serializer类,实现类实现了接口org.apache.kafka.common.serialization.Serializer
      value-serializer: org.apache.kafka.common.serialization.StringSerializer
    #=============== consumer  =======================
    consumer:
      #用于标识此使用者所属的使用者组的唯一字符串
      group-id: test-consumer-group
      #当Kafka中没有初始偏移量或者服务器上不再存在当前偏移量时该怎么办,默认值为latest,表示自动将偏移重置为最新的偏移量
      #可选的值为latest, earliest, none
      auto-offset-reset: earliest
      #消费者的偏移量将在后台定期提交,默认值为true
      enable-auto-commit: true
      #如果'enable-auto-commit'为true,则消费者偏移自动提交给Kafka的频率(以毫秒为单位),默认值为5000。
      auto-commit-interval: 100
      #密钥的反序列化器类,实现类实现了接口org.apache.kafka.common.serialization.Deserializer
      key-deserializer: org.apache.kafka.common.serialization.StringDeserializer
      #值的反序列化器类,实现类实现了接口org.apache.kafka.common.serialization.Deserializer
      value-deserializer: org.apache.kafka.common.serialization.StringDeserializer
三、添加操作kafka的工具类KafkaUtils.java(这里我只是简单
的
封装了一些方法,大家可以根据需要自行添加需要的方法)
package com.example.study.util;

import com.google.common.collect.Lists;
import org.apache.kafka.clients.admin.*;
import org.apache.kafka.common.TopicPartitionInfo;
import org.springframework.beans.factory.annotation.Autowired;
import org.springframework.beans.factory.annotation.Value;
import org.springframework.kafka.core.KafkaTemplate;
import org.springframework.stereotype.Component;

import javax.annotation.PostConstruct;
import java.util.Collection;
import java.util.HashMap;
import java.util.List;
import java.util.Map;
import java.util.concurrent.ExecutionException;
import java.util.concurrent.atomic.AtomicReference;
import java.util.stream.Collectors;

/**
 * 操作kafka的工具类
 *
 * @author 154594742@qq.com
 * @date 2021/3/2 14:52
 */

@Component
public class KafkaUtils {

    @Value("${spring.kafka.bootstrap-servers}")
    private String springKafkaBootstrapServers;

    private AdminClient adminClient;

    @Autowired
    private KafkaTemplate kafkaTemplate;


    /**
     * 初始化AdminClient
     * '@PostConstruct该注解被用来修饰一个非静态的void()方法。
     * 被@PostConstruct修饰的方法会在服务器加载Servlet的时候运行,并且只会被服务器执行一次。
     * PostConstruct在构造函数之后执行,init()方法之前执行。
     */
    @PostConstruct
    private void initAdminClient() {
        Map<String, Object> props = new HashMap<>(1);
        props.put(AdminClientConfig.BOOTSTRAP_SERVERS_CONFIG, springKafkaBootstrapServers);
        adminClient = KafkaAdminClient.create(props);
    }

    /**
     * 新增topic,支持批量
     */
    public void createTopic(Collection<NewTopic> newTopics) {
        adminClient.createTopics(newTopics);
    }

    /**
     * 删除topic,支持批量
     */
    public void deleteTopic(Collection<String> topics) {
        adminClient.deleteTopics(topics);
    }

    /**
     * 获取指定topic的信息
     */
    public String getTopicInfo(Collection<String> topics) {
        AtomicReference<String> info = new AtomicReference<>("");
        try {
            adminClient.describeTopics(topics).all().get().forEach((topic, description) -> {
                for (TopicPartitionInfo partition : description.partitions()) {
                    info.set(info + partition.toString() + "\n");
                }
            });
        } catch (InterruptedException | ExecutionException e) {
            e.printStackTrace();
        }
        return info.get();
    }

    /**
     * 获取全部topic
     */
    public List<String> getAllTopic() {
        try {
            return adminClient.listTopics().listings().get().stream().map(TopicListing::name).collect(Collectors.toList());
        } catch (InterruptedException | ExecutionException e) {
            e.printStackTrace();
        }
        return Lists.newArrayList();
    }

    /**
     * 往topic中发送消息
     */
    public void sendMessage(String topic, String message) {
        kafkaTemplate.send(topic, message);
    }

}
四、添加KafkaController.java作为kafka的demo类
package com.example.study.controller;

import com.example.study.model.vo.ResponseVo;
import com.example.study.util.BuildResponseUtils;
import com.example.study.util.KafkaUtils;
import com.google.common.collect.Lists;
import io.swagger.annotations.Api;
import io.swagger.annotations.ApiOperation;
import lombok.extern.slf4j.Slf4j;
import org.apache.kafka.clients.admin.NewTopic;
import org.springframework.beans.factory.annotation.Autowired;
import org.springframework.kafka.annotation.KafkaListener;
import org.springframework.web.bind.annotation.*;

import java.util.List;

/**
 * kafka控制器
 *
 * @author 154594742@qq.com
 * @date 2021/3/2 15:01
 */

@RestController
@Api(tags = "Kafka控制器")
@Slf4j
public class KafkaController {

    @Autowired
    private KafkaUtils kafkaUtils;

    /**
     * 新增topic (支持批量,这里就单个作为演示)
     *
     * @param topic topic
     * @return ResponseVo
     */
    @ApiOperation("新增topic")
    @PostMapping("kafka")
    public ResponseVo<?> add(String topic) {
        NewTopic newTopic = new NewTopic(topic, 3, (short) 1);
        kafkaUtils.createTopic(Lists.newArrayList(newTopic));
        return BuildResponseUtils.success();
    }

    /**
     * 查询topic信息 (支持批量,这里就单个作为演示)
     *
     * @param topic 自增主键
     * @return ResponseVo
     */
    @ApiOperation("查询topic信息")
    @GetMapping("kafka/{topic}")
    public ResponseVo<String> getBytTopic(@PathVariable String topic) {
        return BuildResponseUtils.buildResponse(kafkaUtils.getTopicInfo(Lists.newArrayList(topic)));
    }

    /**
     * 删除topic (支持批量,这里就单个作为演示)
     * (注意:如果topic正在被监听会给人感觉删除不掉(但其实是删除掉后又会被创建))
     *
     * @param topic topic
     * @return ResponseVo
     */
    @ApiOperation("删除topic")
    @DeleteMapping("kafka/{topic}")
    public ResponseVo<?> delete(@PathVariable String topic) {
        kafkaUtils.deleteTopic(Lists.newArrayList(topic));
        return BuildResponseUtils.success();
    }

    /**
     * 查询所有topic
     *
     * @return ResponseVo
     */
    @ApiOperation("查询所有topic")
    @GetMapping("kafka/allTopic")
    public ResponseVo<List<String>> getAllTopic() {
        return BuildResponseUtils.buildResponse(kafkaUtils.getAllTopic());
    }

    /**
     * 生产者往topic中发送消息demo
     *
     * @param topic
     * @param message
     * @return
     */
    @ApiOperation("往topic发送消息")
    @PostMapping("kafka/message")
    public ResponseVo<?> sendMessage(String topic, String message) {
        kafkaUtils.sendMessage(topic, message);
        return BuildResponseUtils.success();
    }

    /**
     * 消费者示例demo
     * <p>
     * 基于注解监听多个topic,消费topic中消息
     * (注意:如果监听的topic不存在则会自动创建)
     */
    @KafkaListener(topics = {"topic1", "topic2", "topic3"})
    public void consume(String message) {
        log.info("receive msg: " + message);
    }
}
五、运行项目,然后访问 http://localhost:8080/swagger-ui.html测试一下效果吧
这三个topic本来是不存在的,这里是由@KafkaListener注解方式监听时自动创建的

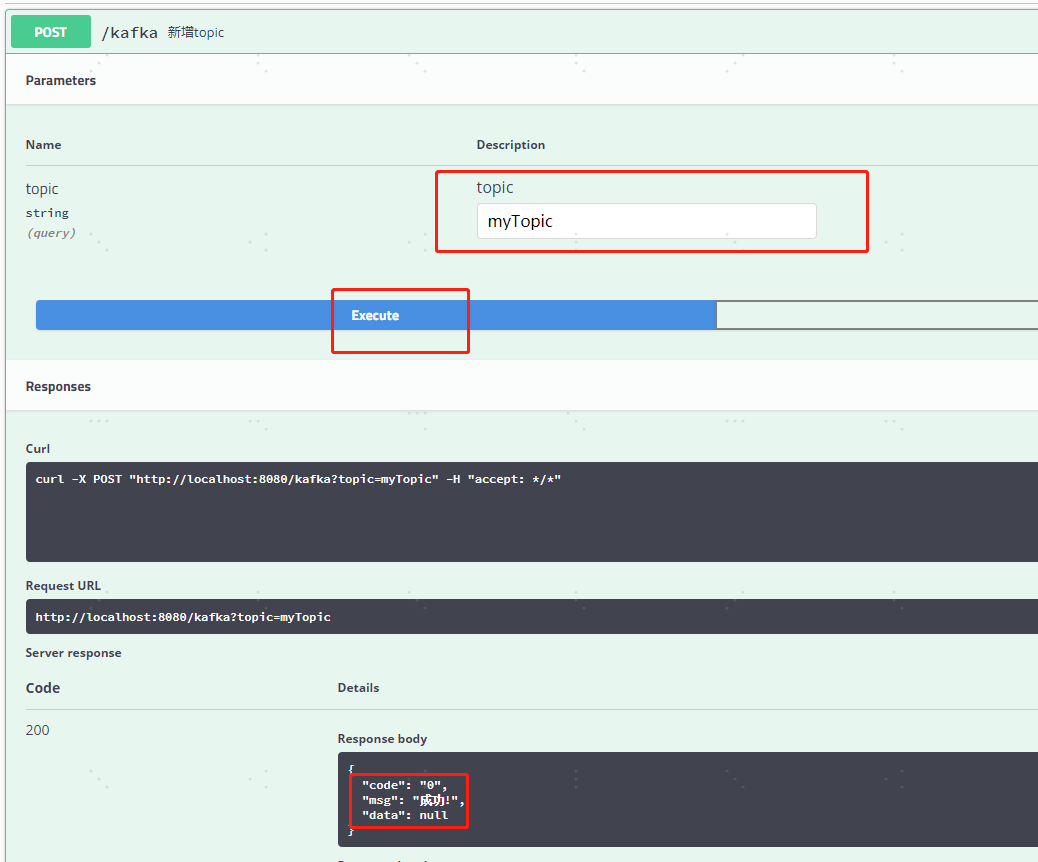
1、我们来新增一个名为‘myTopic’的topic试试
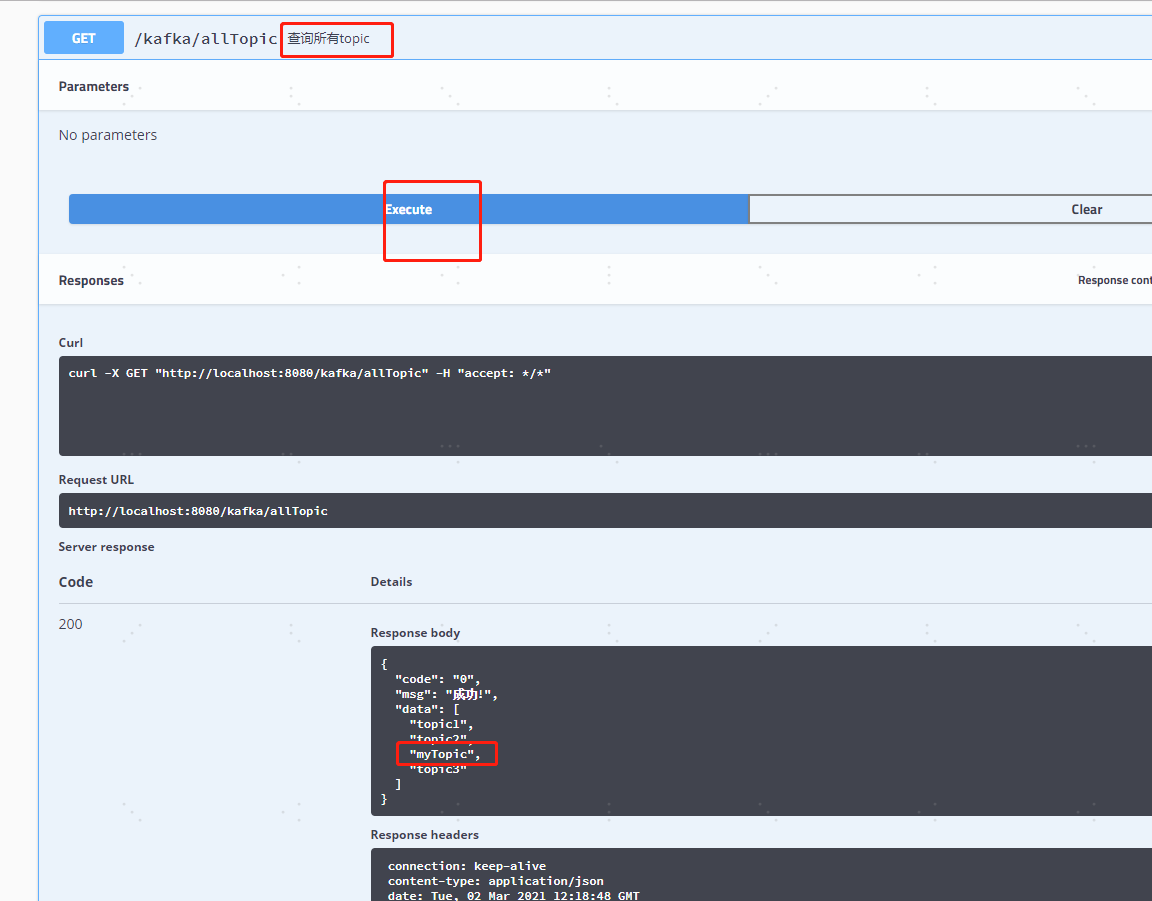
2、再重新查询一下所有的topic发现我们新增topic成功了
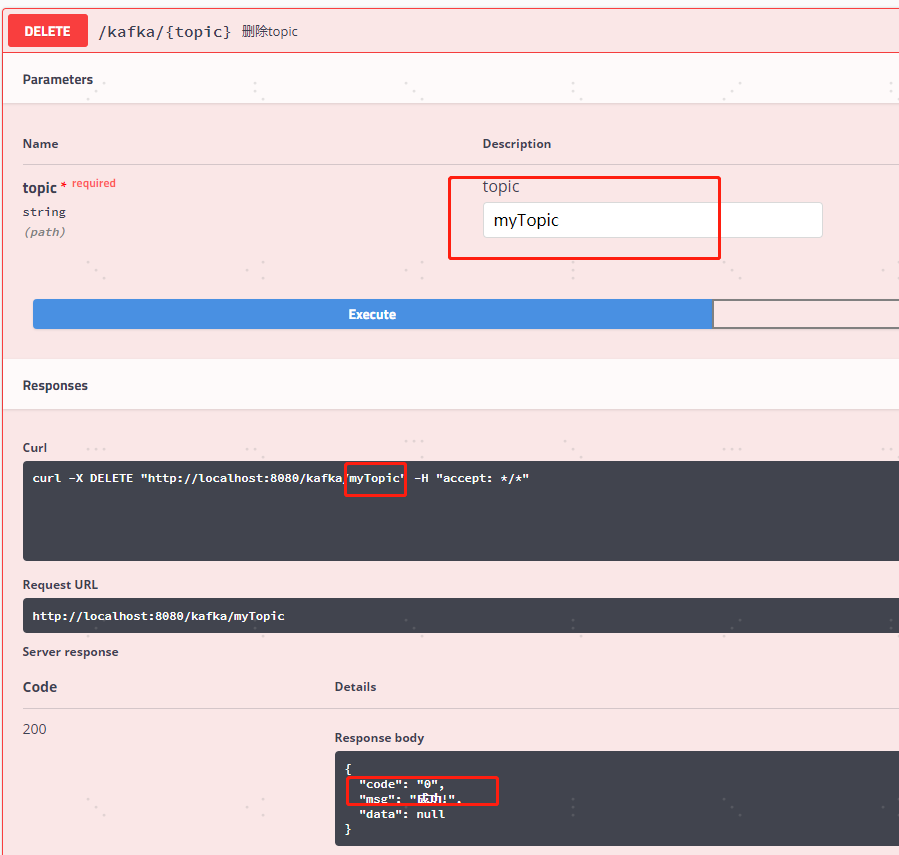
3、接下来我们试试删除一下myTopic和由@KafkaListener注解方式监听时自动创建的topic1
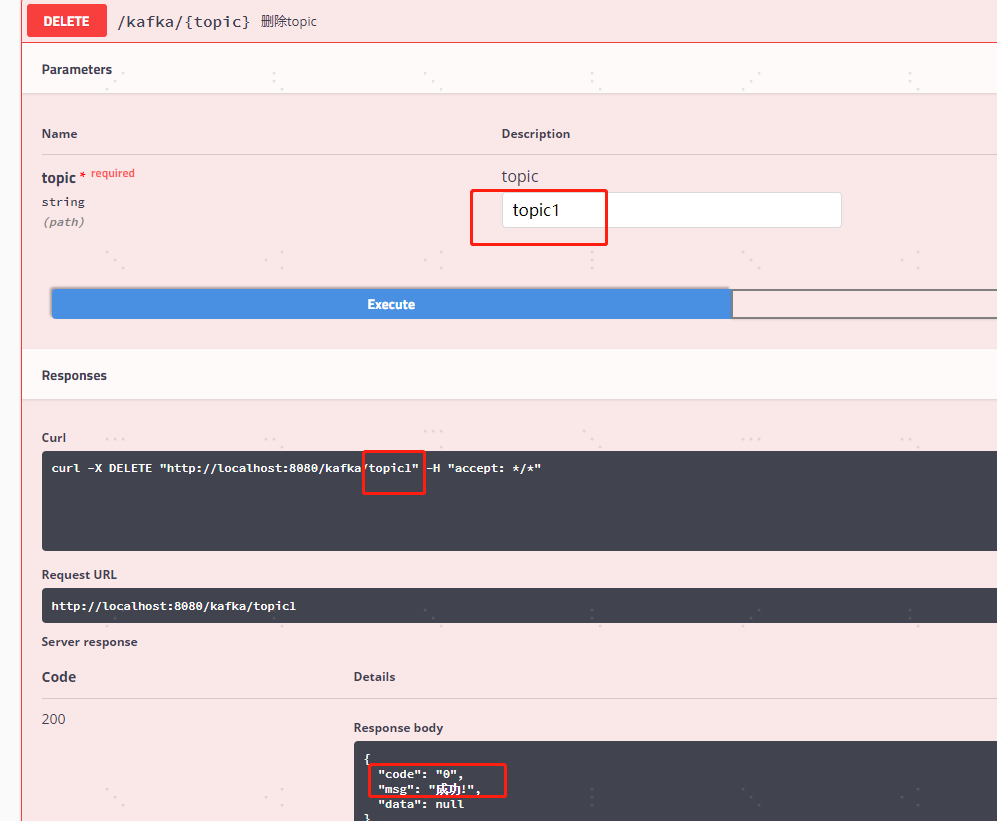
4、我们再查询一下所有的topic发现‘myTopic’被删除掉了,但是‘topic1’并没有被删除掉,原因就是因为‘topic1’正在被监听,删除掉后又会被自动创建,正如我代码的注释中的说明一样
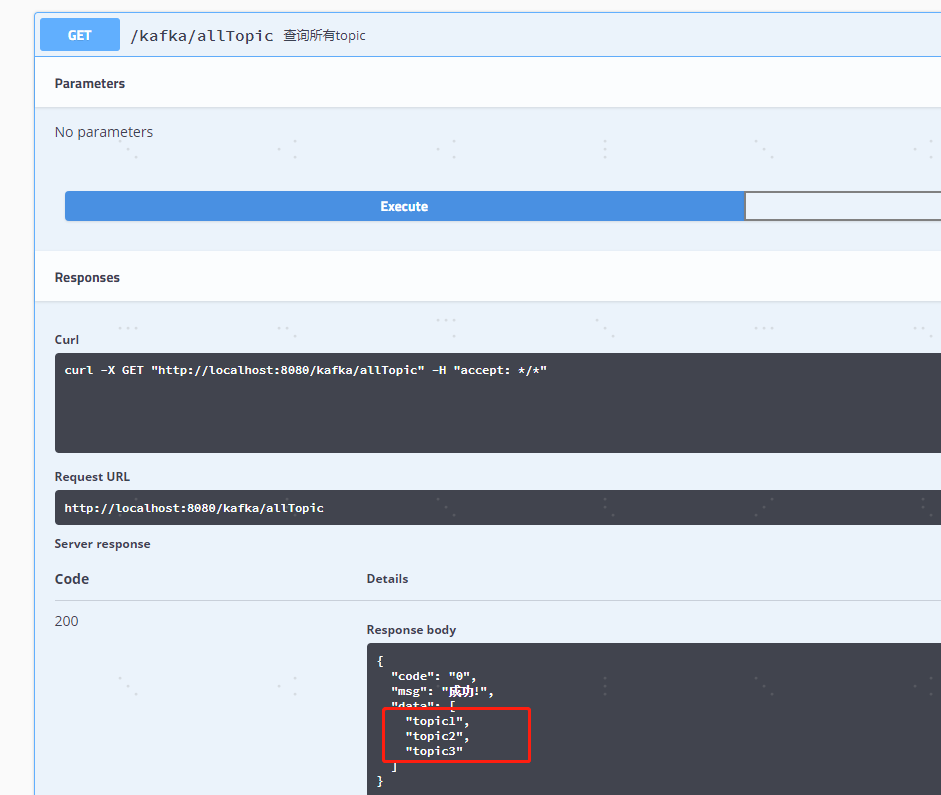
六、我们来试试我们最关心也是最常用的功能,作为生产者发送消息到topic以及作为消费者消费topic中的消息
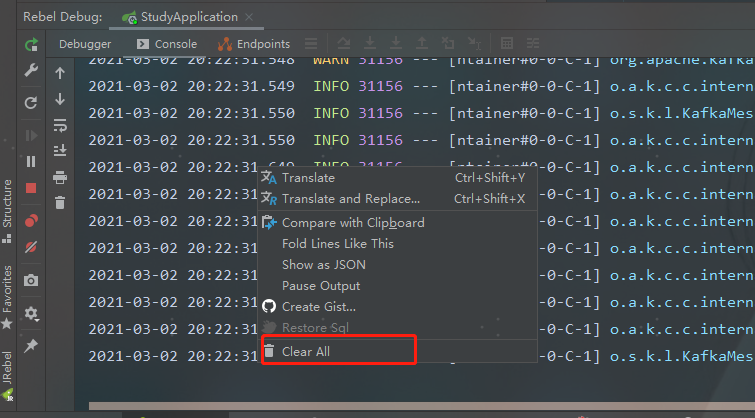
1、我们先把控制台的日志先清除一下方便待会儿查看效果
2、我们往正在被监听的”topic1″、”topic2″、”topic3″中的任意一个发送测试消息
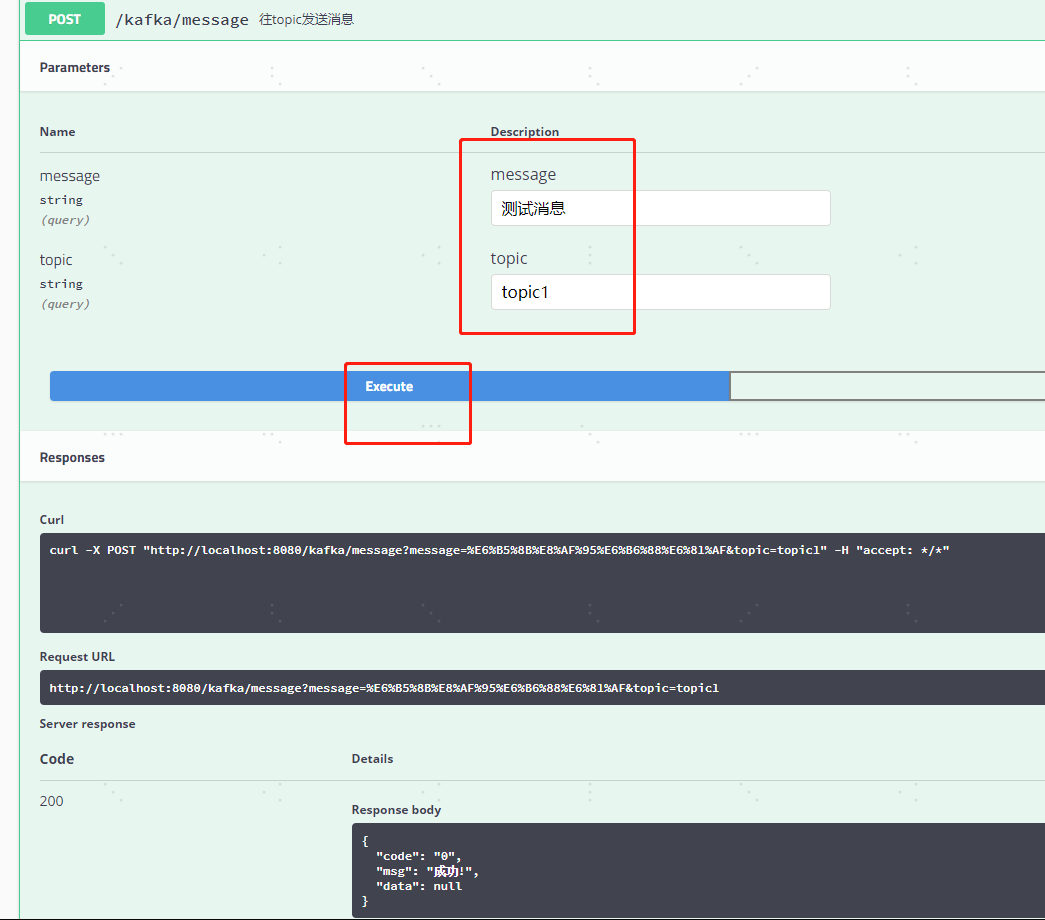
3、查看IDEA控制台发现topic中的消息被监听消费到了,大功告成

原文链接:https://www.cnblogs.com/wqp001/p/14471097.html?utm_source=tuicool&utm_medium=referral
如果觉得本文对你有帮助,可以关注一下我公众号,回复关键字【面试】即可得到一份Java核心知识点整理与一份面试大礼包!另有更多技术干货文章以及相关资料共享,大家一起学习进步!

版权声明:本文为weixin_50205273原创文章,遵循 CC 4.0 BY-SA 版权协议,转载请附上原文出处链接和本声明。