前言
SpringBoot整合Redis的基本用法
准备一个可以访问的redis数据库
引入依赖
       <dependency>
            <groupId>org.springframework.boot</groupId>
            <artifactId>spring-boot-starter-data-redis</artifactId>
        </dependency>
配置文件
  redis:
    host: 192.168.0.11
    port: 6379
测试类
redis中放入的键为hello,对应的值为world,并获取hello的值
package com.gavin.boot;

import lombok.extern.slf4j.Slf4j;
import org.junit.jupiter.api.Test;
import org.springframework.beans.factory.annotation.Autowired;
import org.springframework.boot.test.context.SpringBootTest;
import org.springframework.data.redis.core.RedisTemplate;
import org.springframework.data.redis.core.ValueOperations;

@Slf4j
@SpringBootTest
class BootJdbcApplicationTests {

    @Autowired
    private RedisTemplate redisTemplate;

    @Test
    void testRedis() {
        ValueOperations<String, String> operations = redisTemplate.opsForValue();
        operations.set("hello", "world");
        String hello = operations.get("hello");
        System.out.println(hello);
    }
}
测试结果
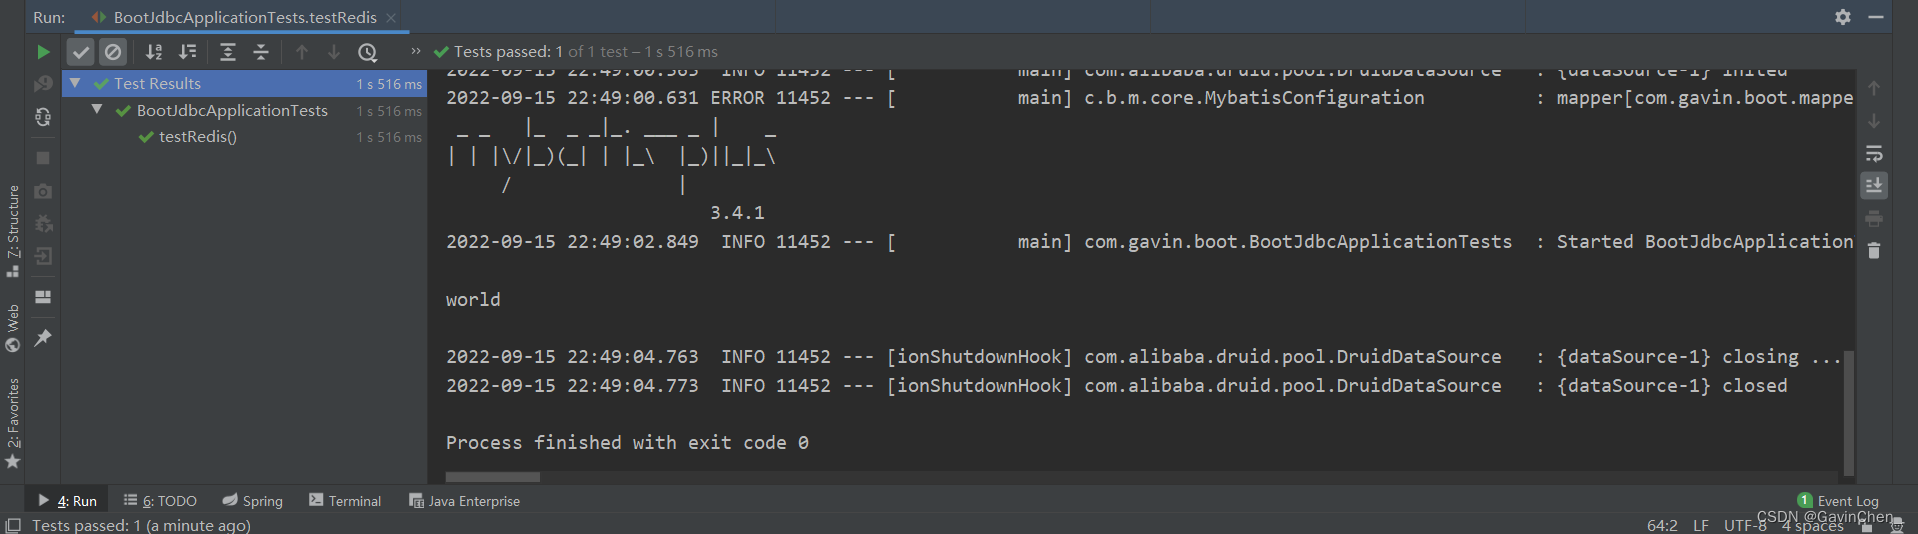
可以看到获取的值为world
总结
以上就是SpringBoot整合Redis的简单用法,以后有时间再更新其它的功能。
版权声明:本文为weixin_42522705原创文章,遵循 CC 4.0 BY-SA 版权协议,转载请附上原文出处链接和本声明。