目录
1目标:
做一个简易的网页,分为多个模块,背景设置为自己喜欢的图片。添些图片和文字链接跳转,整体排列居中。
网页布局用到的工具 CSS样式
eg:在<haed>中添加这个代码
<style type=”text/css”>
才可进行CSS工具的使用。
2例子部分讲解
:
如下这个代码主要是用来划分模块,确定位置,确定边框颜色等操作。放在<head>中间。这种模式又称为内部样式表,详情看上篇文件介绍。
 div{
        border:1px dashed rgb(245, 240, 240);
        width:500px;
        margin-bottom:10px;
        position: relative;
        left: 400px;
    }
3例子部分讲解:
main_border是我们自己定义的一个id。在这边我们用到一个新的知识点就是
#+id{ 样式设置 }
中间的样式设置根据自己需要进行调配。
    #main_border{
            background-color: white;
            width: 100px;
            height: 250px;
            float: left;
            opacity: 0.7;
                 }
4完整代码:
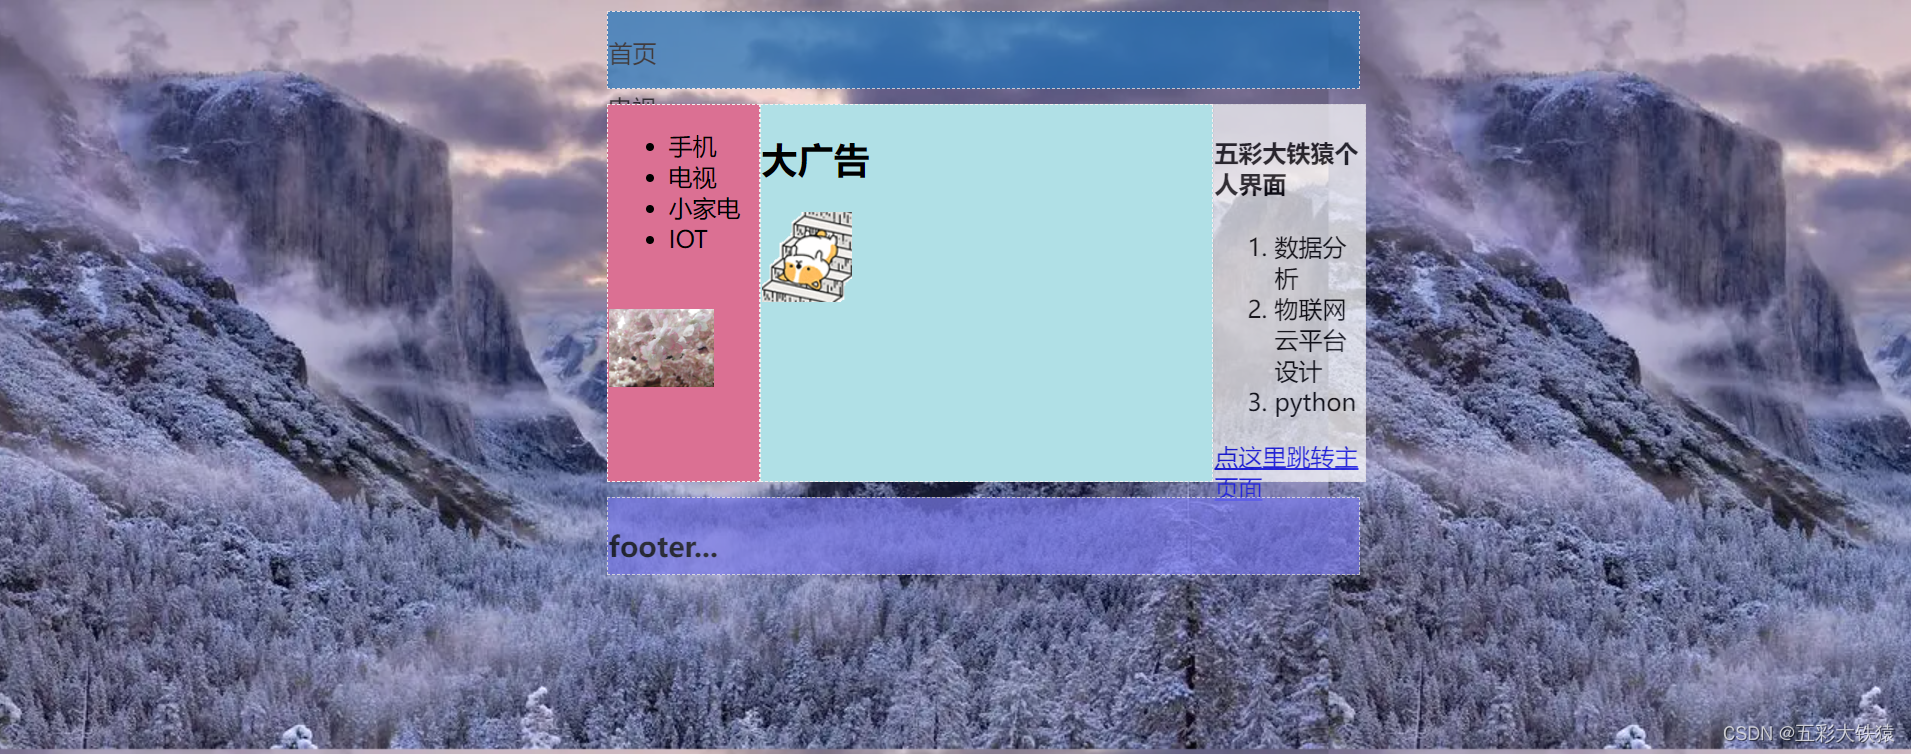
现在将整体架构搭建起来,设置网页标题(根据自己喜好设置),然后先将每块区域内容进行编辑,最后再进行模块位置的调整与优化。下面为搭建好的完整页面。样式也是采用内联式无需再新建文件。(当代码过多时还是建议用外链 式。)这边先简单的演示一下:
<!DOCTYPE html>
<html lang="en">
<head>
    <meta charset="UTF-8">
    <title>小米官网</title>
    <style type="text/css">
        div{
        border:1px dashed rgb(245, 240, 240);
        width:500px;
        margin-bottom:10px;
        position: relative;
        left: 400px;
    }

        #menu{ /* 前边加#号就是用来id来选择这个标签 */
            background-color: rgb(30, 112, 184);
            height: 50px;
            width: 500px;
            opacity: 0.7;
        }
        #side_bar{
            background-color: palevioletred;
            height: 250px;
            width: 100px;
            float: left;/*从左往右浮动排列*/


        }
        #content_box{
            background-color:powderblue ;
            height: 250px;
            width: 300px;
            float: left;/*从左往右浮动排列*/
        }

        #main_border{
            background-color: white;
            width: 100px;
            height: 250px;
            float: left;
            opacity: 0.7;

        }
        #footer{
          background-color: rgb(122, 122, 234);
          height: 50px;
          width: 500px;
          clear: both; /*不按浮动列排*/
          opacity: 0.7;
        }

    </style>
</head>
<body background="C:\Users\1\Pictures\Saved Pictures\2.webp">

    <div id="menu">
        <p>首页</p>
        <p>电视</p>
    </div>
    <div id="side_bar">
        <ul>
            <li>手机</li>
            <li>电视</li>
            <li>小家电</li>
            <li>IOT</li>
        </ul>
        <br/>
        <img src="C:\Users\1\Pictures\Saved Pictures\aa.jpg" width="70">

    </div>
    <div id="content_box">
        <h2>大广告</h2>
        <img src="C:\Users\1\Pictures\Saved Pictures\11.jpg" width=20%>
    </div>
    <div id="main_border">
        <h4>五彩大铁猿个人界面</h4>
        <ol>
            <li> 数据分析</li>
            <li>物联网云平台设计</li>
            <li>python</li>
        </ol>
        <a href="https://blog.csdn.net/weixin_47314602?type=blog" target="_blank">点这里跳转主页面</a>

    </div>
    <div id="footer">
        <h3>footer...</h3>
    </div>
</body>
</html>
由于做的是简易版,没啥广告可放的,就放了一个动态图片 上去。模块整体也是比较简易,还需后期的学习完善。
代码运行结果图:


如果觉得有用点个关注加收藏吧,以防后期找不到啦。
版权声明:本文为weixin_47314602原创文章,遵循 CC 4.0 BY-SA 版权协议,转载请附上原文出处链接和本声明。