一、查询当前正在执行所有SQL语句
SELECT
	pid,
	datname,
	usename,
	client_addr,
	application_name,
	STATE,
	backend_start,
	xact_start,
	xact_stay,
	query_start,
	query_stay,
	REPLACE ( query, chr( 10 ), ' ' ) AS query
FROM
	(
	SELECT
		pgsa.pid AS pid,
		pgsa.datname AS datname,
		pgsa.usename AS usename,
		pgsa.client_addr client_addr,
		pgsa.application_name AS application_name,
		pgsa.STATE AS STATE,
		pgsa.backend_start AS backend_start,
		pgsa.xact_start AS xact_start,
		EXTRACT ( epoch FROM ( now( ) - pgsa.xact_start ) ) AS xact_stay,
		pgsa.query_start AS query_start,
		EXTRACT ( epoch FROM ( now( ) - pgsa.query_start ) ) AS query_stay,
		pgsa.query AS query
	FROM
		pg_stat_activity AS pgsa
	WHERE
		pgsa.STATE != 'idle'
		AND pgsa.STATE != 'idle in transaction'
		AND pgsa.STATE != 'idle in transaction (aborted)'
	) idleconnections
ORDER BY
	query_stay DESC
二、判断是否存在慢查询语句
| 字段 | 解释 |
|---|---|
| PID | 数据库查询进程ID |
| query_stay | 查询时长秒 |
| query | 查询SQL语句 |
三、按查询进程,杀掉慢查询释放资源
SELECT pg_terminate_backend(PID);
SELECT pg_terminate_backend(6289);
四、扩展query的显示长度能展示出全部语句


vi /var/lib/pgsql/12/data/postgresql.conf
修改track_activity_query_size的值重启数据库服务

五、杀掉某个数据库的所有数据库连接
SELECT pg_terminate_backend(pg_stat_activity.pid)FROM pg_stat_activity WHERE datname='数据库名称' AND pid<>pg_backend_pid();
六、导出数据库某个表
pg_dump -t 某个表名 "host=192.168.16.31 port=18921 user=postgres password=数据库密码 dbname=数据库" -f /app/zjfbeifen/1.sql
七、shell脚本自动导入按表
touch insert_sql.sh
#!/bin/bash
. /etc/profile
. ~/.bash_profile
export PATH=/usr/pgsql-12/bin:/usr/bin;
export PGPASSWORD=数据库密码;psql -U postgres -d 数据库名称    < /mnt/nas/bak-06/1.sql;
指定postgres用户执行导入某个表的语句,免密执行shell脚本
touch nasen_insert.sql
#!/bin/sh
source /etc/profile
PATH=/usr/local/bin:$PATH
echo 'task_start'
runuser - postgres -g postgres -c "sh /data/test/insert_sql.sh"
echo 'task_finish'
定时器配置
00 10 * * * /usr/bin/sh /data/test/insert_nasen.sh >>/data/test/insert_nasen.log
八、shell脚本执行postgre的sql语句
touch drop01.sql
#删除某个表SQL语句
DROP TABLE IF EXISTS public.test;
touch drop.sh
#!/bin/bash
. /etc/profile
. ~/.bash_profile
export PATH=/usr/pgsql-12/bin:/usr/bin;
#su postgres
export PGPASSWORD=123456;psql -U postgres -d 数据库名称   < /data/test/drop01.sql;
touch nasen_drop.sh
#!/bin/bash
source /etc/profile
PATH=/usr/local/bin:$PATH


echo 'task_start'
runuser - postgres -g postgres -c "sh /data/test/drop.sh"
echo 'task_finish'
定时器调用
00 9 * * * /usr/bin/sh /data/test/drop_nasen.sh >>/data/test/drop_nasen.log
九、导出导入整个数据库
备份导出整个数据库
pg_dump -h localhost -U postgres -d riskDataCheck -Fc -f /soft/backup/20220321/test-0321.dump
导入某个数据库
pg_restore -h localhost -U postgres -d risk_agcloud_430000_1 /soft/backup/test-0321.dump
十、切换数据库存储路径迁移data目录
步骤1:创建新data目录
sudo mkdir /home/data
sudo chown -R postgres:postgres data
sudo chmod 700 data
步骤2:关闭数据库服务
systemctl stop postgresql-12
步骤3:执行复制
cp -rf /var/lib/pgsql/12/data/* /home/data #这个路径是默认的在线安装postgresql12.11默认路径
sudo chown -R postgres:postgres data #加这句是因为复制过来有的时候归属是ROOT用户,应该是postgres用户才对!
步骤4:修改服务配置文件
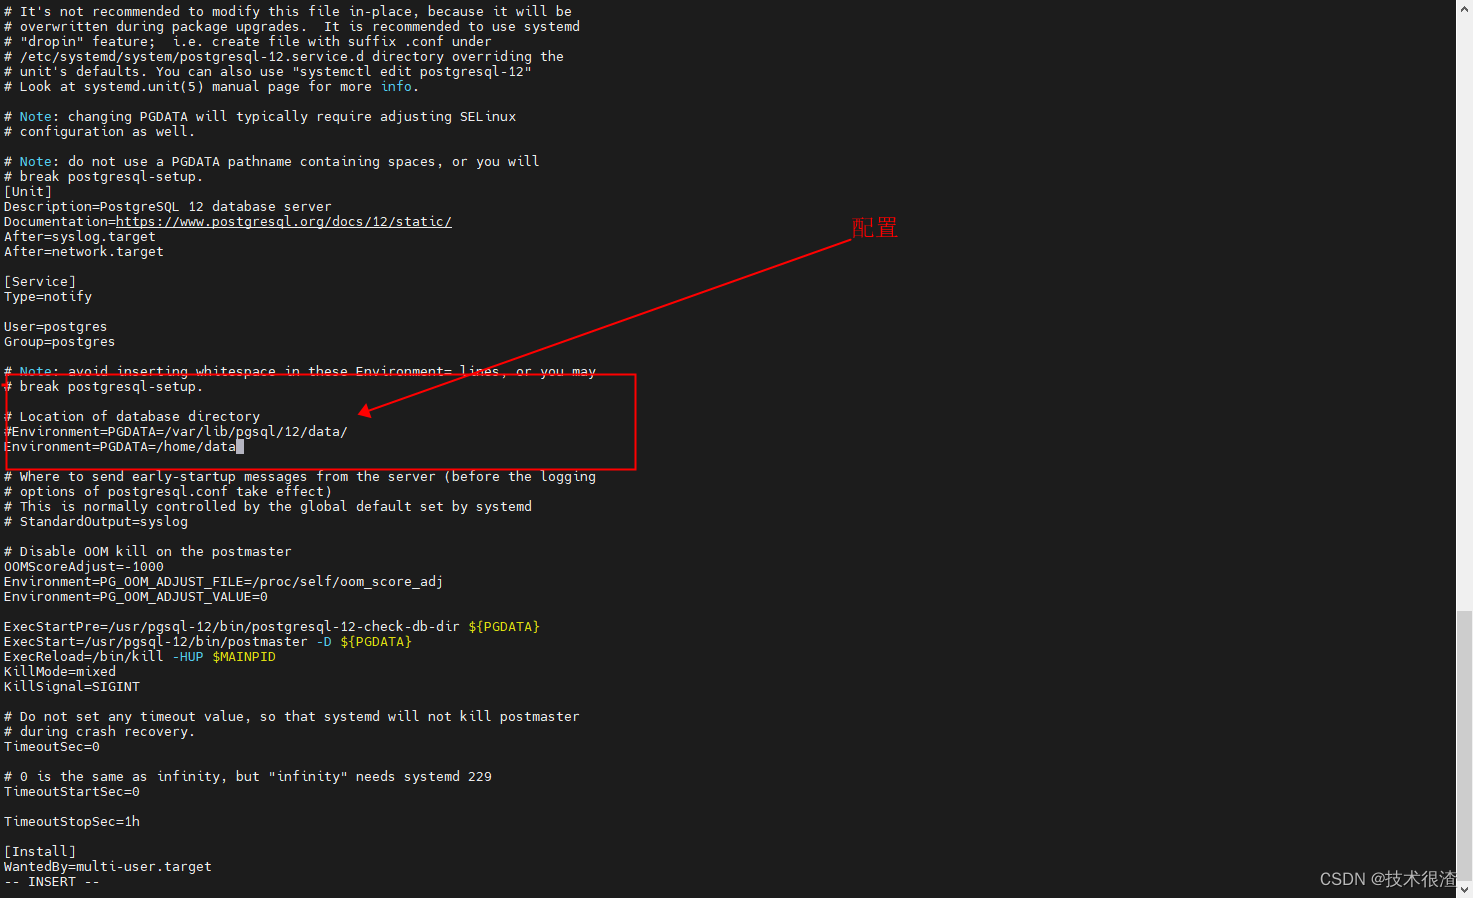
cd /usr/lib/systemd/system
vi postgresql-12.service #默认的在线安装postgresql12.11服务名称
Environment=PGDATA=/home/data
步骤5:重新加载服务配置
systemctl daemon-reload
步骤6:重启数据库服务
systemctl start postgresql-12
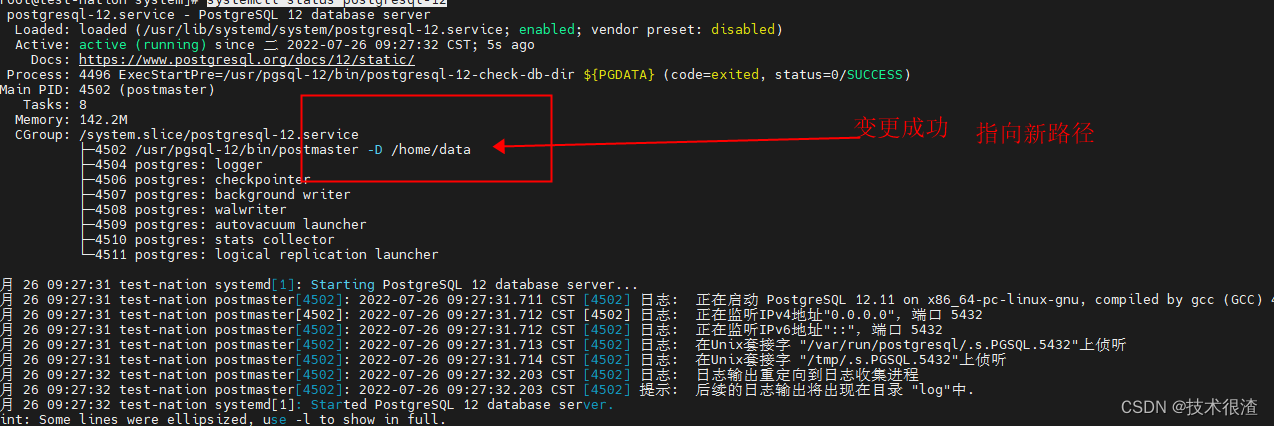
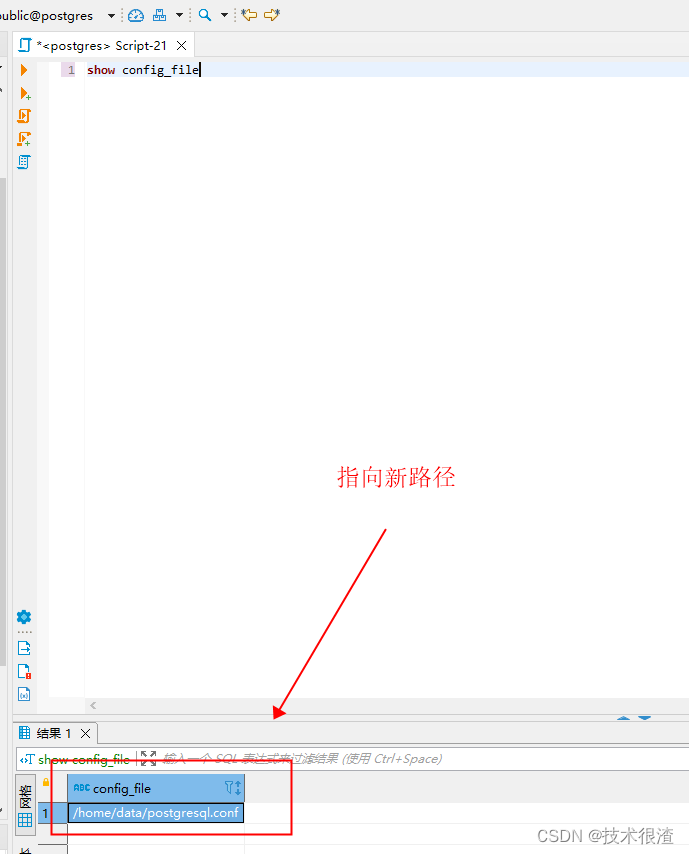
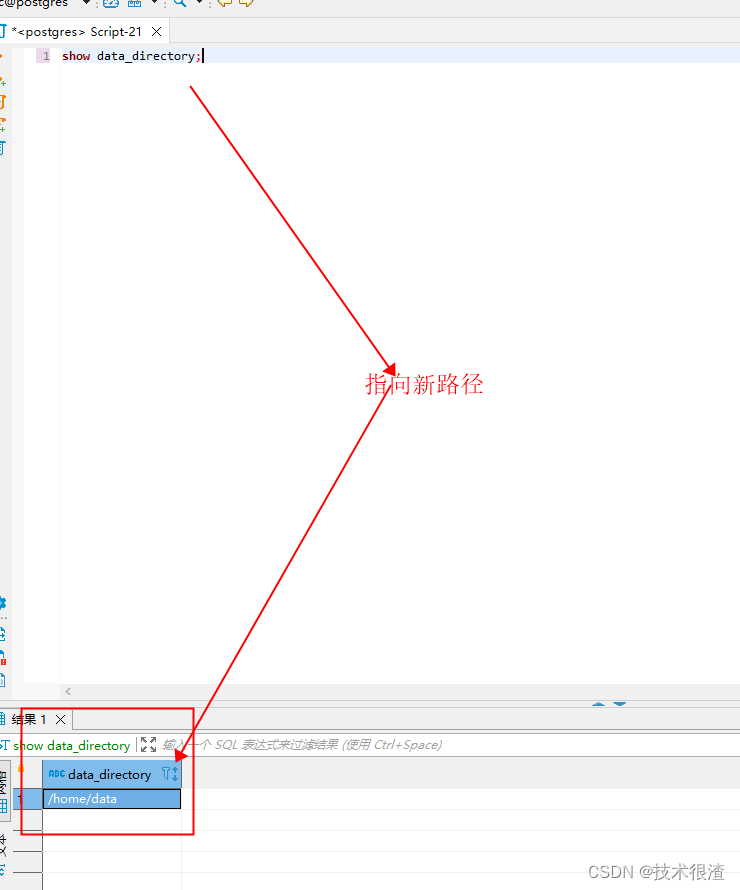
步骤7:查看变更状态
systemctl status postgresql-12
十一、安装PostGIS插件
步骤1:安装postgis的依赖包
rpm -ivh https://mirrors.aliyun.com/epel/epel-release-latest-7.noarch.rpm
步骤2:安装postgis
yum install postgis31_12.x86_64 #这个对版本有一些对应关系注意,这个命令对应的是12.X
步骤3:安装完毕后切换为postgres用户,开启扩展初始化操作
// 开启插件
# su postgres
# psql
// 开启pgsql的插件
postgres=# create extension postgis;
postgres=# create extension postgis_topology;
postgres=# create extension fuzzystrmatch;
postgres=# create extension address_standardizer;
postgres=# create extension address_standardizer_data_us;
postgres=# create extension postgis_tiger_geocoder;
//查看版本,验证安装是否成功
postgres=# SELECT PostGIS_full_version();
步骤4:安装pgRouting
yum install pgrouting_12 #针对12.X版本
步骤5:检查插件是否完成
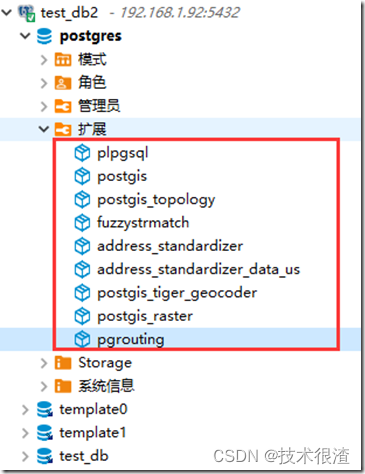
十二、安装uuid-ossp插件

postgres=# create extension “uuid-ossp”;
ERROR: could not open extension control file “/opt/pgsql12.2/share/extension/uuid-ossp.control”: No such file or directory
步骤1:安装uuid依赖包
[root@Location-01 ~]# yum -y install e2fsprogs-devel uuid uuid-devel libuuid-devel
## 步骤2:执行编译配置
[root@Location-01 ~]# cd /usr/local/src/postgresql-12.2/
[root@Location-01 postgresql-12.2]# pwd
/usr/local/src/postgresql-12.2
[root@Location-01 postgresql-12.2]# ./configure --prefix=/opt/pgsql12.2 --with-uuid=ossp
步骤3:编译安装uuid-ossp
[root@Location-01 ~]# cd /usr/local/src/postgresql-12.2/contrib/uuid-ossp/
[root@Location-01 uuid-ossp]# pwd
/usr/local/src/postgresql-12.2/contrib/uuid-ossp
[root@Location-01 uuid-ossp]# make && make install
步骤4:检测是否成功
postgres=# create extension "uuid-ossp";
CREATE EXTENSION
postgres=# select * from pg_available_extensions;
    name    | default_version | installed_version |                     comment
------------+-----------------+-------------------+-------------------------------------------------
 plpgsql    | 1.0             | 1.0               | PL/pgSQL procedural language
 plperl     | 1.0             |                   | PL/Perl procedural language
 plperlu    | 1.0             |                   | PL/PerlU untrusted procedural language
 plpython2u | 1.0             |                   | PL/Python2U untrusted procedural language
 plpythonu  | 1.0             |                   | PL/PythonU untrusted procedural language
 uuid-ossp  | 1.1             |                   | generate universally unique identifiers (UUIDs)
(6 rows)