1.npm run build打包项目。此处可以参考黑马的项目结尾时的各种优化策略。
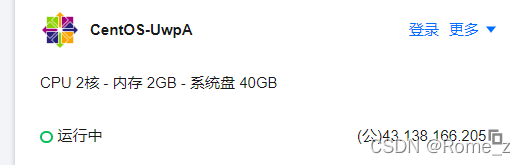
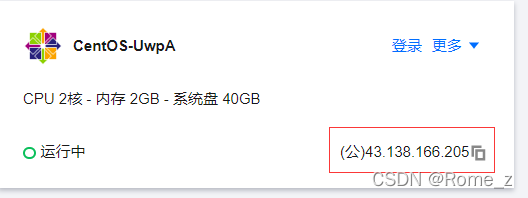
2.购买腾讯云服务器。登录后进入控制台,进入轻量应用服务器。我的服务器用户名是默认的root。密码是自己设定的如123456
3.下载Xshell和Xftp.Xshell连接和操作服务器。因为服务器选的CentOS,所以需要Linux命令操作
他用的WinSCP,我用的Xftp,功能相似。
需要注意,要修改的文件nginx.cong。需要配置的地方有:
user root;
location / {
root /root/dist;
index index.html;
}
# 配置数据代理
location /api {
proxy_pass http://39.98.123.211;
}
原文中没有配置数据代理。这个数据代理是网页内请求数据的地址,即后台项目的地址
另外记得把原先的root注释掉
# root /usr/share/nginx/html;
# For more information on configuration, see:
#   * Official English Documentation: http://nginx.org/en/docs/
#   * Official Russian Documentation: http://nginx.org/ru/docs/


#   使用权在nginx
#   user nginx;

#   使用权在用户本身
user root;
worker_processes auto;
error_log /var/log/nginx/error.log;
pid /run/nginx.pid;

# Load dynamic modules. See /usr/share/doc/nginx/README.dynamic.
include /usr/share/nginx/modules/*.conf;

events {
    worker_connections 1024;
}

http {
    log_format  main  '$remote_addr - $remote_user [$time_local] "$request" '
                      '$status $body_bytes_sent "$http_referer" '
                      '"$http_user_agent" "$http_x_forwarded_for"';

    access_log  /var/log/nginx/access.log  main;

    sendfile            on;
    tcp_nopush          on;
    tcp_nodelay         on;
    keepalive_timeout   65;
    types_hash_max_size 4096;

    include             /etc/nginx/mime.types;
    default_type        application/octet-stream;

    # Load modular configuration files from the /etc/nginx/conf.d directory.
    # See http://nginx.org/en/docs/ngx_core_module.html#include
    # for more information.
    include /etc/nginx/conf.d/*.conf;

    server {
        listen       80;
        listen       [::]:80;
        server_name  _;
       # root         /usr/share/nginx/html;

        # Load configuration files for the default server block.
        include /etc/nginx/default.d/*.conf;

        location / {
          root   /root/dist;
          index   index.html;
        }

   #  配置数据代理
        location /api  {
          proxy_pass  http://39.98.123.211;
        }

        error_page 404 /404.html;
        location = /404.html {
        }

        error_page 500 502 503 504 /50x.html;
        location = /50x.html {
        }
    }

# Settings for a TLS enabled server.
#
#    server {
#        listen       443 ssl http2;
#        listen       [::]:443 ssl http2;
#        server_name  _;
#        root         /usr/share/nginx/html;
#
#        ssl_certificate "/etc/pki/nginx/server.crt";
#        ssl_certificate_key "/etc/pki/nginx/private/server.key";
#        ssl_session_cache shared:SSL:1m;
#        ssl_session_timeout  10m;
#        ssl_ciphers HIGH:!aNULL:!MD5;
#        ssl_prefer_server_ciphers on;
#
#        # Load configuration files for the default server block.
#        include /etc/nginx/default.d/*.conf;
#
#        error_page 404 /404.html;
#            location = /40x.html {
#        }
#
#        error_page 500 502 503 504 /50x.html;
#            location = /50x.html {
#        }
#    }

}
重启nginx后就可以访问网页了。
访问地址即服务器地址
版权声明:本文为Rome_z原创文章,遵循 CC 4.0 BY-SA 版权协议,转载请附上原文出处链接和本声明。