一、Ajax使用:
1. index.jsp
<%@ page contentType="text/html;charset=UTF-8" language="java" %>
<html>
  <head>
    <title>首页</title>
    <script src="${pageContext.request.contextPath}/statics/js/jquery-3.5.1.js"></script>
    <script>
      $(function () {
          $("#btn").click(function () {
              loadData();
          })
      });
      function loadData(){
          $.post({
              url:"${pageContext.request.contextPath}/getData",
              data:{"name":"无"},
              success:function (data) {
                  var htmlStr="";
                  for (let i = 0; i <data.length ; i++) {
                      htmlStr += "<tr>"  +
                                    "<td>"+data[i].id +"</td>"+
                                    "<td>"+data[i].name +"</td>"+
                                    "<td>"+data[i].age +"</td>"+
                                "</tr>";
                  }
                  console.log(htmlStr);
                  $("#content").html(htmlStr);
              },
          });
      }
    </script>
  </head>
  <body>
    <p>用户名:<input type="button" id="btn" value="加载数据"> </p>
    <table>
      <tr>
        <td>编号</td>
        <td>姓名</td>
        <td>年龄</td>
      </tr>
      <tbody id="content"></tbody>
    </table>
  </body>
</html>
2. ajaxController.java
@RestController
public class AjaxController {
    @RequestMapping("/getData")
    public List<User>  getData(String name){
        System.out.println("name : "+name);
        List<User> users = new ArrayList<User>();
        users.add(new User(1,"战胜1",11));
        users.add(new User(2,"战胜2",22));
        users.add(new User(3,"战胜3",33));
        System.out.println(users);
        return users;
    }
}
二、SpringMVC拦截器
① 拦截器是SpringMVC框架自己的,拦截器只会拦截访问控制层方法,如果访问的是
jsp/html/css/image/js
是不会拦截的;
② 拦截器是Aop思想的具体应用;
自定义拦截器:
① 新建一个moudule,添加web支持;
② 配置web.xml和applicationContext.xml文件;
③ 编写一个拦截器;
1. MyIntercepetor .java
public class MyIntercepetor implements HandlerInterceptor {
   @Override//返回ture时,执行下一个拦截器(放行)
   public boolean preHandle(HttpServletRequest request, HttpServletResponse response, Object handler) throws ServletException, IOException {
       System.out.println("拦截前");
       HttpSession session = request.getSession();
       //1.放行
       if(session.getAttribute("username")!=null){//已登录
           System.out.println("已登录");
           return true;
       }
       if(request.getRequestURI().contains("toLogin")){//将进入登录界面
           System.out.println("进入登录界面");
           return true;
       }
       if(request.getRequestURI().contains("login")){//将进入登录界面
           System.out.println("正在提交登录数据");
           return true;
       }
       //2.不放行
       System.out.println("请先登录");
       request.getRequestDispatcher("/WEB-INF/jsp/login.jsp").forward(request,response);//未登录->前往登录界面
       return false;
   }

   @Override
   public void postHandle(HttpServletRequest request, HttpServletResponse response, Object handler, ModelAndView modelAndView) {
//        System.out.println("拦截后");
   }

   @Override
   public void afterCompletion(HttpServletRequest request, HttpServletResponse response, Object handler, Exception ex) {
//        System.out.println("拦截清理");
   }
}
2. CommonController .java
@Controller
@RequestMapping("/user")
public class CommonController {
   @RequestMapping("/main")
   public String main(){
       return "main";
   }

   @RequestMapping("/toLogin")
   public String toLogin(){
       return "login";
   }

   @RequestMapping("/login")
   public String Login(HttpSession session, String username, String password, Model model){
       System.out.println("username: "+username+" password: "+password);
       session.setAttribute("username",username);
       model.addAttribute("username",username);
       return "main";
   }

   @RequestMapping("/goOut")
   public String goOut(HttpSession session,String username, String password){
       session.removeAttribute("username");
       return "login";
   }
}
3. applicationContext.xml
   <!--拦截器配置-->
   <mvc:interceptors>
       <mvc:interceptor>
           <mvc:mapping path="/user/**"/>
           <bean class="com.nzs.config.MyIntercepetor"/>
       </mvc:interceptor>
   </mvc:interceptors>
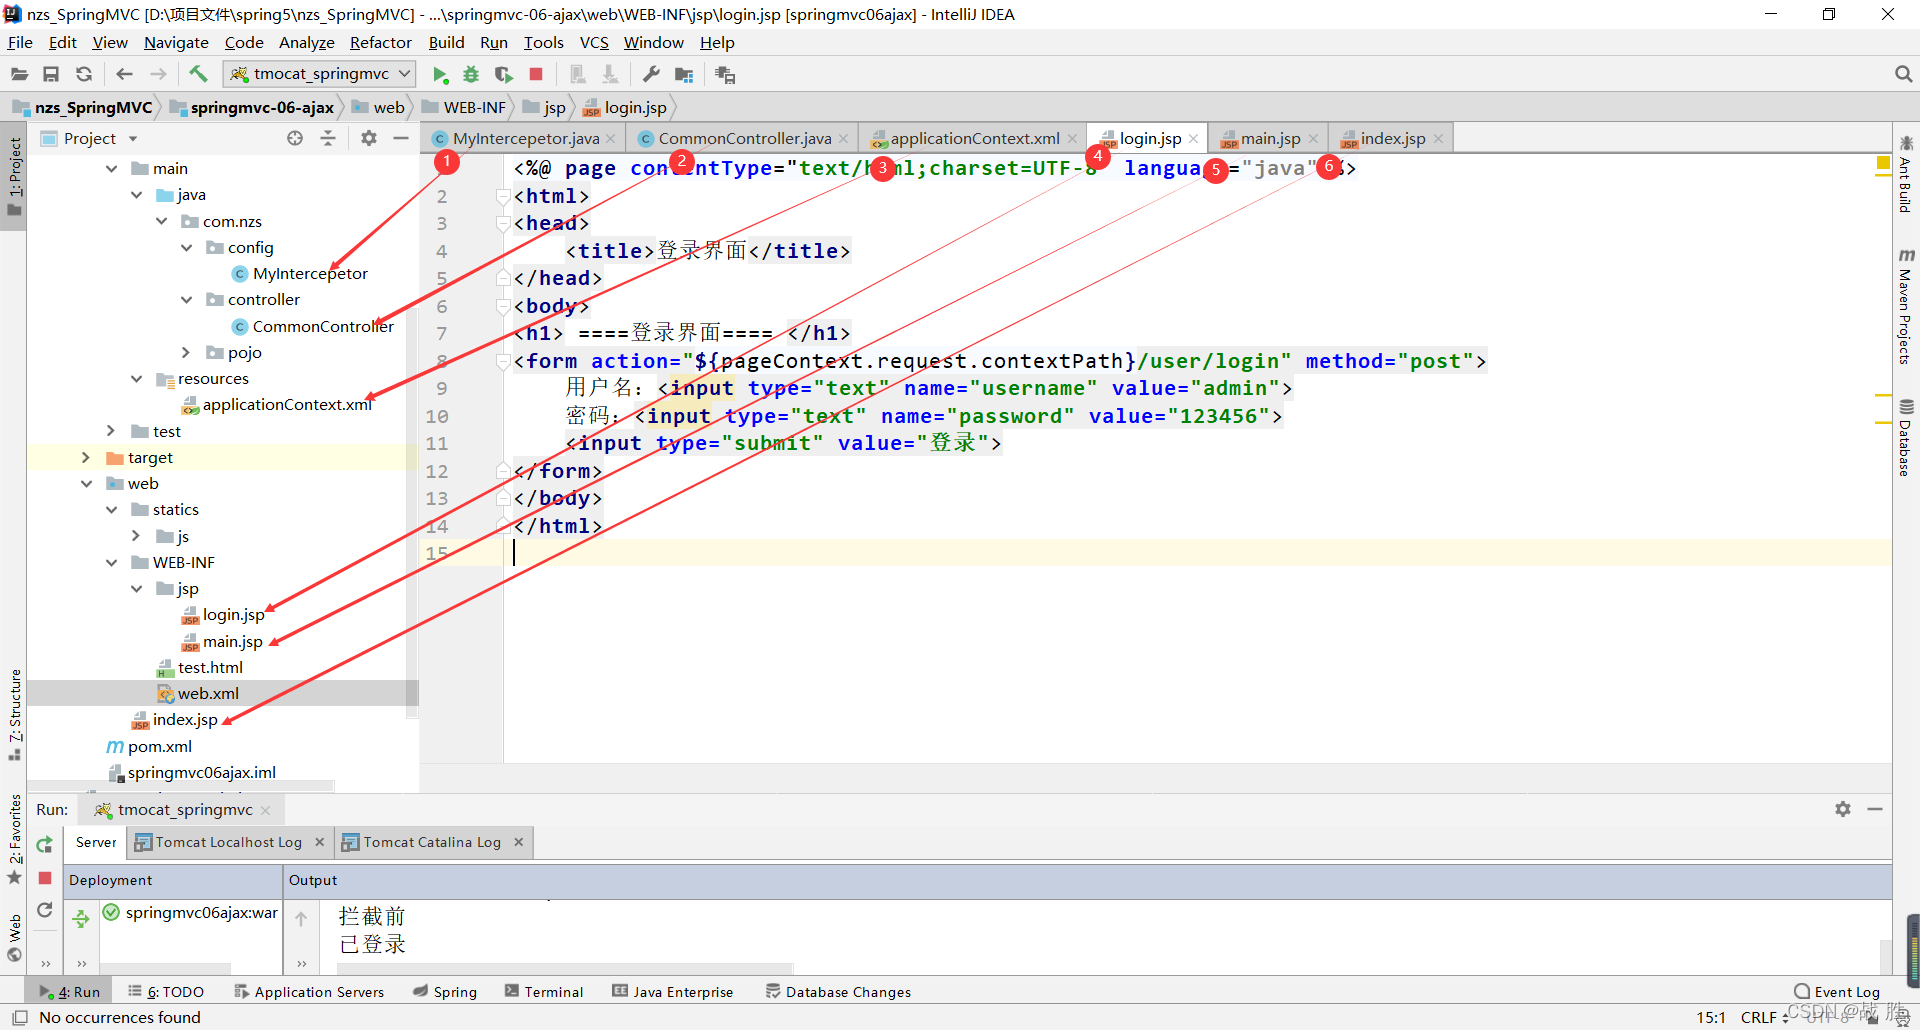
4. login.jsp
<h1> ====登录界面==== </h1>
<form action="${pageContext.request.contextPath}/user/login" method="post">
   用户名:<input type="text" name="username" value="admin">
   密码:<input type="text" name="password" value="123456">
   <input type="submit" value="登录">
</form>
5. main.jsp
<h1>====欢迎进入主界面====</h1>
${username}
<a href="${pageContext.request.contextPath}/user/goOut">退出登录</a>
6. index.jsp
 <h1><a href="${pageContext.request.contextPath}/user/toLogin">前往登录</a></h1>
  <h1><a href="${pageContext.request.contextPath}/user/main">前往首页</a></h1>
三、文件上传和下载
文件上传:
① 在pom.xml中导入依赖;
servlet-api导入高版本的
;<!--文件上传--> <dependency> <groupId>commons-fileupload</groupId> <artifactId>commons-fileupload</artifactId> <version>1.3.3</version> </dependency> <!--servlet-api导入高版本的--> <dependency> <groupId>javax.servlet</groupId> <artifactId>javax.servlet-api</artifactId> <version>4.0.1</version> </dependency>② applicationContext.xml
   <!--文件上传配置  id="multipartResolver" 一定不能写错-->
   <bean id="multipartResolver" class="org.springframework.web.multipart.commons.CommonsMultipartResolver">
       <property name="defaultEncoding" value="utf-8"/>
       <!--单位字节:(10485760=10M)-->
       <property name="maxUploadSize" value="10485760"/>
       <property name="maxInMemorySize" value="40960"/>
   </bean>
③ 上传表单
 <form action="${pageContext.request.contextPath}/upload2" enctype="multipart/form-data" method="post">
   <input type="file" name="file" value="选择文件">
   <input type="submit" value="上传">
 </form>
④ 控制层FileController.java <
两种方式接收
>@RestController public class FileController { 方式一: @RequestMapping("/upload1") public String fileUploadWay1(@RequestParam("file")CommonsMultipartFile file, HttpServletRequest request) throws IOException { //1.获取文件名 String uploadFileName = file.getOriginalFilename(); //2.判断文件名是否为空 if("".equals(uploadFileName)){ return "redirect:/index.jsp"; } System.out.println("上传文件名:"+uploadFileName); //3.上传保存路径设置 String path = request.getServletContext().getRealPath("/upload"); //4.如果路径不存在 则创建一个 File realPath = new File(path); if(!realPath.exists()){ realPath.mkdirs(); } System.out.println("上传文件保存路径:"+realPath); //5.创建输入输出流 InputStream is = file.getInputStream(); FileOutputStream os = new FileOutputStream(new File(realPath, uploadFileName)); //6.读取写出 int len=0; byte[] buffer = new byte[1024]; while((len=is.read(buffer))!=-1){ os.write(buffer,0,len); os.flush(); } //7.结束 os.close(); is.close(); return "redirect:/index.jsp"; } 方式二: @RequestMapping("/upload2") public String fileUploadWay2(@RequestParam("file")CommonsMultipartFile file, >HttpServletRequest request) throws IOException { //1.上传路径保存设置 String path = request.getServletContext().getRealPath("/upload"); File realPath = new File(path); if(!realPath.exists()){ realPath.mkdirs(); } System.out.println("文件保存地址 :"+realPath); //2.上传文件 file.transferTo(new File(realPath+"/"+file.getOriginalFilename())); return "redirect:/index.jsp"; } }
文件下载:
① 设置response响应头;
② 读取文件:InputStream;
③ 写出文件:OutputStream;
④ 执行操作;
⑤ 关闭流;
@RequestMapping("/download")
public String downLoad(HttpServletResponse response,HttpServletRequest request) throws Exception{

    //1.要下载文件的图片地址
    String path = request.getServletContext().getRealPath("/upload");
    String fileName = "1.png";//下载名可以改

    //2.设置response响应头
    response.reset();//设置页面不缓存,清空buffer
    response.setCharacterEncoding("UTF-8");
    response.setContentType("multipart/form-data");
    response.setHeader("Content-Disposition",
            "attachment;fileName="+ URLEncoder.encode(fileName,"UTF-8"));
    System.out.println("8888888888888888888888888");
    File file = new File(path,fileName);
    //3.输入输出liu
    FileInputStream input = new FileInputStream(file);
    ServletOutputStream out = response.getOutputStream();
    byte[] buff = new byte[1024];
    int index = 0;
    //4.执行写操作
    while ((index=input.read(buff))!=-1){
        out.write(buff,0,index);
        out.flush();
    }
    out.close();
    input.close();
    System.out.println("OKOKOKOKOK");
    return "OK";
}