WPF的学习和使用一:WPF 与 Revit 的普通交互
@Revit二次开发
WPF 的认识
WPF 是一个.NET组件,通俗来讲就是一个可与用户交互的窗口界面,和以前的VB 有点像。可以拖放Label, TextBox, Button进窗口, 然后对每一个组件进行执行指令编码。植入Revit 后,用户可以选择输入参数,执行命令,方便建模。下面就以创建墙体为例。
WPF环境搭建
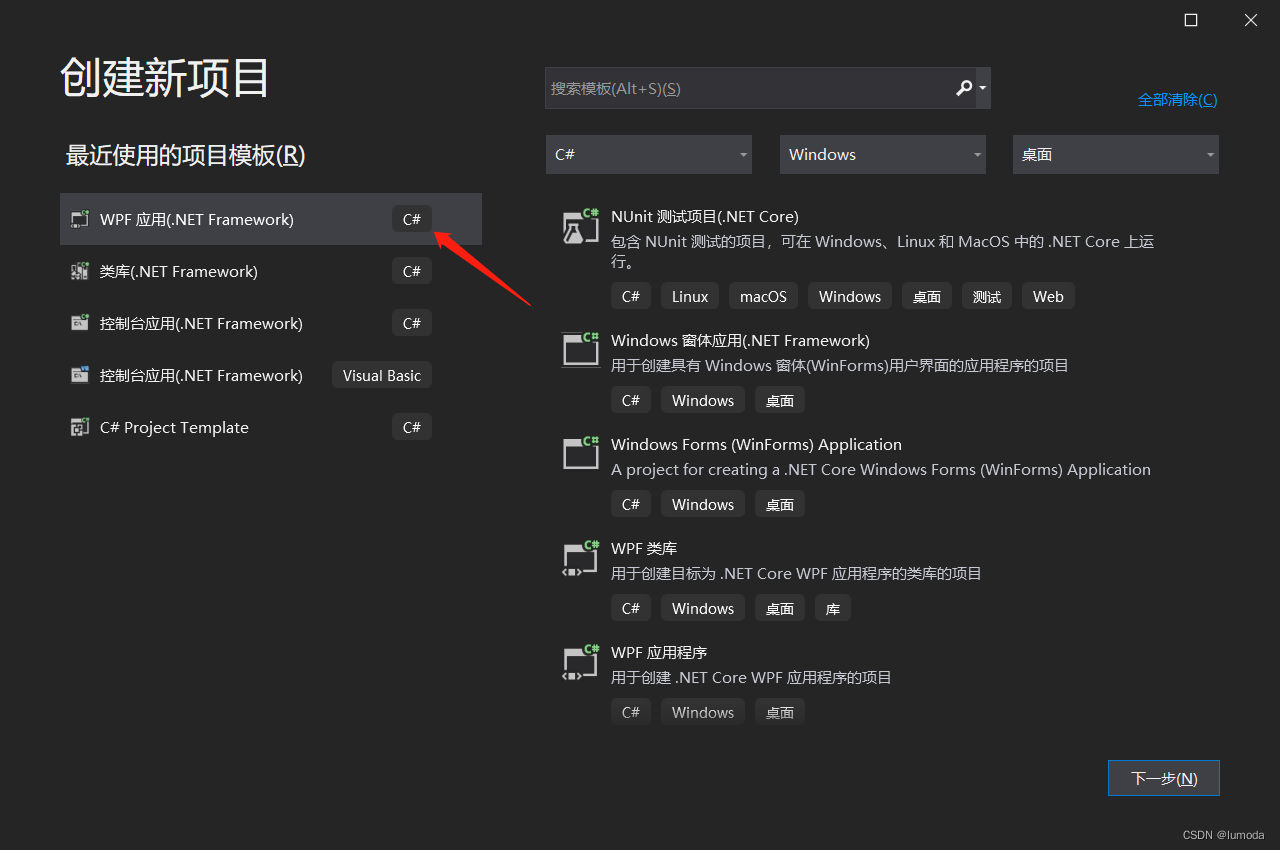
Step1 : 创建一个项目,类型为WPF应用 (.NET Framework)
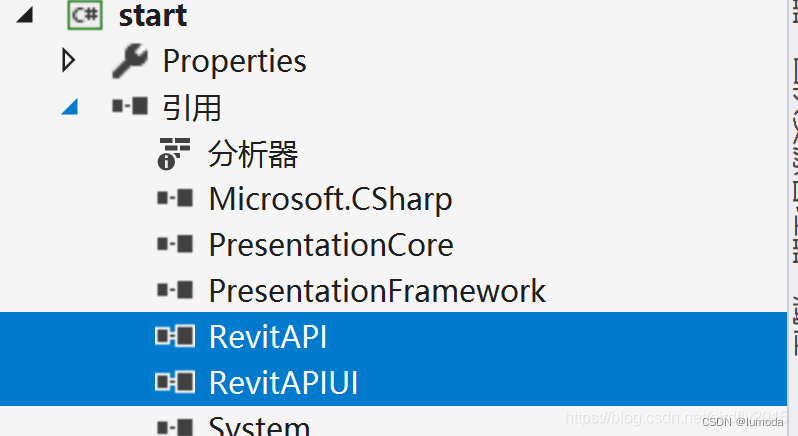
Step 2 :搭建WPF环境
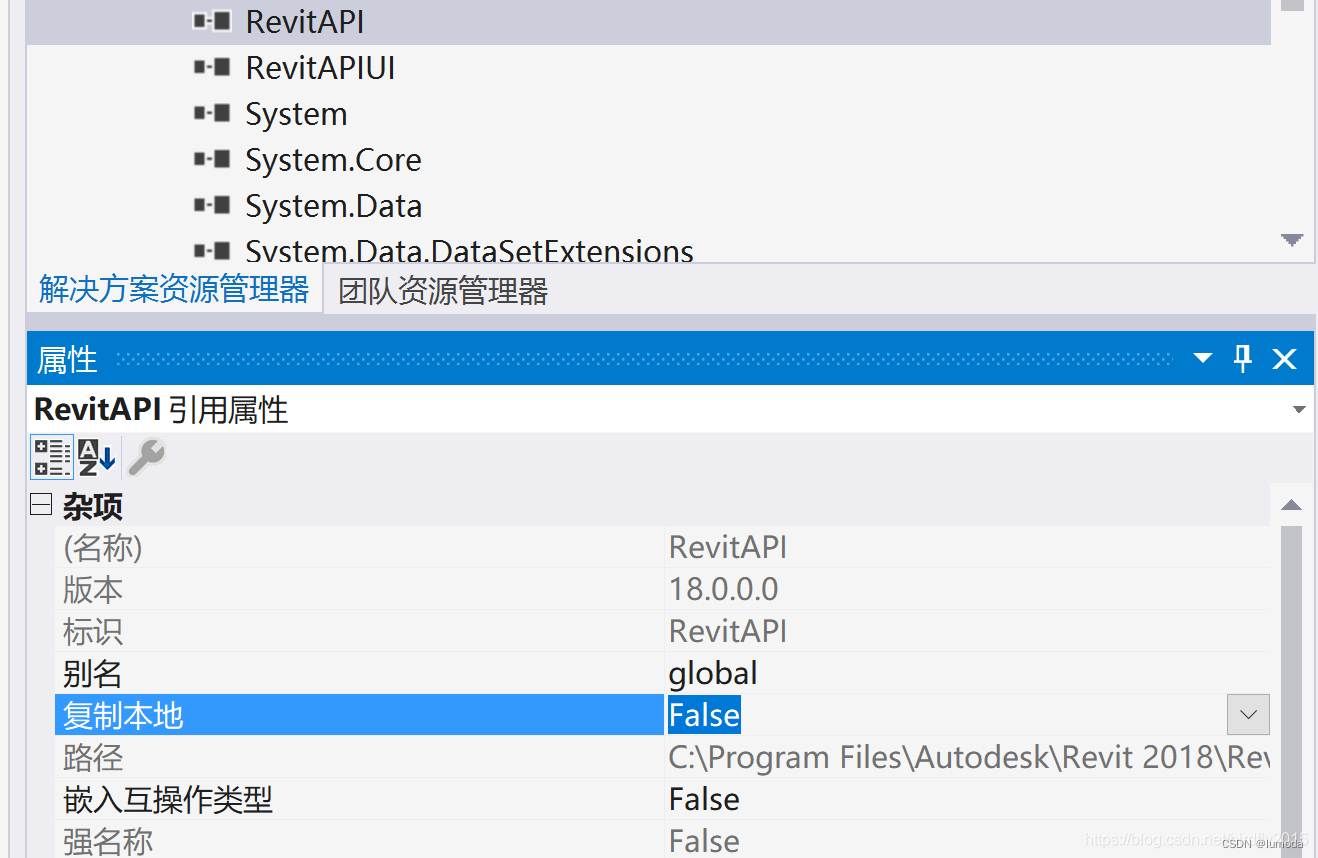
引用中添加RevitAPI, RevitAPIUI
并把复制本地设置为False.
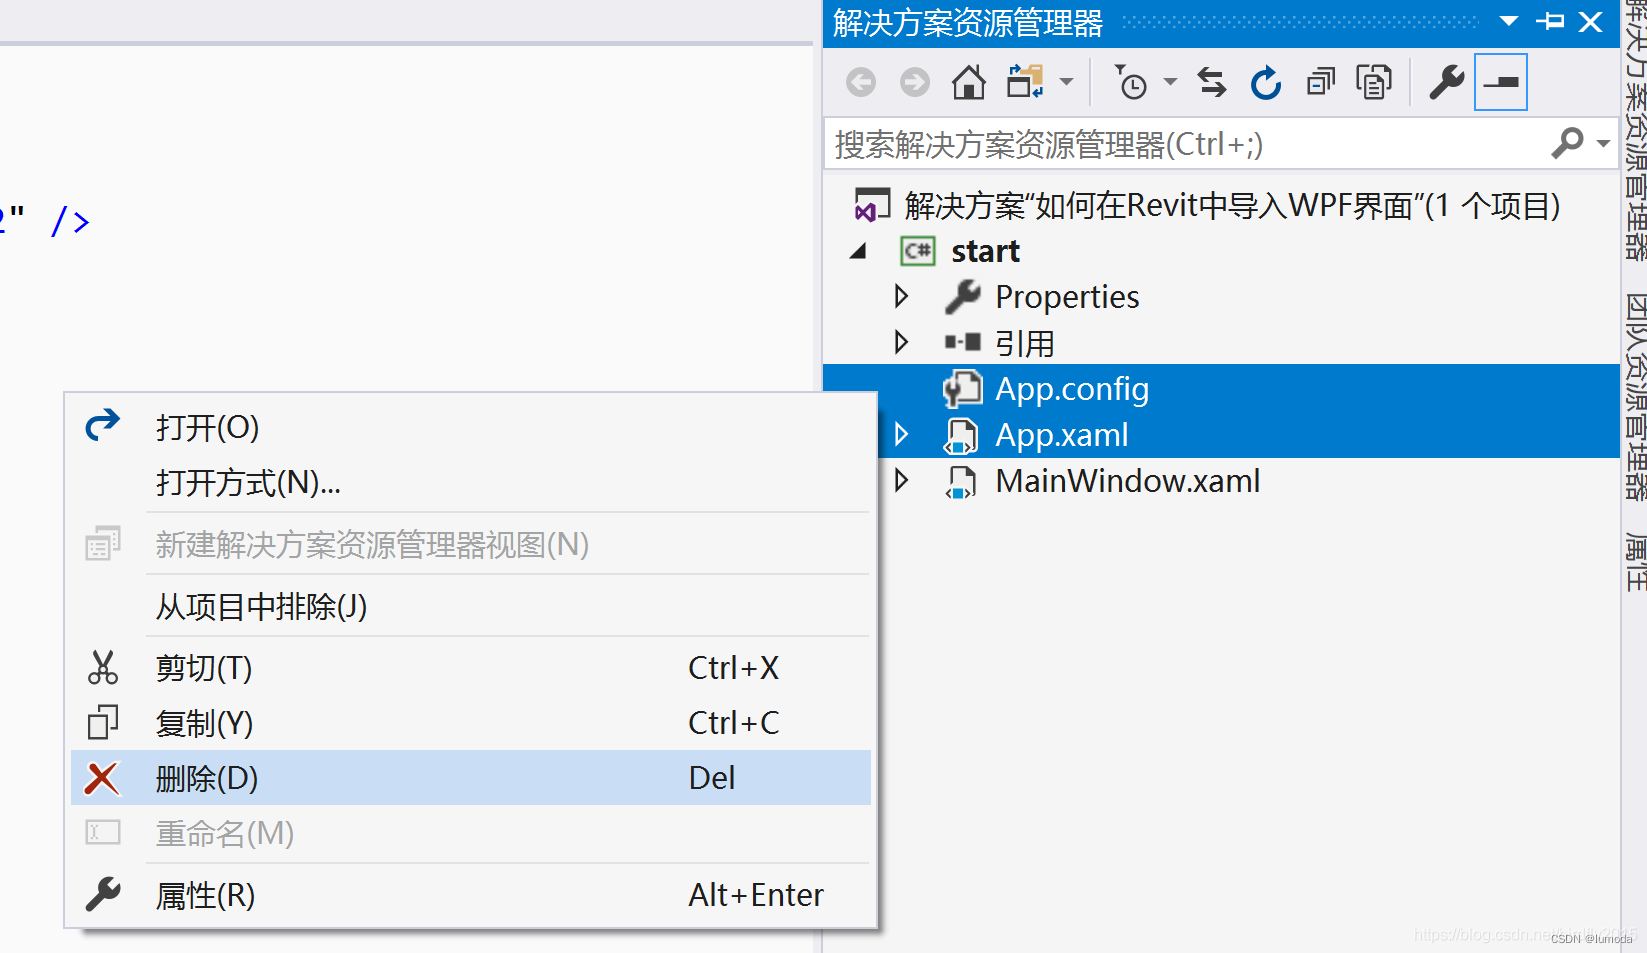
删除App.xmal, App.config
右键项目,属性,输出类型改为类库。
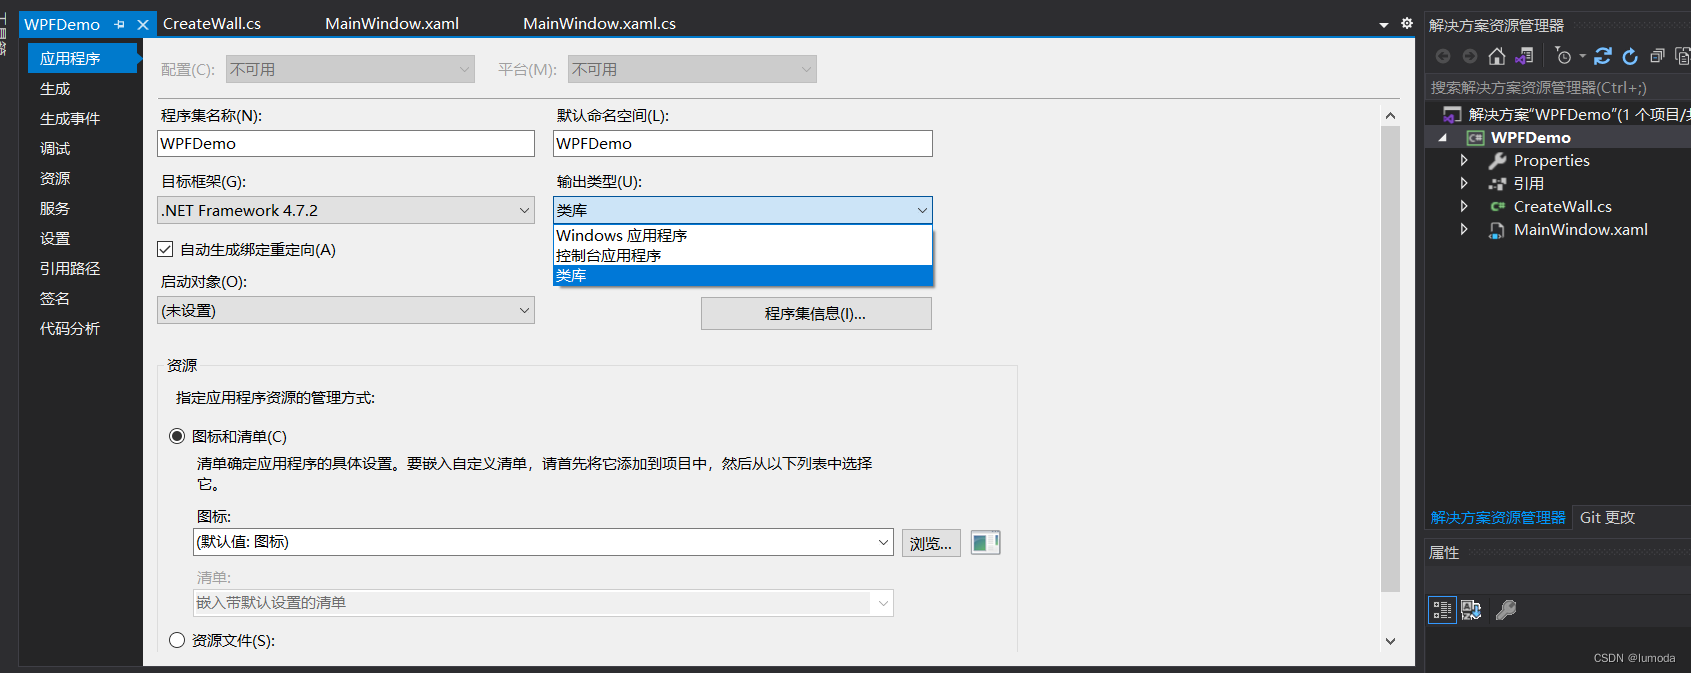
环境搭建完了,这样WPF 就可以植入Revit了
创建WPF窗口
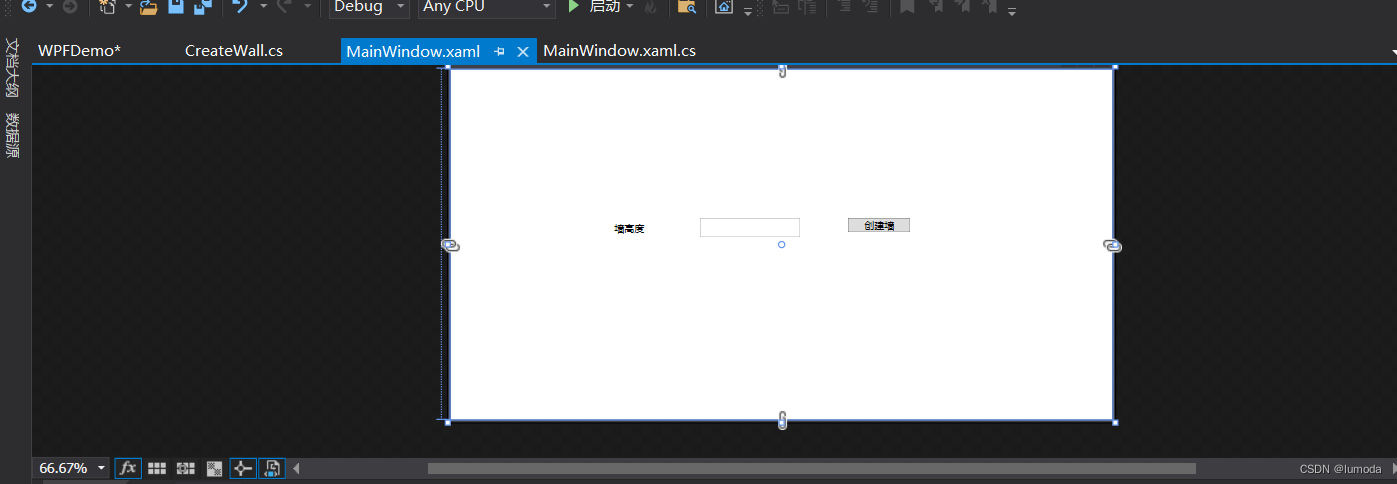
在MainWindow.xmal这个窗口中添加Label, TextBox, Button这几个组件,然后分别更名为“墙高度”, “ ”, “创建墙”。要达成的效果就是用户通过设置墙高度,然后创建墙。
双击Button控件,就会到MainWindow.xmal.cs界面,这里可以对控件进行命令编码,代码如下。
using System;
using System.Collections.Generic;
using System.Linq;
using System.Text;
using System.Threading.Tasks;
using System.Windows;
using System.Windows.Controls;
using System.Windows.Data;
using System.Windows.Documents;
using System.Windows.Input;
using System.Windows.Media;
using System.Windows.Media.Imaging;
using System.Windows.Navigation;
using System.Windows.Shapes;

namespace WPFDemo
{
    /// <summary>
    /// MainWindow.xaml 的交互逻辑
    /// </summary>
    public partial class MainWindow : Window
    {

        public bool IsClickClosed {get; set;} = false;
        public MainWindow()
        {
            InitializeComponent();
        }

        public object TextBox { get; internal set; }

        private void Button_Click(object sender, RoutedEventArgs e)
        {
            IsClickClosed = true;
            this.Close();
        }
    }
}
其中的IsClickClosed是一个bool类型,判断是否是由于用户点击按钮关闭的MainWindow窗口,这样在非执行Button点击的情况下可以正常关闭窗口,否则会报错。详见如下。
创建墙实例的代码
新建一个类,名称叫:CreateWall.cs
在创建墙的命令代码基础上,新建一个MainWindow实例,也就是
// 模态窗口,
mainWindow.ShowDialog();
这个模态化窗口保证了在窗口交互完成之前,后面的创建墙外部命令不会被执行。
然后判断是否执行了Button点击,如果是用户叉掉了窗口,则IsClickClose判断为false, 就执行Result.Cancelled,如此就正常关闭了窗口。
然后读取TextBox里面的用户输入的文本内容。这边使用的代码为:
double height = Convert.ToDouble(mainWindow.textBox.Text) / 0.3048
需要注意的是这边需要把TextBox控件下的参数里,加上Name = “textBox”, 并且删除最后的 TextChanged=“TxtShow_TextChanged”。否则生成dll时会报错。
<TextBox x:Name ="textBox" HorizontalAlignment="Left" Height="23" Margin="299,178,0,0" TextWrapping="Wrap" Text=" " VerticalAlignment="Top" Width="120"/>
最后的完整代码如下:
using Autodesk.Revit.Attributes;
using Autodesk.Revit.DB;
using Autodesk.Revit.UI;
using System;
using System.Collections.Generic;
using System.Linq;
using System.Text;
using System.Threading.Tasks;

namespace WPFDemo
{
    [Transaction(TransactionMode.Manual)]
    class CreateWall : IExternalCommand
    {
        public Result Execute(ExternalCommandData commandData, ref string message, ElementSet elements)
        {
            // 【1】获取当前文档
            Document doc = commandData.Application.ActiveUIDocument.Document;

            MainWindow mainWindow = new MainWindow();
            // 非模态窗口
            // mainWindow.Show();

            // 模态窗口,
            mainWindow.ShowDialog();

            if( !mainWindow.IsClickClosed)
            {
                return Result.Cancelled;
            }

            double height = Convert.ToDouble(mainWindow.textBox.Text) / 0.3048;

            //  【2】获取族实例为 CL_W1 的墙:
            FilteredElementCollector collector = new FilteredElementCollector(doc);
            Element ele = collector.OfCategory(BuiltInCategory.OST_Walls).OfClass(typeof(WallType)).FirstOrDefault(x => x.Name == "Generic - 90mm Brick");
            WallType wallType = ele as WallType; // Element 类型转换为 WallType

            //  【3】 获取标高
            // 链式编程
            Level level = new FilteredElementCollector(doc).OfClass(typeof(Level)).FirstOrDefault(x => x.Name == "Level 1") as Level;

            // 【4】创建线
            XYZ start = new XYZ(0, 0, 0);
            XYZ end = new XYZ(10 / 0.3048, 0, 0);
            XYZ anotherpoint = new XYZ(10 / 0.3048, 10 / 0.3048, 0);
            Line geomline = Line.CreateBound(start, end);

            //  无连接高度
            // double height = 15 / 0.3048; // 用英尺表示,1英尺 = 0.3048米
            double offset = 0;

            // 创建墙,需要事务创建
            Transaction ts = new Transaction(doc, "创建墙");
            ts.Start();
            Wall wall = Wall.Create(doc, geomline, wallType.Id, level.Id, height, offset, false, false);
            ts.Commit();

            return Result.Succeeded;
        }
    }
}
然后生成dll文件
Revit 与 WPF 交互展示
打开Revit,创建一个空项目,从附加模块里的外部工具导入 创建墙实例的dll文件
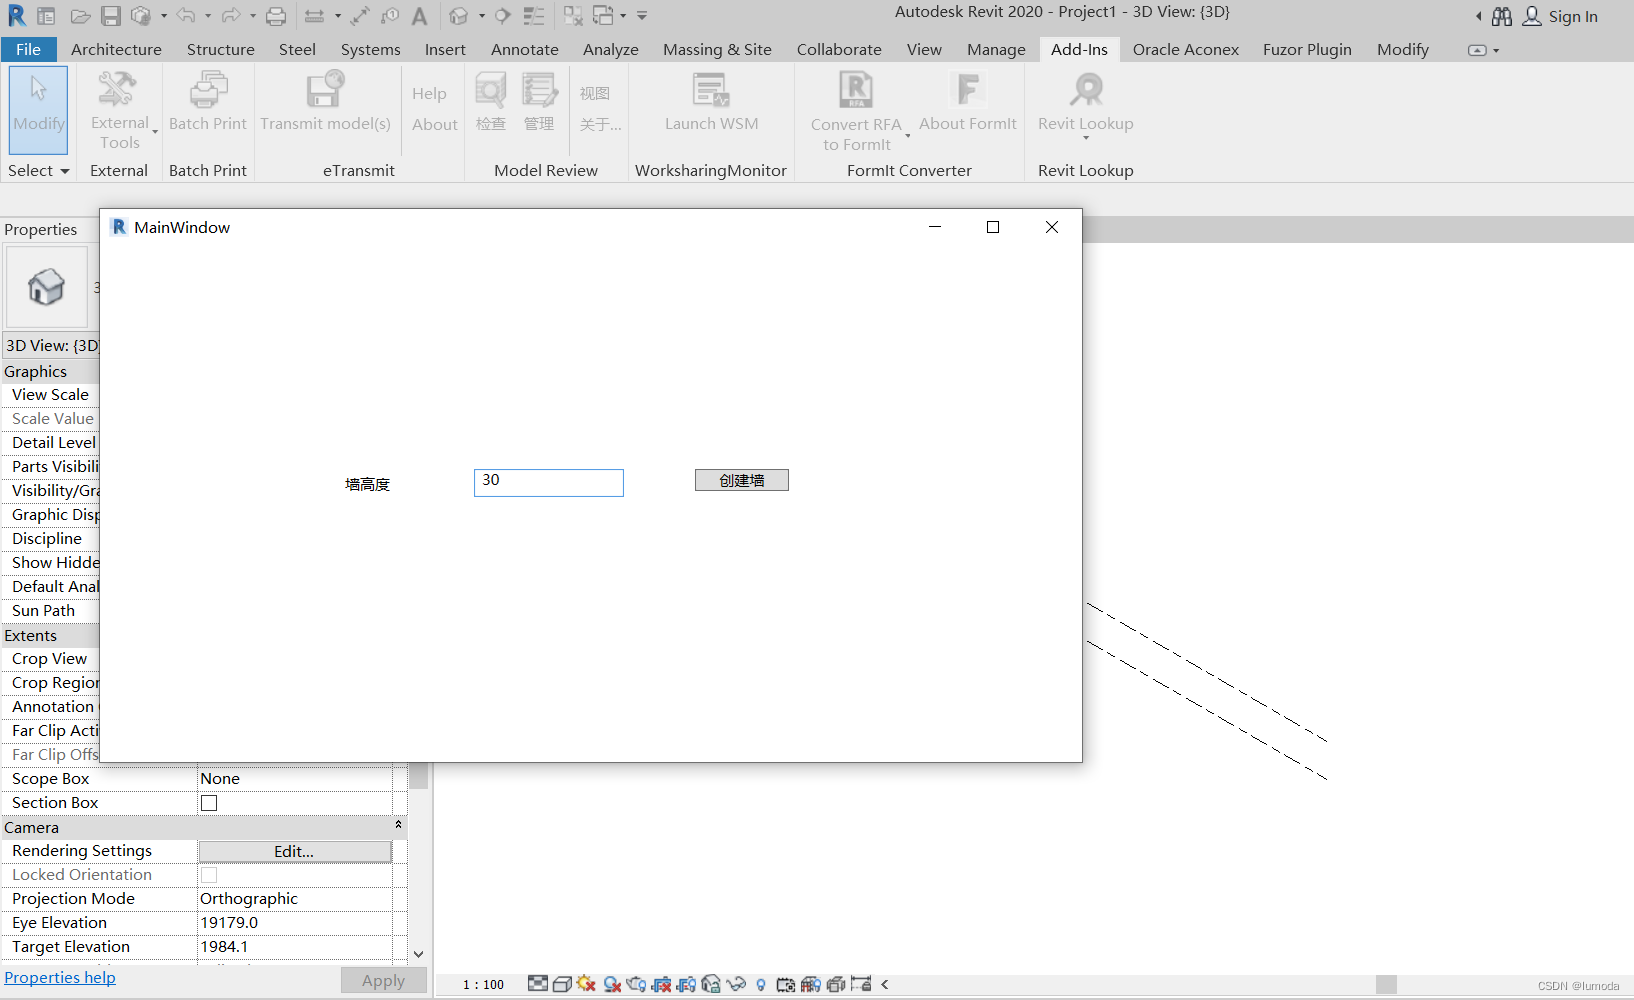
设置墙高度为30米。点击创建墙
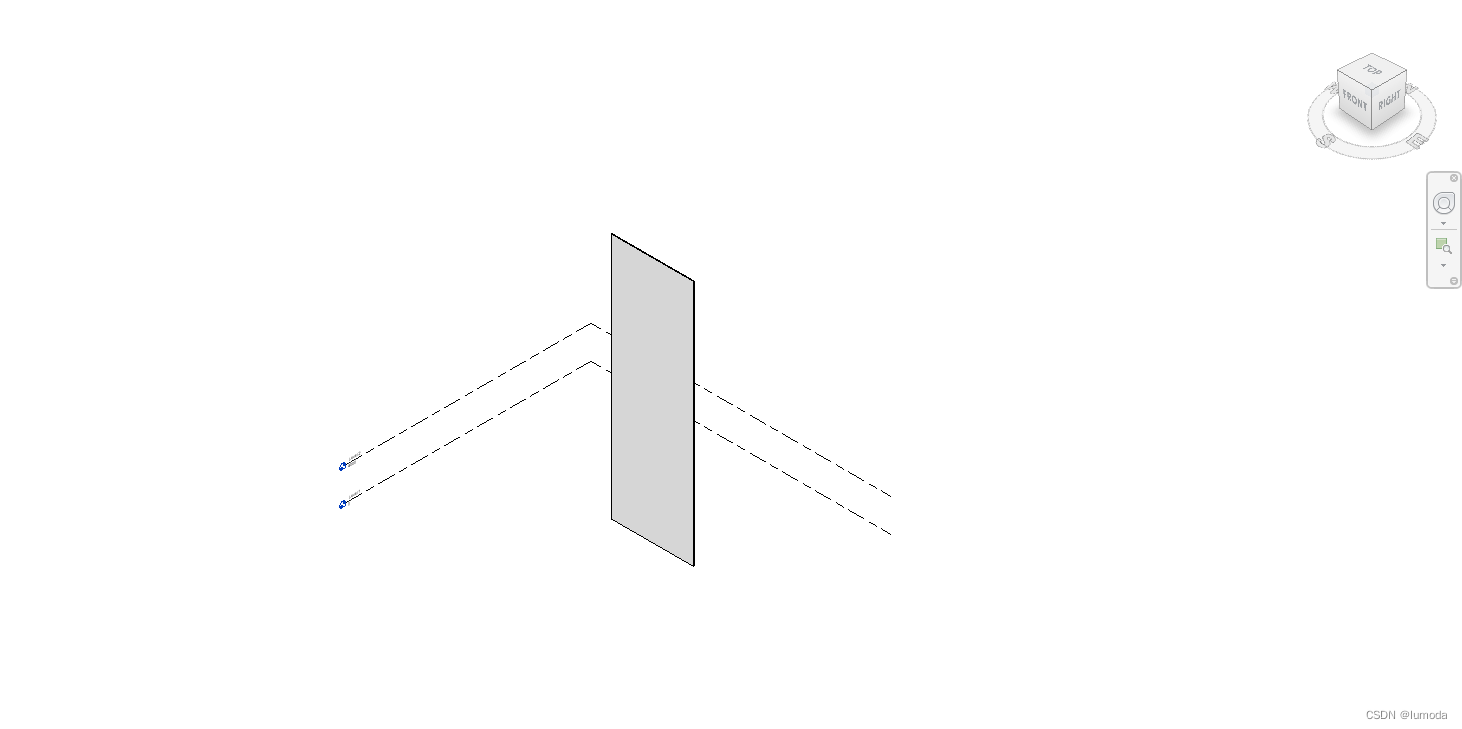
这样墙的实例就创建好了。
以上内容仅作为自己学习笔记。