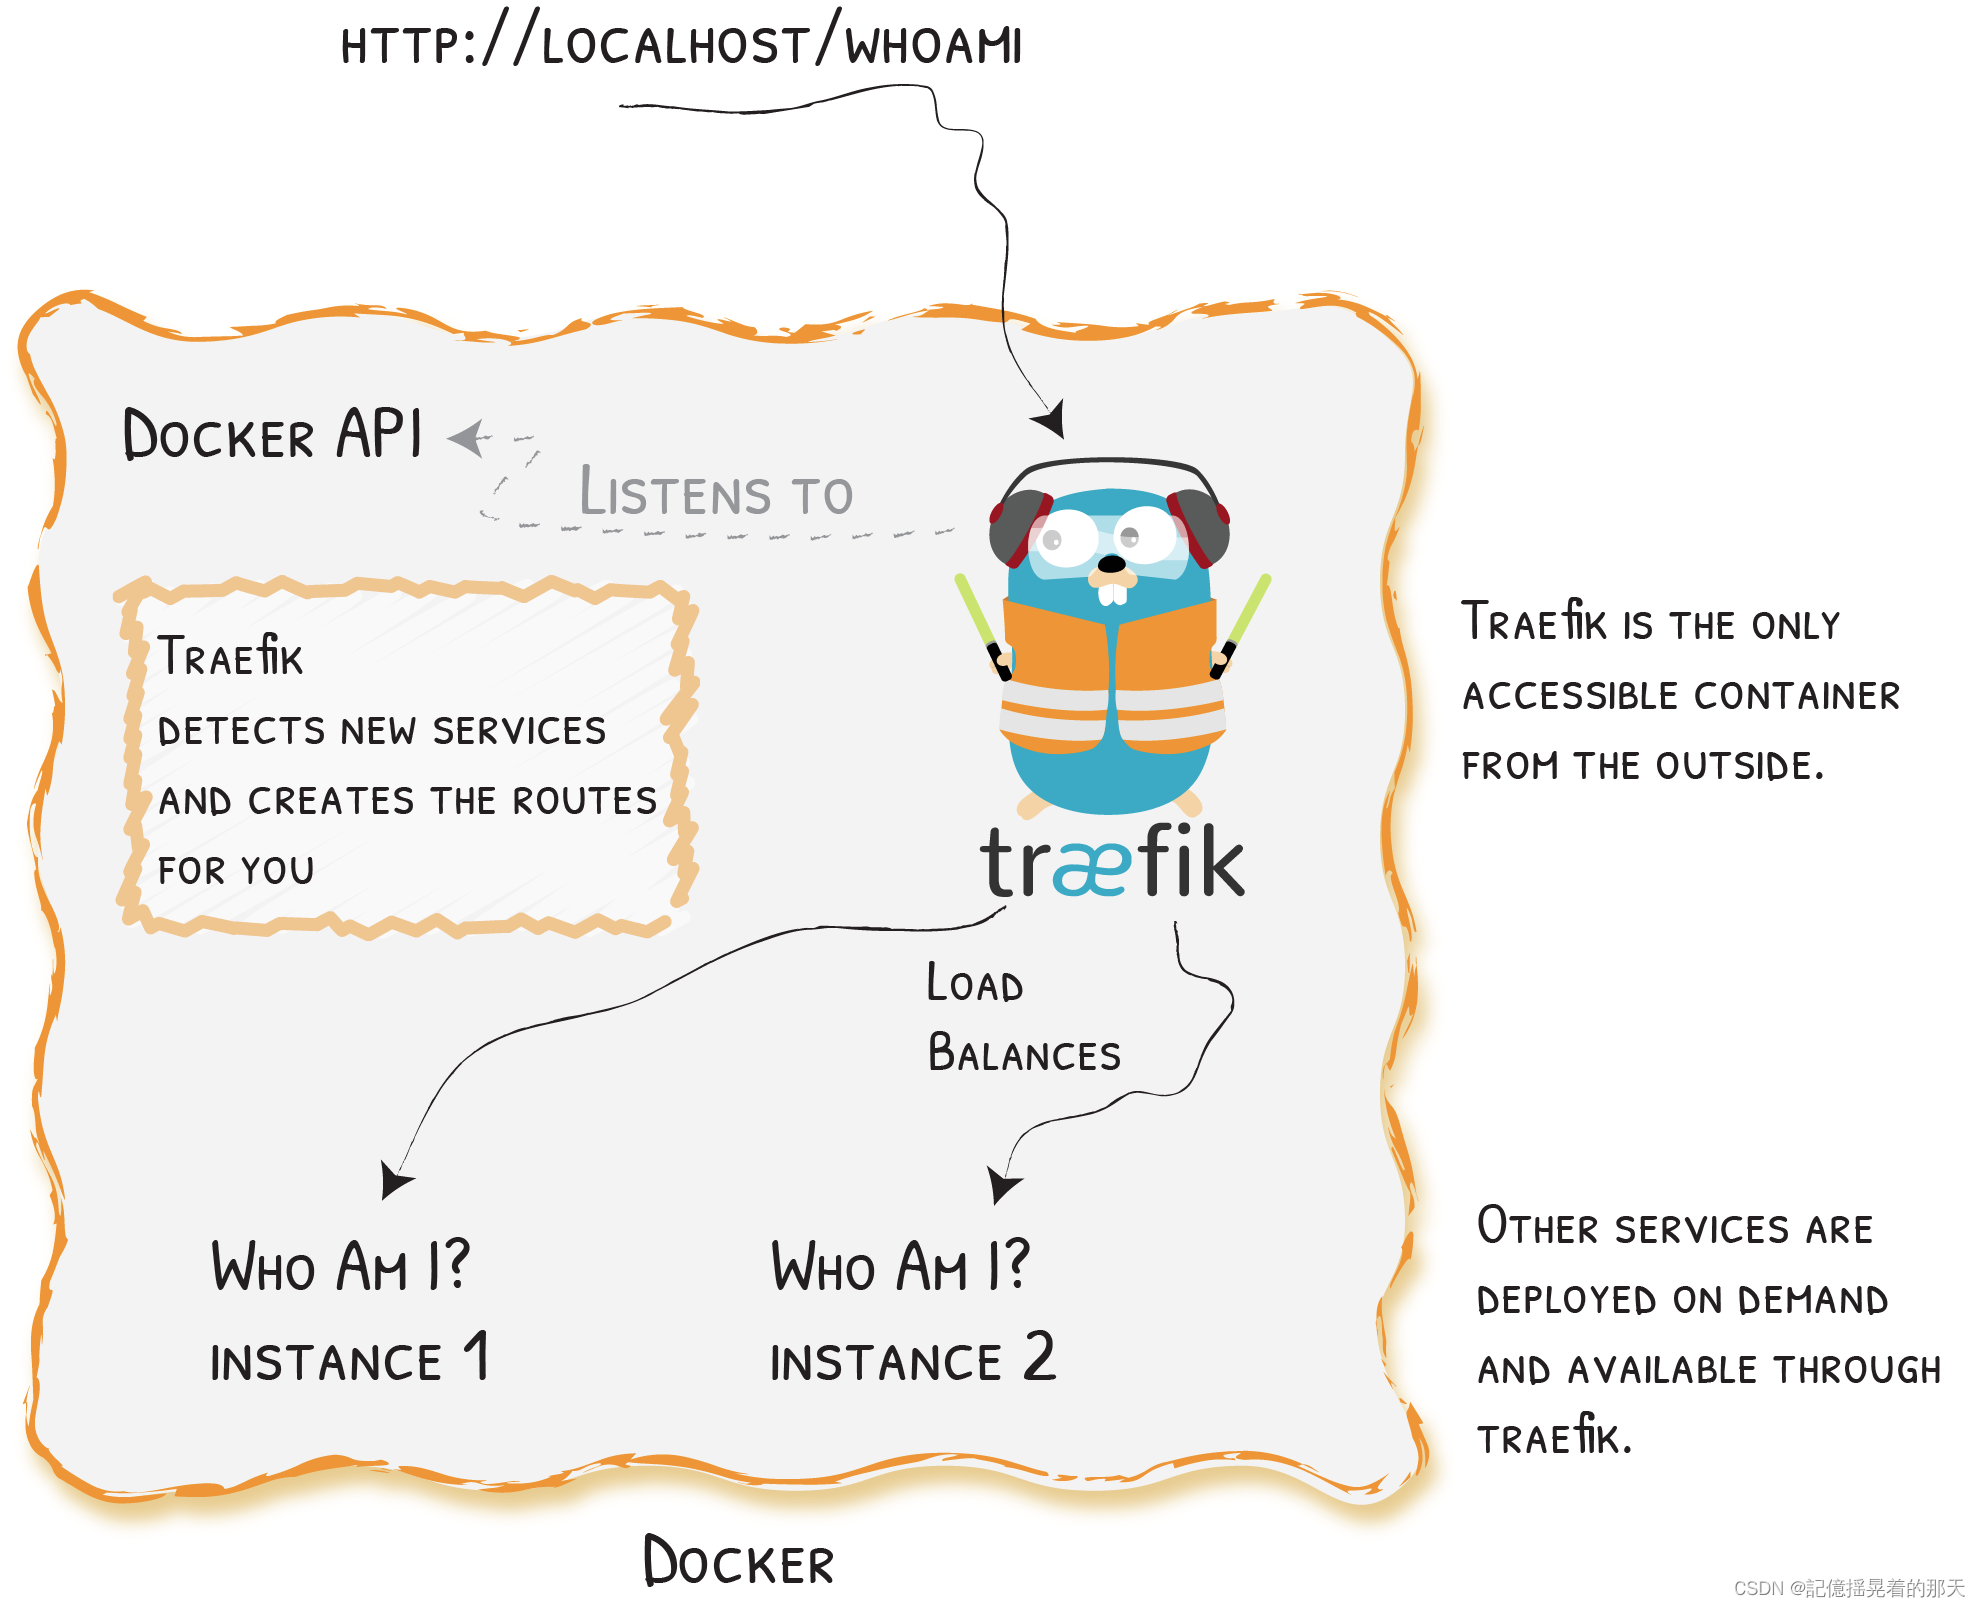
Traefik是一款开源边缘路由器,它使发布服务成为一种有趣且轻松的体验。它代表您的系统接收请求,并找出负责处理这些请求的组件。
使用Docker搭建TraeFik也可以参考官方文档:
Traefik Getting Started Quickly – Traefik
Looking to get started with Traefik Proxy quickly? Read the technical documentation to learn a simple use case that leverages Docker.
![]()
https://doc.traefik.io/traefik/getting-started/quick-start/
如何从零搭建自己的TreaFik呢?
1、创建一个桥接
docker network create proxy创建了一个桥接,名为proxy,这个桥接专门给TraeFik做代理使用
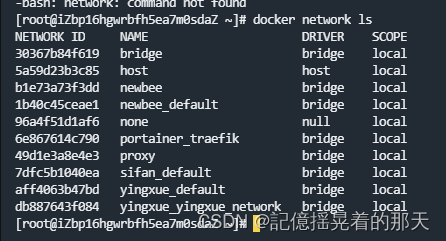
可以使用 docker network ls 查看你的docker有哪些桥接
2、创建docker-compose.yml
首先呢为了方便管理我们的服务器上的服务,可以创建目录专门放服务的docker-compose文件,和数据卷。

可以看到我的traefik服务放到/root/sifan/traefik目录下
创建docker-compose.yml
vim docker-compose.yml
如果docker-compose版本过低,需要升级
查看docker-compose版本号
docker-compose --version
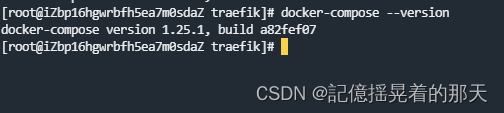
可以看到我的docker-compose有些老了,查看安装目录,后面有用到
whereis docker-compose

docker-copose本质是Python脚本,只需要下载最新的替换旧的就ok

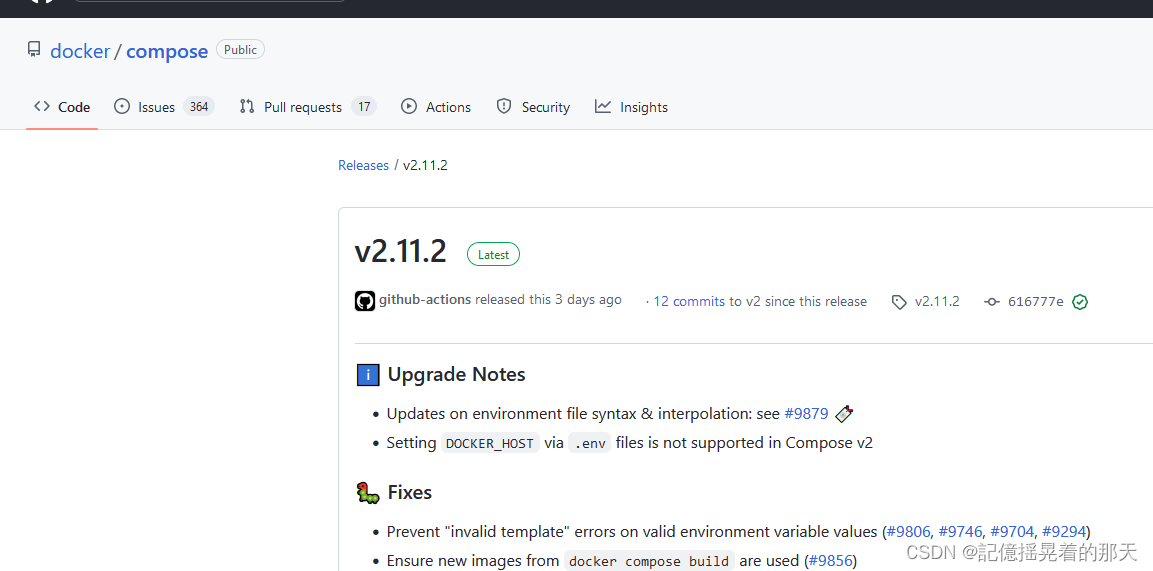
好家伙最新版都2.11.2了我还在用1.25.1
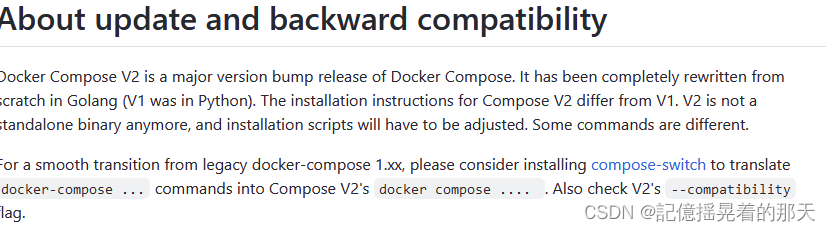
官方说可以使用compose-switch升级docker-compose大家可以试试
下载最新的docker-compose
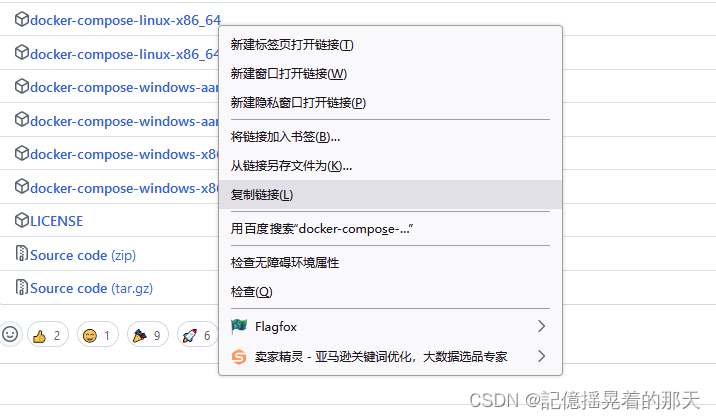
使用crul方式安装很慢所以我采取在github下载,上传方式安装
复制docker-compose安装包链接,我复制的是linux-x86_64
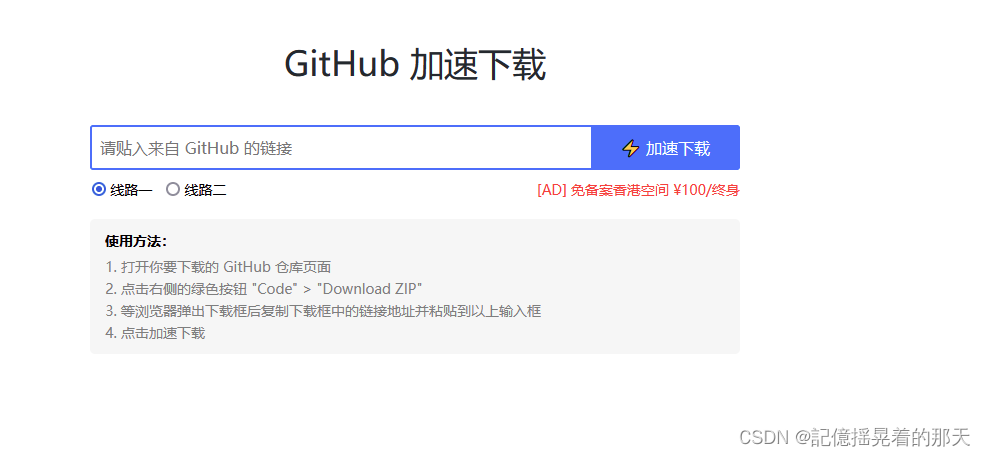
打开
GitHub 加速下载 – 在线工具
粘贴链接
下载好之后上传服务器
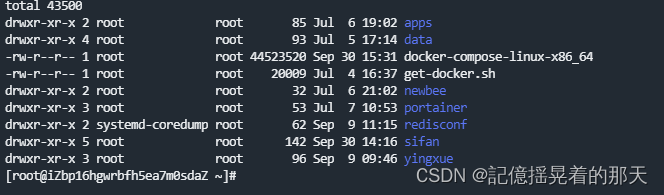
把文件复制到/usr/bin/docker-compose
cp docker-compose-linux-x86_64 /usr/local/bin/docker-compose给docker-compose赋权
chmod +x /usr/bin/docker-compose看一下版本对不对

可以看到docke-compose更新到最新版本
docker-compose.yml内容,注意:里面的内容需要配置自己的域名
version: "3.8"

networks:
  proxy:
    external: true
volumes:
  acme:
services:
  traefik:
    image: traefik:v2.5.4
    networks:
      - proxy
    ports:
      - "80:80"
      - "443:443"
    volumes:
      # 时区
      - /etc/timezone:/etc/timezone
      - /etc/localtime:/etc/localtime
      # 使traefik能够监听到docker事件
      - /var/run/docker.sock:/var/run/docker.sock
      # 持久化acme生成的证书
      - acme:/etc/acme
    env_file:
      - ./.alidns.env
    # 开启web ui 监听docker 申请证书 使用的是阿里云买的域名
    command:
      - --api.insecure=true
      - --providers.docker
      - --providers.docker.network=proxy
      # web http 80 请求进来 重定向到 下面的websecure
      - --entryPoints.web.address=:80
      - --entryPoints.web.http.redirections.entrypoint.permanene=true
      - --entryPoints.web.http.redirections.entrypoint.scheme=https
      - --entryPoints.web.http.redirections.entrypoint.to=websecure
      # web secure https端口443
      - --entryPoints.websecure.address=:443
      # 自动ssl认证
      - --entryPoints.websecure.http.tls=true
      # ssh机构 阿里
      - --entryPoints.websecure.http.tls.certresolver=ali
      # 主域名 ,这里根据自己的域名填写
      - --entryPoints.websecure.http.tls.domains[0].main=dengzhilin.com
      - --entryPoints.websecure.http.tls.domains[0].sans=*.dengzhilin.com
      - --certificatesresolvers.ali.acme.dnschallenge.provider=alidns
      - --certificatesresolvers.ali.acme.email=1767394@163.com
      - --certificatesresolvers.ali.acme.storage=/etc/acme/acme.json
    labels:
      - "traefik.enable=true"
      # 路由 上面的web和websecure
      - "traefik.http.routers.traefik.entrypoints=web, websecure"
      # 路由规则 自己的域名dengzhilin.fun
      - "traefik.http.routers.traefik.rule=Host('proxy.dengzhilin.com')"
      # 负载均衡的端口
      - "traefik.http.services.traefik.loadbalancer.server.port=8080"
需要用到的阿里云配置文件 .alidns.env
内容:注意这里是自己阿里云的访问key和秘钥
ALICLOUD_ACCESS_KEY=LTAI5tGFc7hoBswSaxxxxxxxxxxx
ALICOULD_SECRET_KEY=jZWRG3EgQBF7U9yxxxxxxxxxxx
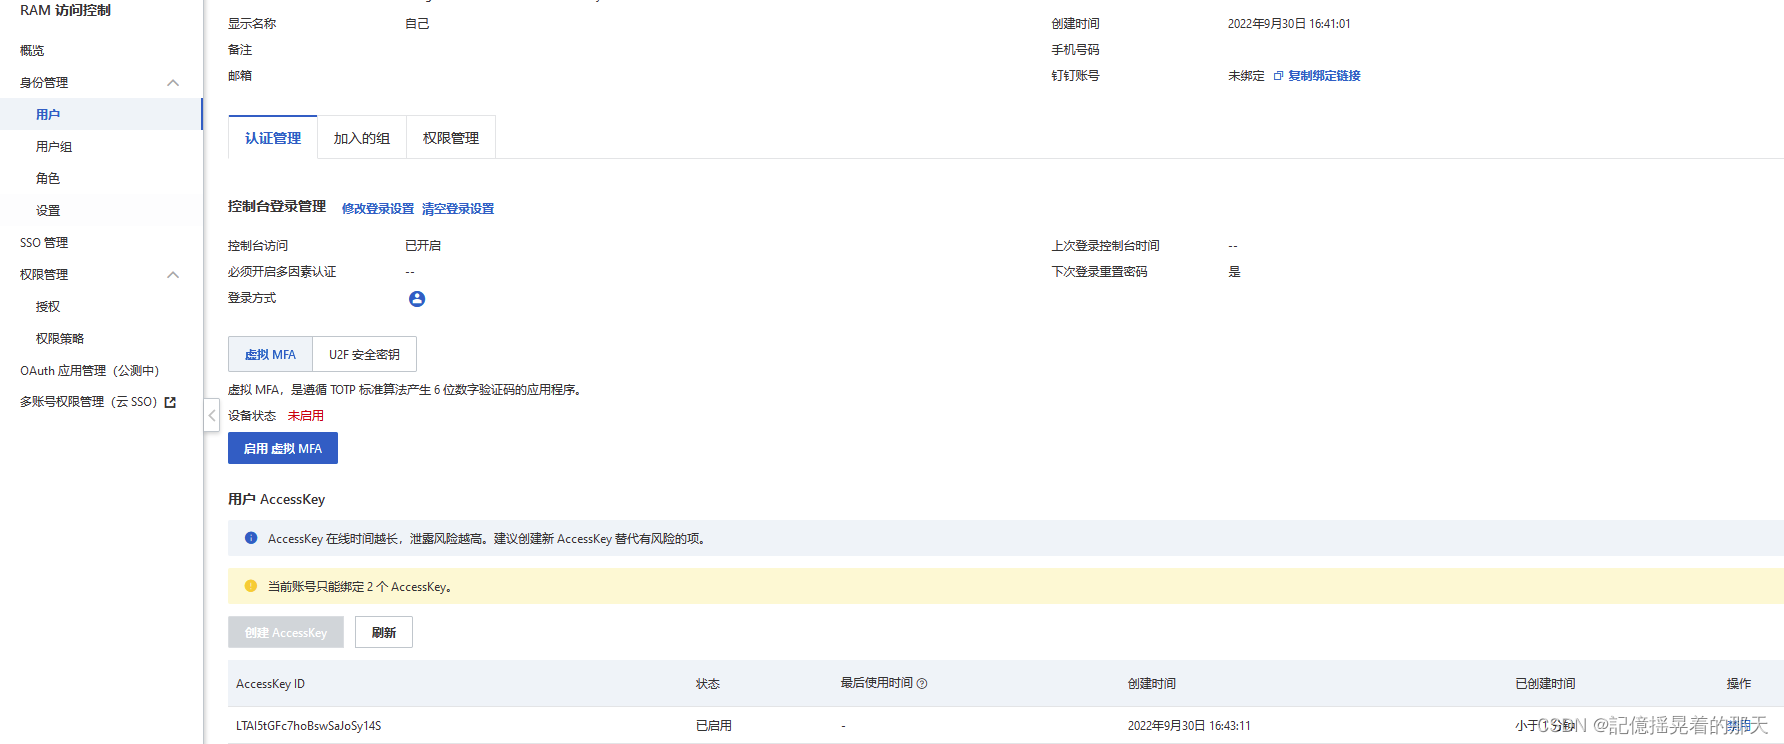
这个东西在阿里云哪个位置呢
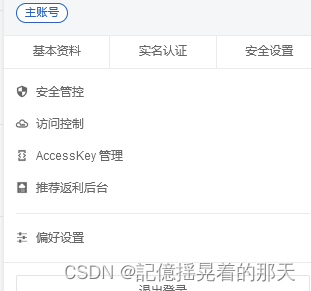
accessKey管理点进去就是
现在就可以启动啦
docker-compose up -d
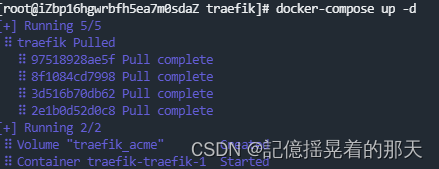
注意开发阿里云的80和443端口。