标题YOLOv7训练自己的数据集
三、
准备自己的数据集
论文题目:YOLOv7: Trainable bag-of-freebies sets new state-of-the-art for real-time object detectors
论文地址:
https://arxiv.org/abs/2207.02696
论文代码:
https://github.com/WongKinYiu/yolov7/tree/v0.1
YOLOv7可以很好地平衡速度与精度。与现有的通用GPU和移动GPU的目标检测模型进行比较,YOLOv7在速度(FPS)和精度(AP)均超过其他目标检测模型。
YOLOv7训练自己的数据集
一、YOLOv7源代码下载
本人下载的是YOLOv7-0.1版本代码,地址如下:

二、安装深度学习环境
本文安装的pytorch版本是
1.9.0
,torchvision版本是
0.10.0
,python是
3.8.10
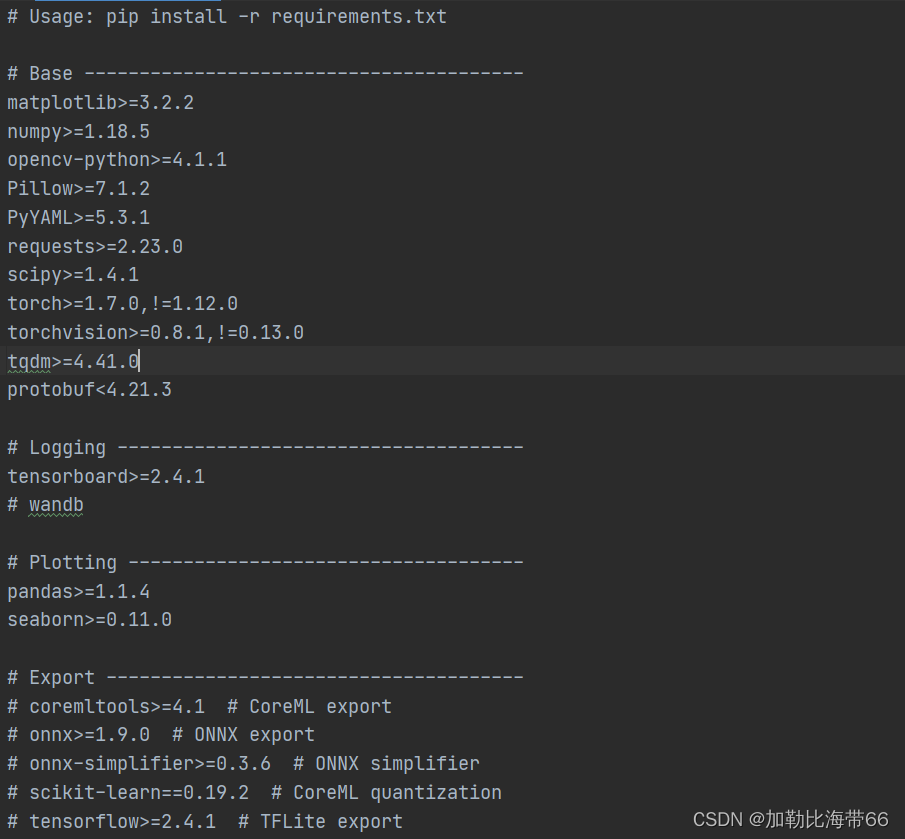
,其他的依赖库按照requirements.txt文件安装即可。
三、准备自己的数据集
本人之前一直使用YOLOv5算法,所以标注的数据格式是VOC(xml文件),且YOLOv7能够直接使用的是YOLO格式的数据。
(一)创建数据集
在根目录创建文件夹:VOCdevkit/VOC2007,在VOC2007创建下面的文件夹,放入自己的数据集。
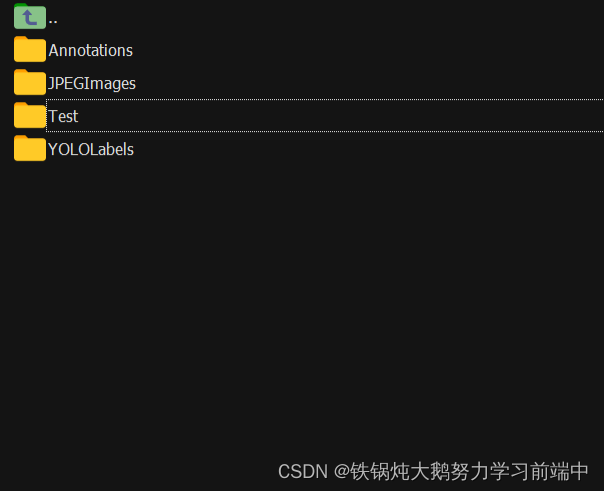
JPEGImages———用于存放数据集图片
Annotations———用于存放与图片相对应的xml文件
4.运行voc_yolo.py文件后,在VOCdevkit文件夹下生成两个文件夹:
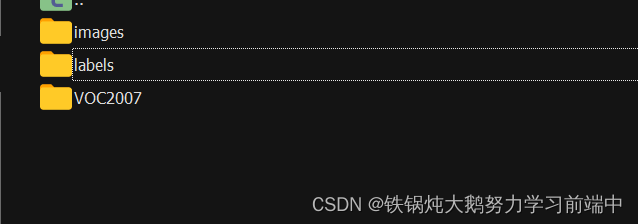
images展开文件夹如下,用于图片的训练和验证的图片
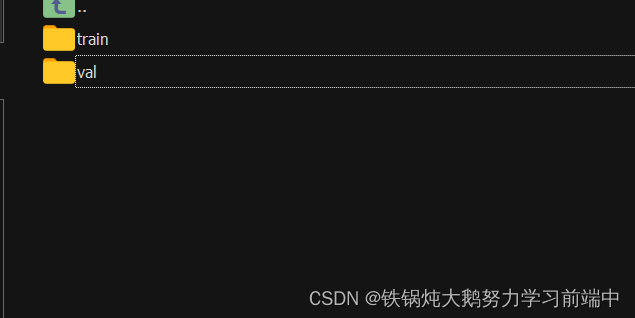
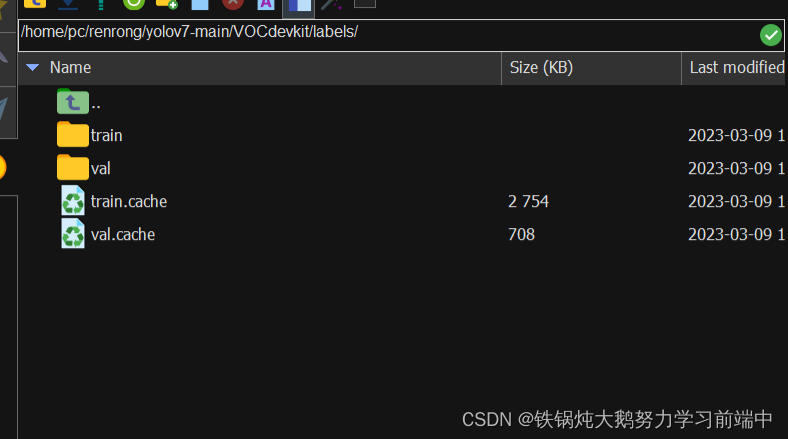
labels存放txt文件夹:
(二)转换数据集格式
把数据集格式由VOC转换成YOLO的txt格式,即将每个xml标注提取bbox信息为txt格式,训练过程需要使用。
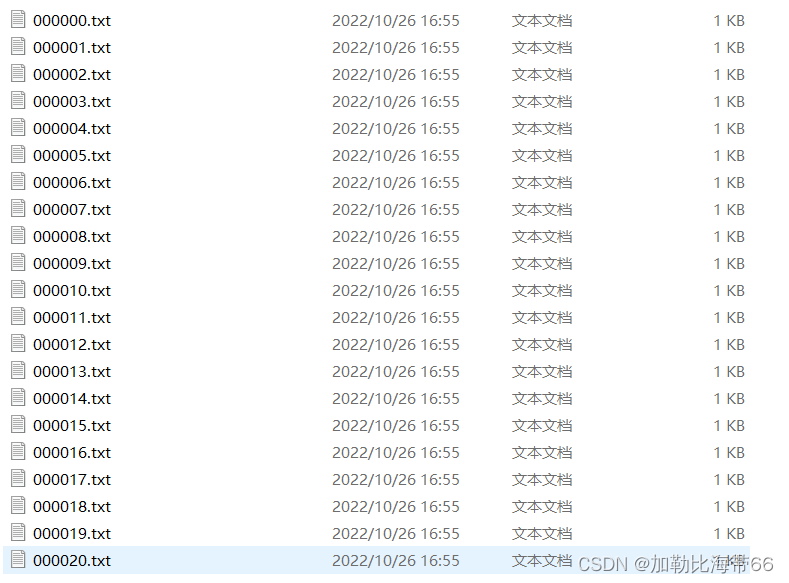
具体操作流程:在data文件夹下创建voc_yolo.py文件,代码如下,可直接复制修改自己对应的数据集名字:
import xml.etree.ElementTree as ET
import pickle
import os
from os import listdir, getcwd
from os.path import join
import random
from shutil import copyfile

classes = ["hat","person"]
# classes=["ball"]

TRAIN_RATIO = 80


def clear_hidden_files(path):
    dir_list = os.listdir(path)
    for i in dir_list:
        abspath = os.path.join(os.path.abspath(path), i)
        if os.path.isfile(abspath):
            if i.startswith("._"):
                os.remove(abspath)
        else:
            clear_hidden_files(abspath)


def convert(size, box):
    dw = 1. / size[0]
    dh = 1. / size[1]
    x = (box[0] + box[1]) / 2.0
    y = (box[2] + box[3]) / 2.0
    w = box[1] - box[0]
    h = box[3] - box[2]
    x = x * dw
    w = w * dw
    y = y * dh
    h = h * dh
    return (x, y, w, h)


def convert_annotation(image_id):
    in_file = open('VOCdevkit/VOC2007/Annotations/new_%s.xml' % image_id)
    out_file = open('VOCdevkit/VOC2007/YOLOLabels/%s.txt' % image_id, 'w')
    #print(---------------------------------------------------)
    print(image_id)
    tree = ET.parse(in_file)
    root = tree.getroot()
    size = root.find('size')
    w = int(size.find('width').text)
    h = int(size.find('height').text)

    for obj in root.iter('object'):
        # difficult = obj.find('difficult').text
        cls = obj.find('name').text
        if cls not in classes:
            continue
        cls_id = classes.index(cls)
        xmlbox = obj.find('bndbox')
        b = (float(xmlbox.find('xmin').text), float(xmlbox.find('xmax').text), float(xmlbox.find('ymin').text),
             float(xmlbox.find('ymax').text))
        bb = convert((w, h), b)
        out_file.write(str(cls_id) + " " + " ".join([str(a) for a in bb]) + '\n')
    in_file.close()
    out_file.close()


wd = os.getcwd()
wd = os.getcwd()
data_base_dir = os.path.join(wd, "VOCdevkit/")
if not os.path.isdir(data_base_dir):
    os.mkdir(data_base_dir)
work_sapce_dir = os.path.join(data_base_dir, "VOC2007/")
if not os.path.isdir(work_sapce_dir):
    os.mkdir(work_sapce_dir)
annotation_dir = os.path.join(work_sapce_dir, "Annotations/")
if not os.path.isdir(annotation_dir):
    os.mkdir(annotation_dir)
clear_hidden_files(annotation_dir)
image_dir = os.path.join(work_sapce_dir, "JPEGImages/")
if not os.path.isdir(image_dir):
    os.mkdir(image_dir)
clear_hidden_files(image_dir)
yolo_labels_dir = os.path.join(work_sapce_dir, "YOLOLabels/")
if not os.path.isdir(yolo_labels_dir):
    os.mkdir(yolo_labels_dir)
clear_hidden_files(yolo_labels_dir)
yolov5_images_dir = os.path.join(data_base_dir, "images/")
if not os.path.isdir(yolov5_images_dir):
    os.mkdir(yolov5_images_dir)
clear_hidden_files(yolov5_images_dir)
yolov5_labels_dir = os.path.join(data_base_dir, "labels/")
if not os.path.isdir(yolov5_labels_dir):
    os.mkdir(yolov5_labels_dir)
clear_hidden_files(yolov5_labels_dir)
yolov5_images_train_dir = os.path.join(yolov5_images_dir, "train/")
if not os.path.isdir(yolov5_images_train_dir):
    os.mkdir(yolov5_images_train_dir)
clear_hidden_files(yolov5_images_train_dir)
yolov5_images_test_dir = os.path.join(yolov5_images_dir, "val/")
if not os.path.isdir(yolov5_images_test_dir):
    os.mkdir(yolov5_images_test_dir)
clear_hidden_files(yolov5_images_test_dir)
yolov5_labels_train_dir = os.path.join(yolov5_labels_dir, "train/")
if not os.path.isdir(yolov5_labels_train_dir):
    os.mkdir(yolov5_labels_train_dir)
clear_hidden_files(yolov5_labels_train_dir)
yolov5_labels_test_dir = os.path.join(yolov5_labels_dir, "val/")
if not os.path.isdir(yolov5_labels_test_dir):
    os.mkdir(yolov5_labels_test_dir)
clear_hidden_files(yolov5_labels_test_dir)

train_file = open(os.path.join(wd, "yolov7_train.txt"), 'w')
test_file = open(os.path.join(wd, "yolov7_val.txt"), 'w')
train_file.close()
test_file.close()
train_file = open(os.path.join(wd, "yolov7_train.txt"), 'a')
test_file = open(os.path.join(wd, "yolov7_val.txt"), 'a')
list_imgs = os.listdir(image_dir)  # list image files
prob = random.randint(1, 100)
####print("Probability: %d" % prob)
for i in range(0, len(list_imgs)):
    path = os.path.join(image_dir, list_imgs[i])
    if os.path.isfile(path):
        image_path = image_dir + list_imgs[i]
        voc_path = list_imgs[i]
        (nameWithoutExtention, extention) = os.path.splitext(os.path.basename(image_path))
        (voc_nameWithoutExtention, voc_extention) = os.path.splitext(os.path.basename(voc_path))
        annotation_name = 'new_'+nameWithoutExtention + '.xml'
        annotation_path = os.path.join(annotation_dir, annotation_name)
        label_name = nameWithoutExtention + '.txt'
        label_path = os.path.join(yolo_labels_dir, label_name)
    prob = random.randint(1, 100)
    ######print("Probability: %d" % prob)
    if (prob < TRAIN_RATIO):  # train dataset
        if os.path.exists(annotation_path):
            train_file.write(image_path + '\n')
            convert_annotation(nameWithoutExtention)  # convert label
            copyfile(image_path, yolov5_images_train_dir + voc_path)
            copyfile(label_path, yolov5_labels_train_dir + label_name)
    else:  # test dataset
        if os.path.exists(annotation_path):
            test_file.write(image_path + '\n')
            convert_annotation(nameWithoutExtention)  # convert label
            copyfile(image_path, yolov5_images_test_dir + voc_path)
            copyfile(label_path, yolov5_labels_test_dir + label_name)
train_file.close()
test_file.close()
(三)配置相关文件
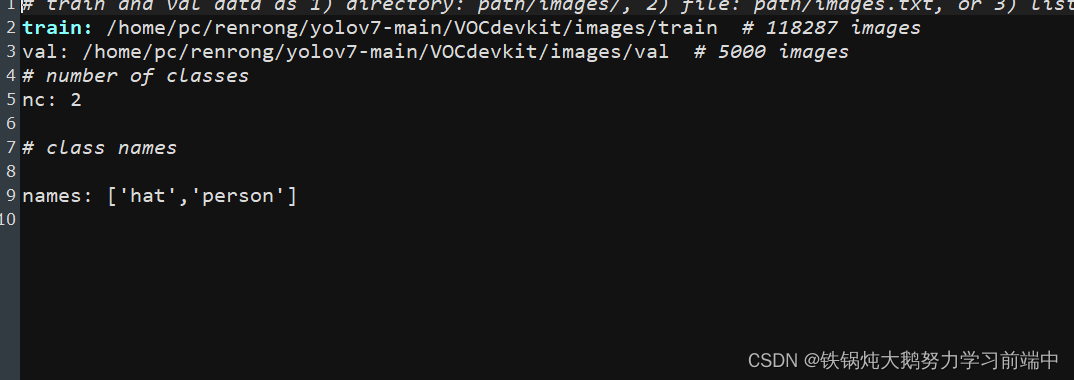
1.在data文件夹下创建voc.yaml文件,具体内容如下:
2.选择YOLOv7模型文件
在cfg/training文件夹下选择合适的模型配置文件,作者提供了yolov7、yolov7-d6、yolov7-e6、yolov7-e6e、yolov7-tiny-silu、yolov7-w6、yolov7x等多个版本。
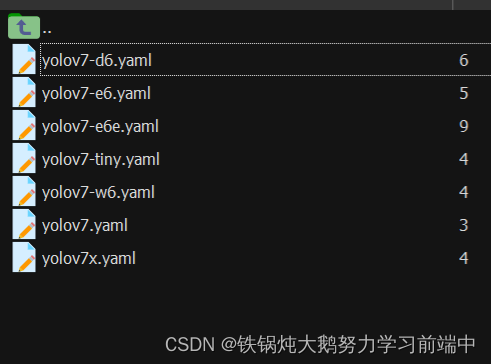
以yolov7-d6.yaml为例,只需修改一个参数,将nc修改成自己的类别数即可。

数据集已经准备好了,可以训练自己的数据集了
四、YOLOv7模型训练
预训练模型可从源代码地址下载,也可以从头开始训练。由于实验室的显存不够,所以yolov7-d6我没有使用预训练权重。
在train_aux.py文件主要修改参数的有:
--weights:  可以自己从头开始训练也可以使用官方的预训练权重

-- cfg:选择合适的网络

--data:数据集

--hpy:网络

--epoch:训练轮次

--batch_size:服务器不行就调小一点

--img-size:处理的输入网络图像大小,默认640 * 640

--device:选择显卡,一般默认为0
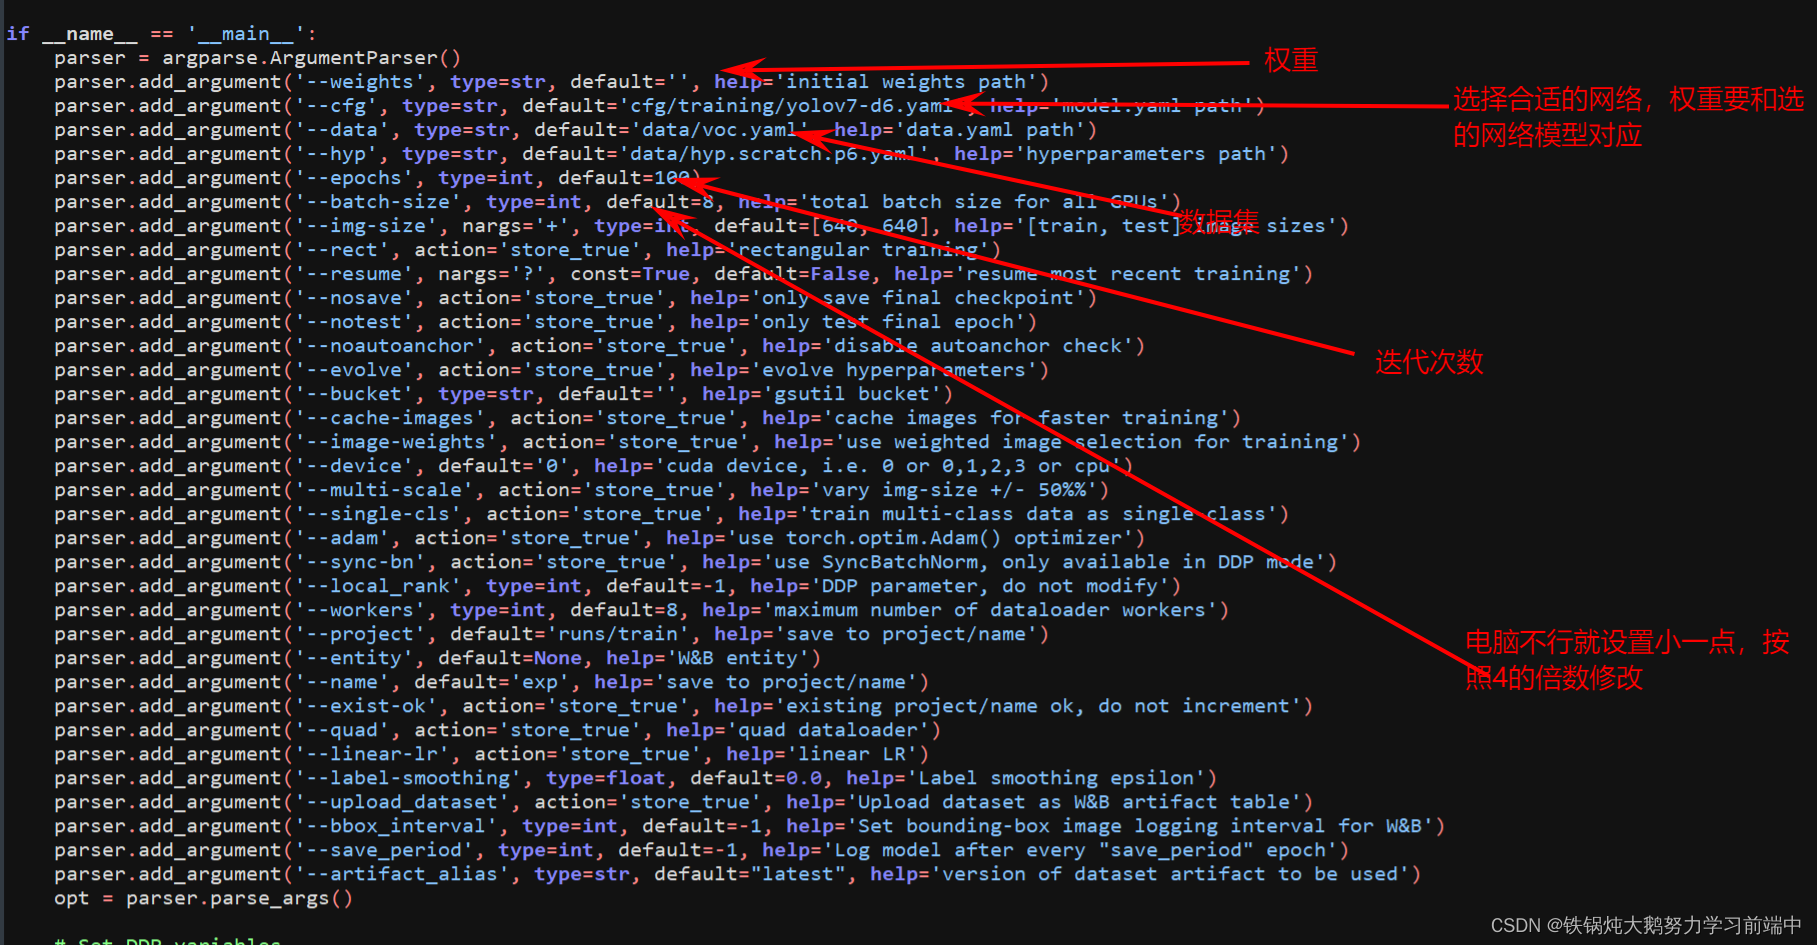
主要修改红色方框里面的内容,更改为自己需要的参数。
接下来,在终端输入
python train_aux.py --workers 8 --device 0 --batch-size 8 --data data/voc.yaml --img 640 640--cfg cfg/training/yolov7-d6.yaml --name yolov7-d6 --hyp data/hyp.scratch.p6.yaml
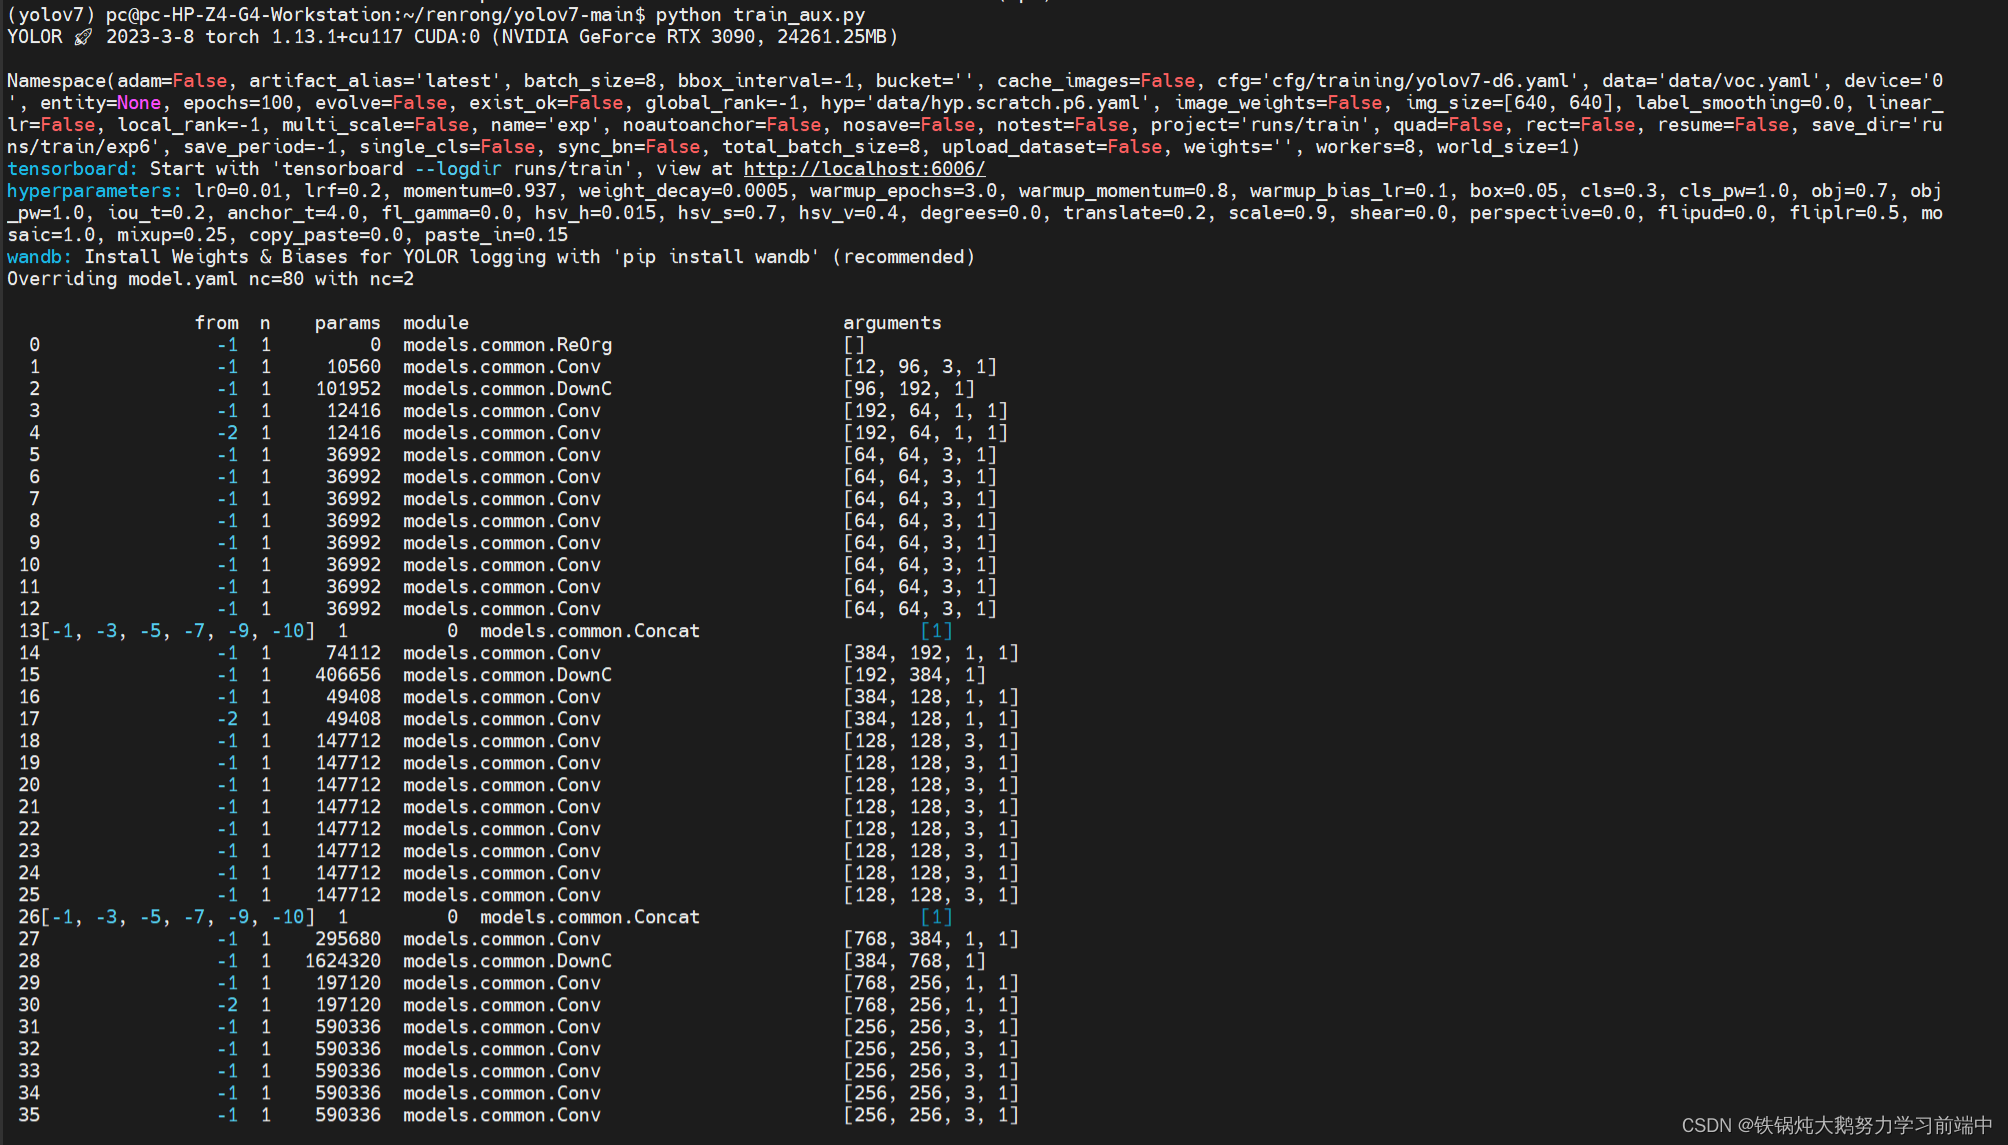
加载网络模型,写入数据集
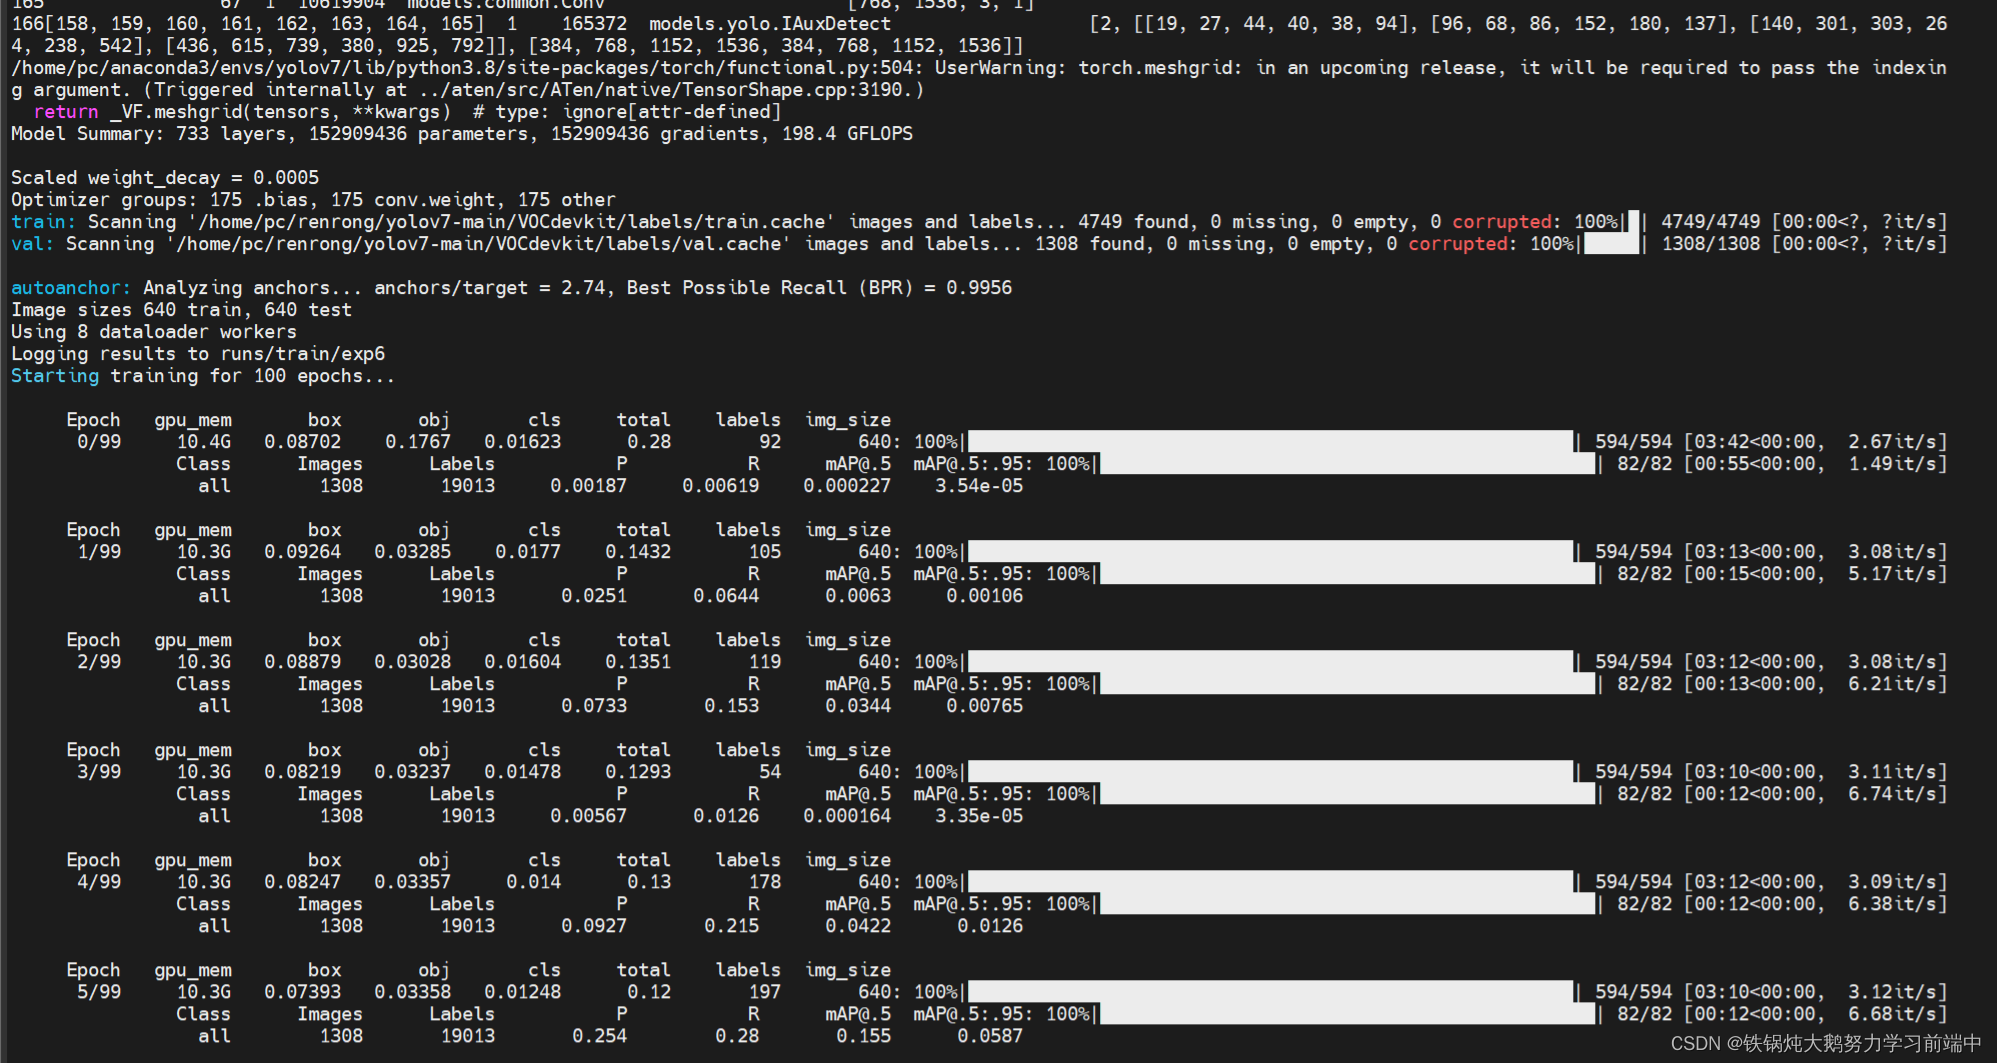
开始训练了,训练的结果保存在根目录下面的runs/training下面,会保存最好的和最后一次的权重
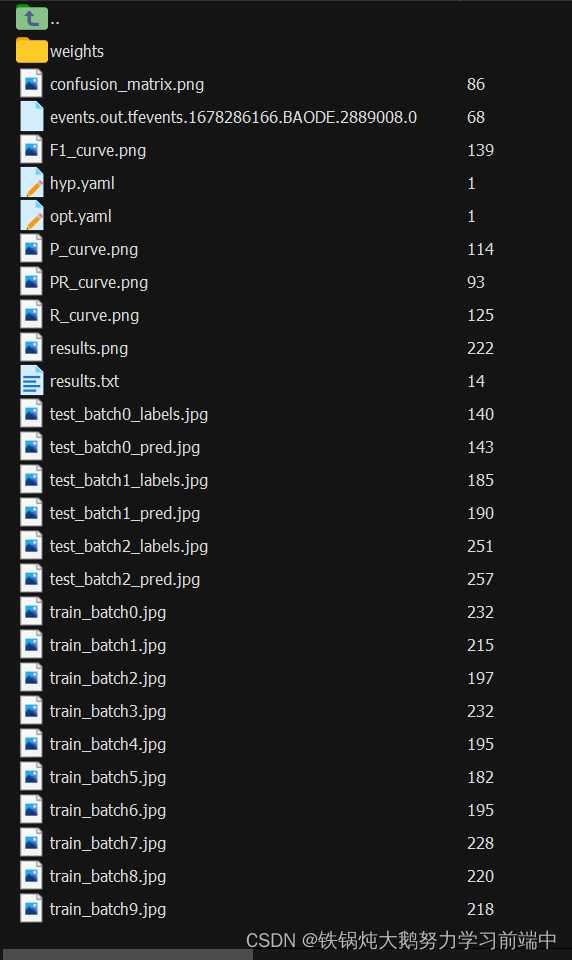
看结果不难发现,yolov6的效果很不错的。