系列文章目录
【SpringMVC系列】@RequestMapping注解 详解
【SpringMVC系列】HiddenHttpMethodFilter 过滤器配置实例及源码分析
文章目录
【前言】
今天介绍如何进行文件的上传和下载
【正文】
一、文件下载
-
使用
@ResponseEntity
注解实现文件下载功能
(1)代码
package com.mvclearn.json;

import org.springframework.http.HttpHeaders;
import org.springframework.http.HttpStatus;
import org.springframework.http.ResponseEntity;
import org.springframework.stereotype.Controller;
import org.springframework.util.MultiValueMap;
import org.springframework.web.bind.annotation.RequestMapping;

import javax.servlet.ServletContext;
import javax.servlet.http.HttpSession;
import java.io.IOException;
import java.io.InputStream;

/**
 * @program: springmvclearn
 * @description:
 * @author: txg
 * @create: 2021-09-13 12:06
 **/

@Controller
@RequestMapping("/testresp")
public class TestResponseEntity {
    @RequestMapping("/down")
    public ResponseEntity<byte[]> testResponseEntity(HttpSession session) throws IOException {

        //获取下载文件输入流
        ServletContext servletContext = session.getServletContext();
        InputStream resourceAsStream = servletContext.getResourceAsStream("/index.jsp");

        //得到输入流文件内容
        byte[] body = new byte[resourceAsStream.available()] ;
        resourceAsStream.read(body);

        //设置下载响应头信息
        MultiValueMap<String, String> headers = new HttpHeaders();
        headers.add("Content-Disposition", "attachment;filename=index.jsp");

        //把文件内容通过响应对象返回浏览器
        HttpStatus statusCode = HttpStatus.OK;
        ResponseEntity<byte[]> responseEntity = new ResponseEntity<byte[]>(body, headers, statusCode);
        return responseEntity ;
    }
}
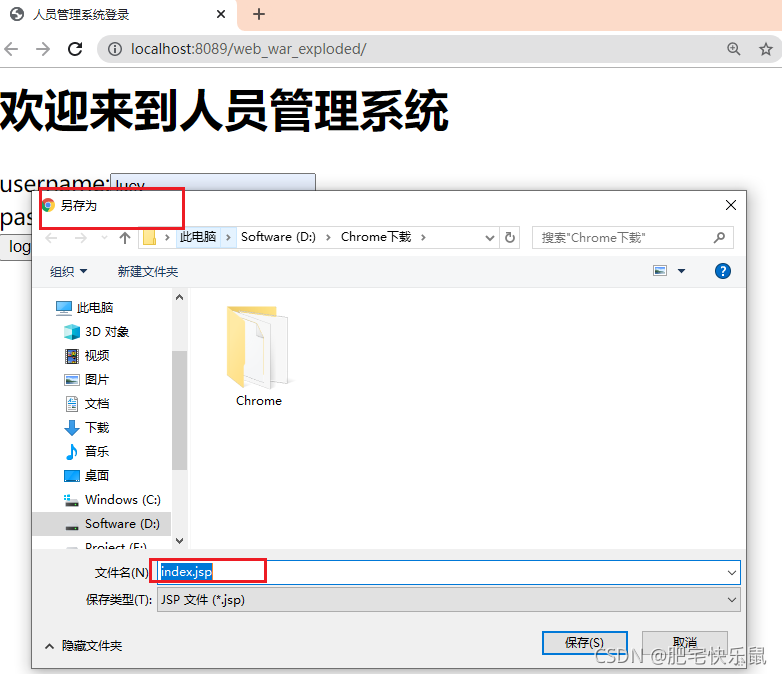
(2)结果
输入地址,会弹出所下载文件的框,选择另存为地址,就可以下载了
二、文件上传
- Servlet3.0开始可以实现上传功能,一般不使用
- 实际中做文件上传,一般经常使用工具fileupload
- 在springmvc实现上传,底层使用fileupload实现
(2)上传表单页面要求
1)表单提交方式为
post
2)设置form表单提交数据类型
enctype="multipart/form-data"
3)在表单里面有文件上传输入项,有name属性
<input type="file" name="file"/>
(3)springmvc实现文件上传
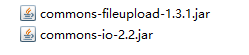
第一步 导入jar包
第二步 在spring配置文件配置文件上传解析器
    <!-- 文件上传解析器-->
    <bean id="multipartResolver"
          class="org.springframework.web.multipart.commons.CommonsMultipartResolver">
        <property name="defaultEncoding" value="UTF-8"></property>
        <property name="maxUploadSize" value="1024000"></property>
    </bean>
第三步 创建文件上传页面
mvc的配置文件:
    <form action="${pageContext.request.contextPath}/testupload/upload" method="post" enctype="multipart/form-data">
        <input type="file" name="file"/>
        <input type="submit" value="upload"/>
    </form>
第四步 编写controller的方法
@RequestMapping(value = "/upload",method = RequestMethod.POST)
		// MultipartFile file的file,必须与表单的name属性值一致
    public String upload(@RequestParam("file") MultipartFile file) throws IOException {
        //1 获取上传文件MultipartFile file

        //2 MultipartFile对象的方法
        //获取上传文件名称
        String originalFilename = file.getOriginalFilename();

        //3 获取服务器文件路径
        //写\需要用\转义,用/可以“/”拼接
        File serverFile = new File("E:\\test"+"/"+originalFilename);
        if(!serverFile.exists()) {
            serverFile.mkdirs();
        }

        //4 把上传过来文件复制到服务器文件夹里面
        file.transferTo(serverFile);

        return "success";
    }
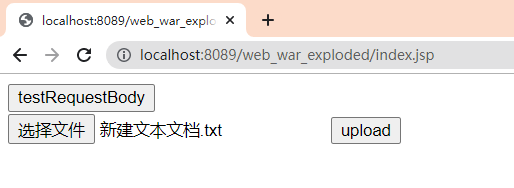
第五步 测试结果
点击选择文件,从电脑中选择要上传的文件;选择后,文件名称在右侧显示出来:
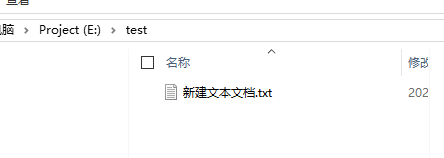
点击upload之后,找到设定的文件目录可以看到已经成功上传:
(4)springmvc实现多文件上传
表单:
    <form action="${pageContext.request.contextPath}/testupload/uploadmore" method="post" enctype="multipart/form-data">
        文件1:<input type="file" name="file"/><br/>
        文件2 :<input type="file" name="file"/><br/>
        <input type="submit" value="upload"/>
    </form>
controller代码:
    //多文件上传
    @RequestMapping(value = "/uploadmore",method = RequestMethod.POST)
    public String uploadmore(@RequestParam("file") MultipartFile[] file) throws IOException {
        //遍历多个文件数组
        for(MultipartFile multipartFile : file) {
            //文件名称
            String originalFilename = multipartFile.getOriginalFilename();

            //3 获取服务器文件路径
            File serverFile = new File("E:\\0224"+"/"+originalFilename);
            if(!serverFile.exists()) {
                serverFile.mkdirs();
            }

            //4 把上传过来文件复制到服务器文件夹里面
            multipartFile.transferTo(serverFile);
        }

        return "success";
    }
结果展示:
输入地址:
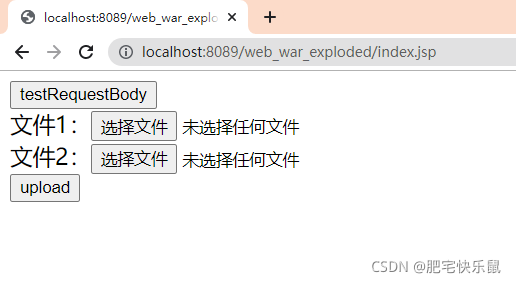
选择文件:
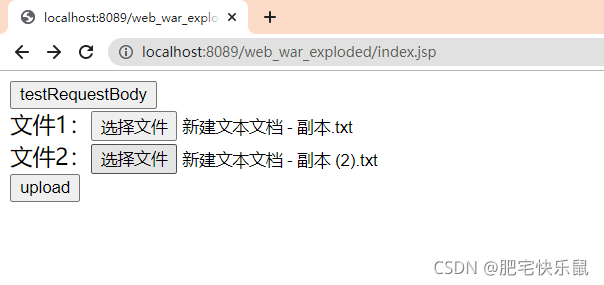
上传成功:

【结语】
使用springmvc进行文件上传和下载的例子就说到这里啦~
感谢阅读~
版权声明:本文为weixin_42835409原创文章,遵循 CC 4.0 BY-SA 版权协议,转载请附上原文出处链接和本声明。