JDBC实例(springboot+idea+mysql+maven)spring Initializr链接数据库小demo(一)
上来就做一个完整的项目对于一个没有基础的人来说无疑说是有一些困难的,把一个项目拆分开慢慢学习,可能这也是所谓的慢慢来比较快?
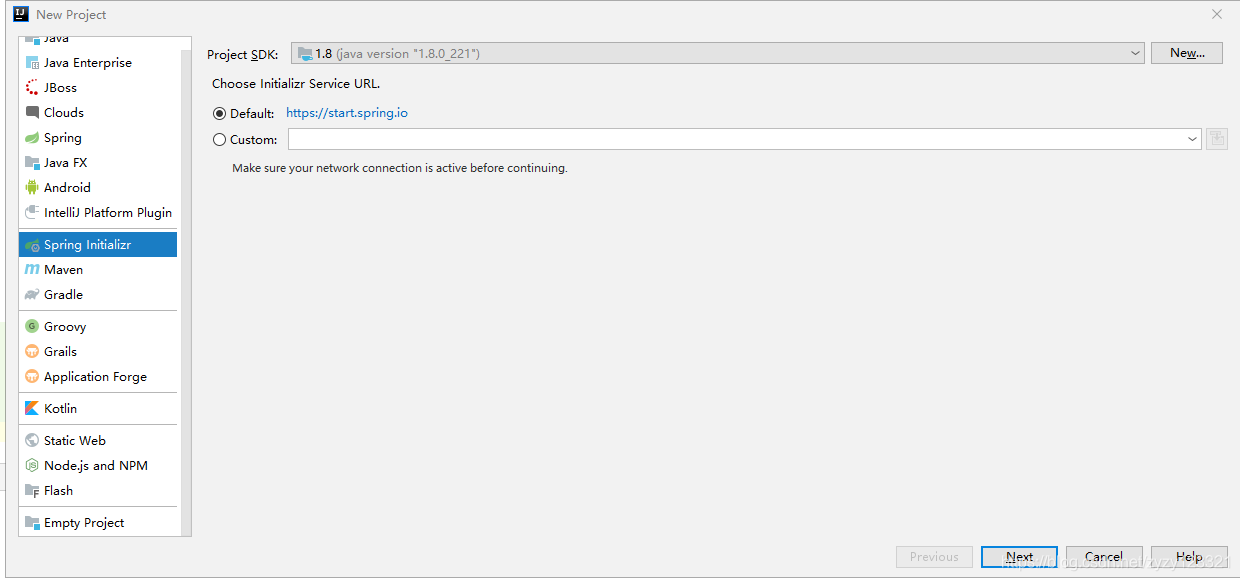
创建一个spring Initializr项目

OK,new >> project >> spring initializr >>next

给自己的项目起个名字吧
OK,起名字之后,添加依赖。(关于springboot添加依赖我会在另一篇学习笔记中讲述~)
OK,需要最关键的jdbc(当然,先学jdbc然后再学mybatis等等之类的个人感觉比较好),当然还有mysql

OK, next >> 完成
选择enable auto
初始目录结构
pom文件
可以看到我们之前添加的pom依赖,已经自动导入了
<?xml version="1.0" encoding="UTF-8"?>
<project xmlns="http://maven.apache.org/POM/4.0.0" xmlns:xsi="http://www.w3.org/2001/XMLSchema-instance"
         xsi:schemaLocation="http://maven.apache.org/POM/4.0.0 https://maven.apache.org/xsd/maven-4.0.0.xsd">
    <modelVersion>4.0.0</modelVersion>
    <parent>
        <groupId>org.springframework.boot</groupId>
        <artifactId>spring-boot-starter-parent</artifactId>
        <version>1.5.10.RELEASE</version>
        <relativePath/> <!-- lookup parent from repository -->
    </parent>
    <groupId>com.jdbc</groupId>
    <artifactId>demo</artifactId>
    <version>0.0.1-SNAPSHOT</version>
    <name>demo</name>
    <description>Demo project for Spring Boot</description>

    <properties>
        <java.version>1.8</java.version>
    </properties>

    <dependencies>
        <dependency>
            <groupId>org.springframework.boot</groupId>
            <artifactId>spring-boot-starter-jdbc</artifactId>
        </dependency>
        <dependency>
            <groupId>mysql</groupId>
            <artifactId>mysql-connector-java</artifactId>
            <scope>runtime</scope>
        </dependency>


        <dependency>
            <groupId>org.springframework.boot</groupId>
            <artifactId>spring-boot-starter-web</artifactId>
        </dependency>


        <dependency>
            <groupId>org.springframework.boot</groupId>
            <artifactId>spring-boot-starter-test</artifactId>
            <scope>test</scope>
        </dependency>
    </dependencies>

    <build>
        <plugins>
            <plugin>
                <groupId>org.springframework.boot</groupId>
                <artifactId>spring-boot-maven-plugin</artifactId>
            </plugin>
        </plugins>
    </build>

</project>
之后如果需要用到Mybatis等等,也是需要在pom中注册依赖,这里不再赘述,以后还会对这些进行详细得学习介绍
需求
使用JDBC连接数据库并使用sql语句进行crud操作
1.创建一个User数据库

- 当然,我之前新建过连接了,localhost:3306

OK,数据库创建好了
2.配置JDBC连接数据库
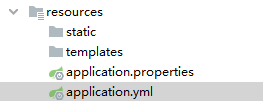
新建一个application.yml文件,当然使用properties也可以,语法略有不同

Spring:
    datasource:
      username: root
      password: root
      url: jdbc:mysql://localhost:3306/User?useUnicode=true&characterEncoding=utf-8&useSSL=false&serverTimezone = GMT
      driver-class-name: com.mysql.jdbc.Driver
3.进行测试
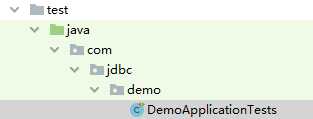
跑一下这个text程序


好了,测试连接数据库成功了

package com.jdbc.demo;

import org.junit.Test;
import org.junit.runner.RunWith;
import org.springframework.beans.factory.annotation.Autowired;
import org.springframework.boot.test.context.SpringBootTest;
import org.springframework.test.context.junit4.SpringRunner;

import javax.sql.DataSource;
import java.sql.Connection;
import java.sql.SQLException;

@RunWith(SpringRunner.class)
@SpringBootTest
public class DemoApplicationTests {

    @Autowired
    DataSource dataSource;

    @Test
        public void contextLoads() throws SQLException {
            System.out.println(dataSource.getClass());

            Connection connection = dataSource.getConnection();
            System.out.println(connection);
            connection.close();

        }
    }
测试连接成功
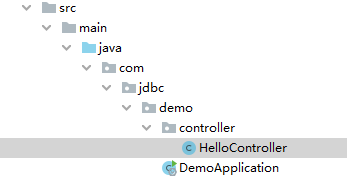
4.新建一个hellocontroller查询数据库数据

package com.jdbc.demo.controller;

import org.springframework.beans.factory.annotation.Autowired;
import org.springframework.jdbc.core.JdbcTemplate;
import org.springframework.stereotype.Controller;
import org.springframework.web.bind.annotation.GetMapping;
import org.springframework.web.bind.annotation.ResponseBody;

import java.util.List;
import java.util.Map;

@Controller
public class HelloController {

    @Autowired
    JdbcTemplate jdbcTemplate;


    @ResponseBody
    @GetMapping("/query")
    public Map<String,Object> map(){
        List<Map<String, Object>> list = jdbcTemplate.queryForList("select * FROM User");
        return list.get(0);
    }
}
在浏览器中输入localhost:8080/query,可以看到我们已经请求到了数据库中的数据

博客持续更新,各种遇到得坑,自己练习小实例。希望大佬可以指导~感谢。
有什么错误还请大家指正,查证后一定修改,谢谢~
分享springboot学习网课,点赞评论留下邮箱我发给你百度分享链接(免费!免费!!)留下邮箱直接发~