1.CompletableFuture
使用原生的CompletableFuture实现异步操作,加上对lambda的支持,可以说实现异步任务已经发挥到了极致。
@Test
public void test2() throws Exception {
System.out.println(“main函数开始执行”);
ExecutorService executor = Executors.newFixedThreadPool(2);
CompletableFuture future = CompletableFuture.supplyAsync(new Supplier() {
@Override
public Integer get() {
System.out.println(“=
task start
=”);
try {
Thread.sleep(5000);
} catch (InterruptedException e) {
e.printStackTrace();
}
System.out.println(“=
task finish
=”);
return 3;
}
}, executor);
future.thenAccept(e -> System.out.println(e));
System.out.println(“main函数执行结束”);
}
ExecutorService executor = Executors.newFixedThreadPool(2);
2是线程的个数
2.新建配置类
@EnableAsync
public class MyConfig {
@Bean
public TaskExecutor executor(){
    ThreadPoolTaskExecutor executor=new ThreadPoolTaskExecutor();
    executor.setCorePoolSize(10); //核心线程数
    executor.setMaxPoolSize(20);  //最大线程数
    executor.setQueueCapacity(1000); //队列大小
    executor.setKeepAliveSeconds(300); //线程最大空闲时间
    executor.setThreadNamePrefix("fsx-Executor-"); //指定用于新创建的线程名称的前缀。
    executor.setRejectedExecutionHandler(new ThreadPoolExecutor.CallerRunsPolicy());
    return executor;
}
}
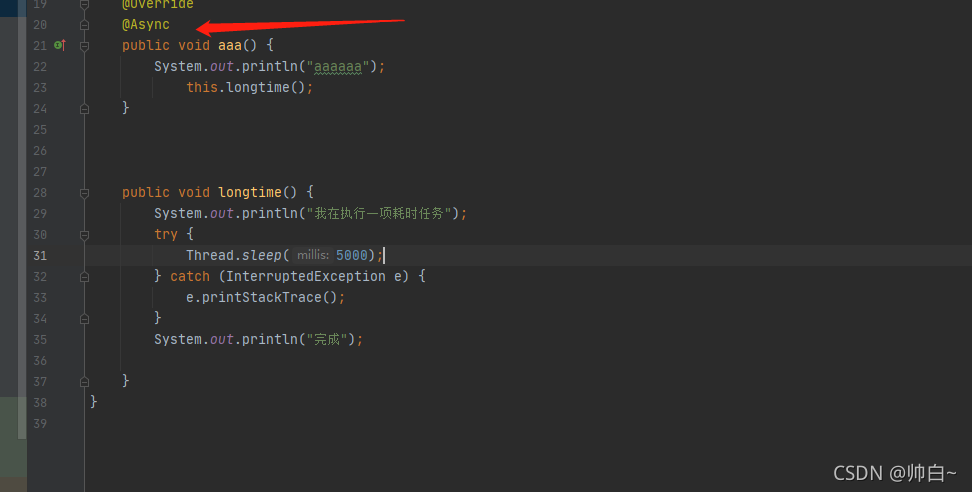
(1)@Async使用

启动类上增加@EnableAsync
方法上增加@Async即可
