kotlin 对话框
Dialogs are present in our every day lives in the digital world. Almost every user knows what are we talking about when referring to dialogs: ‘those annoying small windows that cover the screen and interrupt what you want to do’… well sort of. It is like most of our Android UI tools, a way to communicate important messages with users. That’s why I have created this Android Alert Dialogs in Kotlin Tutorial.
在数字世界中,我们每天都有对话。 几乎每个用户都知道我们在谈论对话框时在说什么:“那些烦人的小窗口覆盖了屏幕并打断了您想做的事情”……很好。 就像我们的大多数Android UI工具一样,它是一种与用户交流重要消息的方式。 这就是为什么我在Kotlin教程中创建了这个Android Alert对话框。
First, take a look at the Android official definition of dialogs we find the following:
首先,看一下对话框的Android官方定义,我们发现以下内容:
A dialog is a small window that prompts the user to make a decision or enter additional information. A dialog does not fill the screen and is normally used for modal events that require users to take an action before they can proceed.
对话框是一个小窗口,提示用户做出决定或输入其他信息。
对话框不会填满屏幕,通常用于模态事件,要求用户在执行操作之前先采取措施。
As an Android developer, you will use dialogs in most of your apps, think of examples on the apps you use every day. Here are three simple examples that come to my mind.
作为Android开发人员,您将在大多数应用程序中使用对话框,想一想您每天使用的应用程序中的示例。 这是我想到的三个简单示例。
-
Confirmation messages.
确认消息。
-
Alerts to input a date or text.
提示输入日期或文本。
-
Alerts to pick an option.
提示选择一个选项。
Android Kotlin警报对话框教程
(
Android Kotlin Alert Dialogs Tutorial
)
As you may already know, in this tutorial, we will learn how to create an Android dialog. Although this is a beginner tutorial, anyone can follow along to brush on the basics and know the best practices. Start by creating a new Android Studio Project, if you don’t know how to do this go check my
tutorial on it here
, for the purpose of this tutorial I am using:
您可能已经知道,在本教程中,我们将学习如何创建Android对话框。 尽管这是一个初学者教程,但是任何人都可以跟随学习基础知识并了解最佳实践。 首先创建一个新的Android Studio项目,如果您不知道如何执行此操作,请
在此处
查看我的
教程
,出于本教程的目的,我正在使用:
-
Android Studio 3.5.3
Android Studio 3.5.3
-
Kotlin 1.3
Kotlin 1.3
-
Compat Library: AndroidX
兼容库:AndroidX
If you prefer to download my source code you can get it here:
如果您想下载我的源代码,可以在这里获取:
开始项目
(
Starting the project
)
Start with an ‘empty activity template’ and configure the default settings as shown in Image 1 below.
从“空活动模板”开始,然后配置默认设置,如下图1所示。
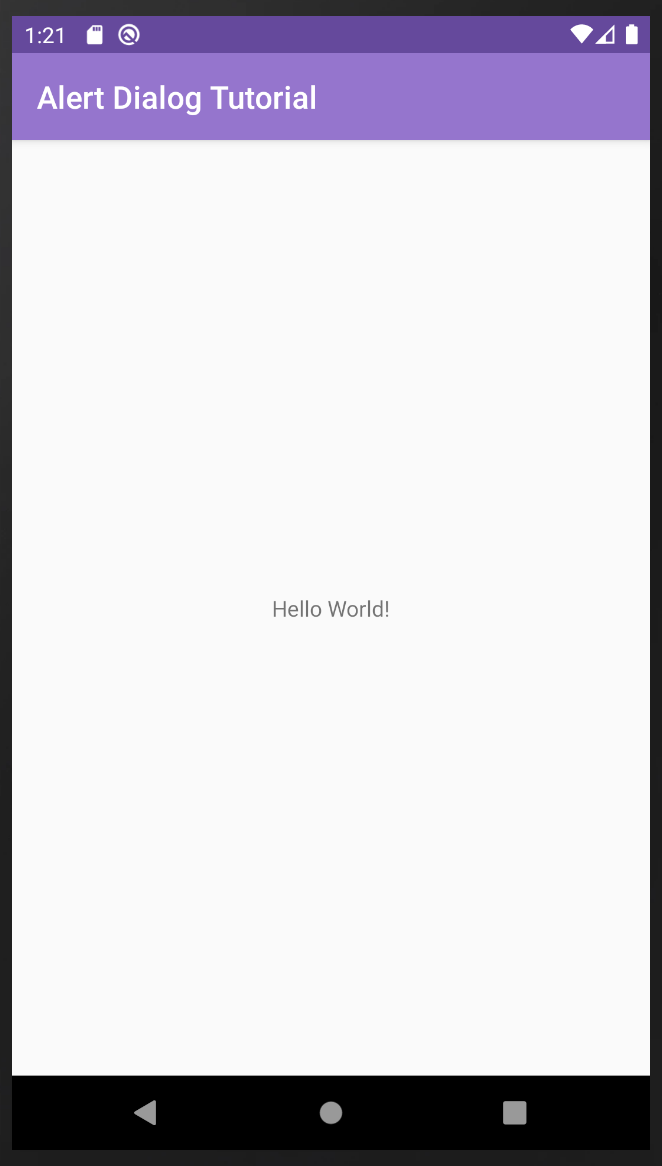
Run the app and you should be able to see something similar to Image 2, colors may vary.
运行该应用程序,您应该能够看到类似于图像2的内容,颜色可能会有所不同。
第1部分:警报基础知识
(
Part 1: Alerts basics
)
创建一个按钮以显示警报
(
Create a button to show the alert
)
The first thing you need to do on this screen is to replace the “Hello World” text from the screen and switch it for a button. This button will trigger our most basic alert. To do that head to
activity_main.xml
, the file should have been opened when you created the project, otherwise, look for it in the folder
app > res > drawable
. The first time you open the file you will see at the bottom left two tabs, Design, and Text, most likely the one selected is ‘Design’ (Image 3), although this is a good screen for previewing, almost always you will be editing your code in the ‘Text’ section.
在此屏幕上需要做的第一件事是替换屏幕上的“ Hello World”文本,并将其切换为按钮。 此按钮将触发我们最基本的警报。 为此,请转到
activity_main.xml
,在创建项目时应已打开该文件,否则,请在文件夹
app> res> drawable中
查找该文件。 首次打开文件时,您会在左下角的两个标签中选择“设计”和“文本”,最有可能选择的是“设计”(图3),尽管这是一个很好的预览屏幕,但几乎总是在“文本”部分中编辑代码。
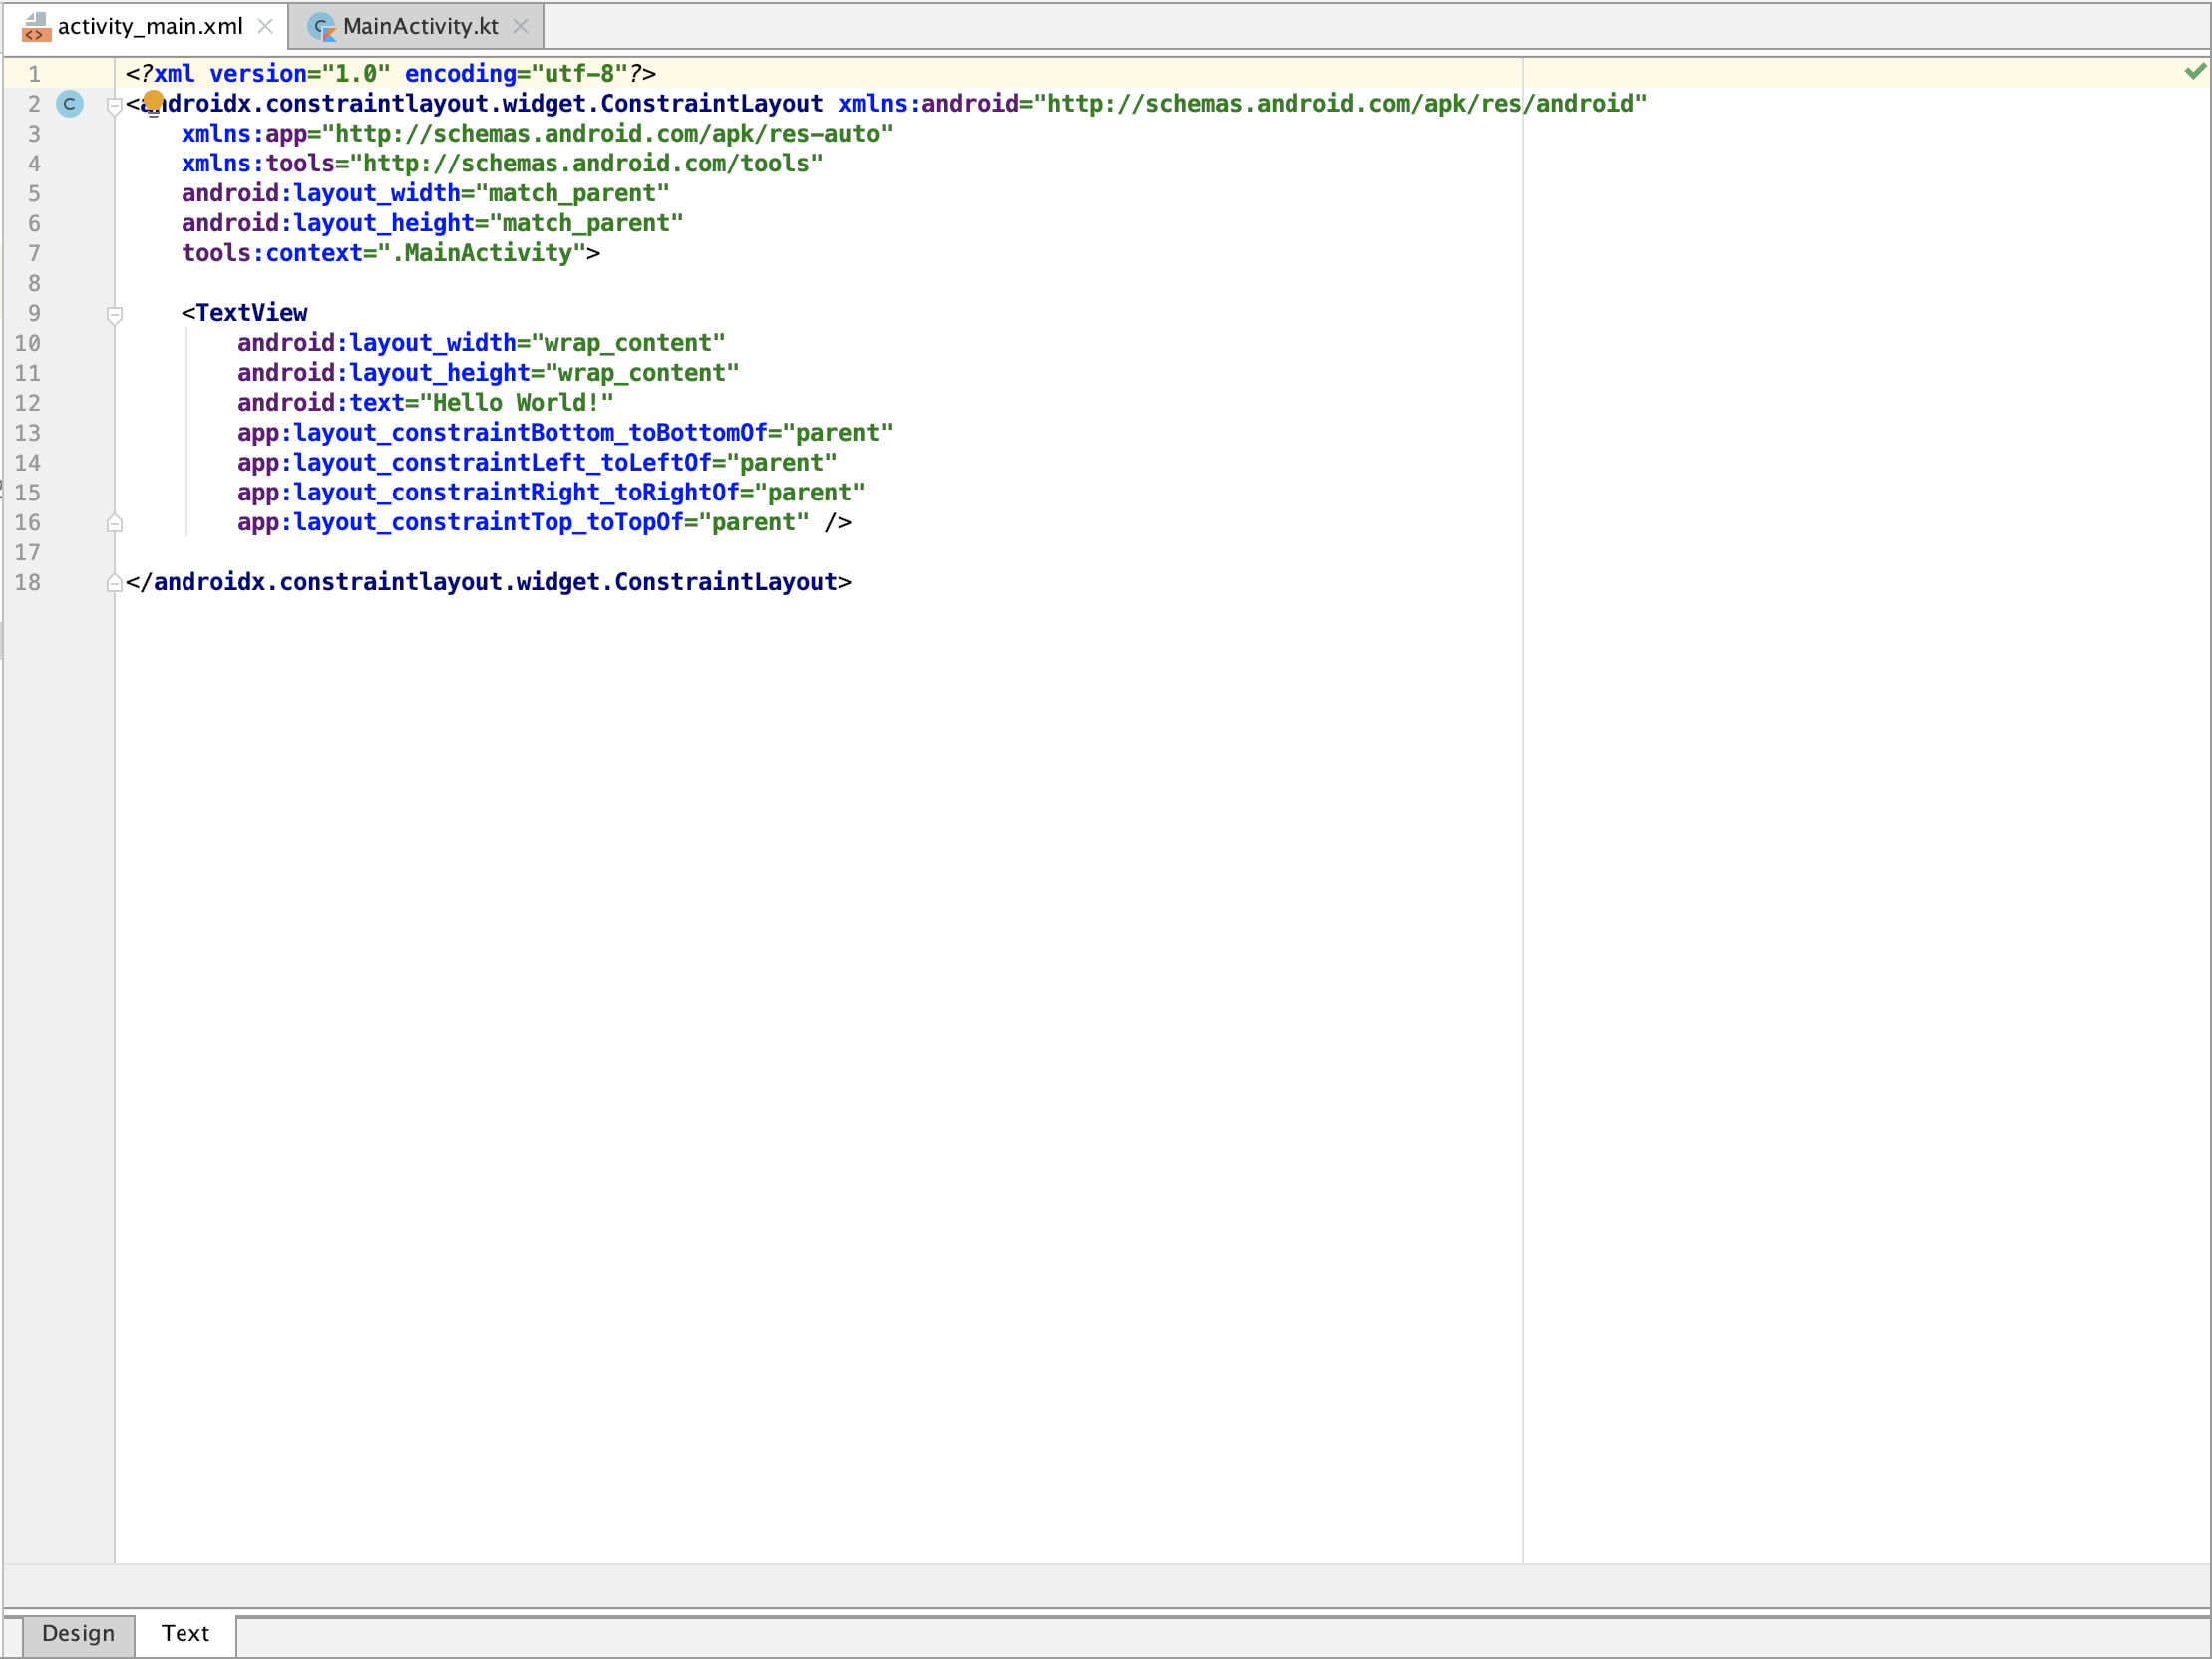
The lines that represent the “Hello world” text are in the <TextView> tag, in the image above (Image 4), they represent lines 9 to 16. Replace that code with the following:
代表“ Hello world”文本的行在<TextView>标记中的上图(图4)中,它们代表第9至16行。用以下代码替换该代码:
If you compare the code we had before in Image 4 and the new code you will notice we only changed the text and the name of the tag which before was “TextView” and now it is “Button”. As you can see Android XML layout code is pretty straightforward, the rest of the lines in there, that we didn’t modify are properties of the view that indicate it where to position in space, don’t worry about what they mean right now. Going back to the design tab you will now be able to get a preview of the button like shown in the image below (Image 5).
如果您将图像4中以前的代码与新代码进行比较,您会注意到我们只更改了文本和标记名,之前是“ TextView”,现在是“ Button”。 如您所见,Android XML布局代码非常简单明了,其中我们未修改的其余行都是视图的属性,这些属性指示其在空间中的位置,不必担心它们现在的含义。 返回设计选项卡,您现在可以预览按钮,如下图所示(图5)。
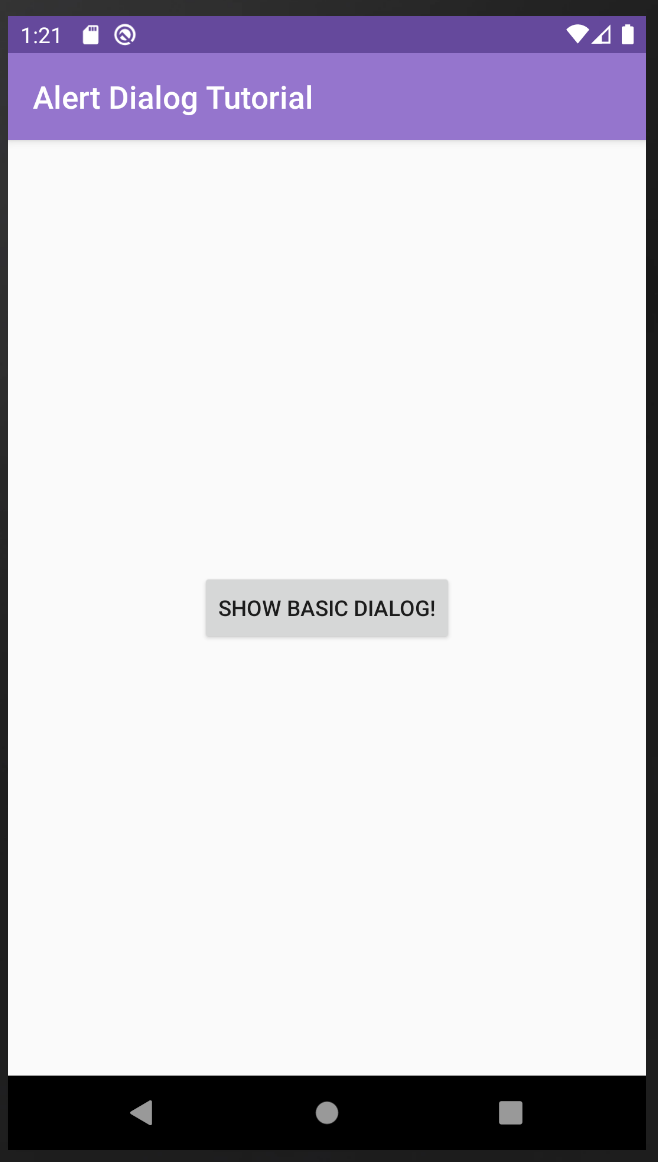
Now run the app and you should see the button on the screen, which by the way is similar to the preview. If you want to know how your result should look like, take a look at Image 6 below.
现在运行该应用程序,您应该在屏幕上看到按钮,顺便说一下,它与预览类似。 如果您想知道结果如何,请看下面的图6。
为警报对话框编码Kotlin