前言
前几天一个朋友公司在用Springboot集合swagger时候总是从浏览器看不了接口,我两找了问题,但是他还是没有找到,于是我就自己从http://start.spring.io/上下载了一个demo,然后做一个swagger小集成,这个应该很简单的。自己尝试了一下,然后做个总,具体也就这三步。之后的业务,自己再结合自己公司项目一步一步加上去,可能一开始的demo是简单的,但是首先要保证第一步没问题了,之后有问题,那就说明是之后加的东西出了问题。
正文
第一步:项目引入jar包路径,我用的是gradle项目。
compile
‘io.springfox:springfox-swagger2:2.7.0’
compile
‘io.springfox:springfox-swagger-ui:2.7.0’
第二步:启动项中需要initApi的方法这个是必要的。感觉东西就这些,话不用说太多,见代码。
@EnableSwagger2
@SpringBootApplication
public class
DemoApplication
{
public static void
main
(
String
[]
args
) {
SpringApplication.
run
(
DemoApplication.
class,
args
);
}
@Bean
public
Docket
initApi
() {
return new
Docket
(
DocumentationType.
SWAGGER_2
)
.
enable
(
true
)
.
apiInfo
(
demoApiInfo
())
.
select
()
.
apis
(
RequestHandlerSelectors.
any
())
.
build
();
}
private
ApiInfo
demoApiInfo
() {
Contact
contact =
new
Contact
(
“xxx”,
“http://xxx”,
“xxxx”
);
return new
ApiInfoBuilder
()
.
title
(
”
测试
API”
)
.
description
(
“REST
风格
API”
)
.
termsOfServiceUrl
(
“http:xxx.xx.com”
)
.
contact
(
contact
)
.
version
(
“1.0”
)
.
build
();
}
}
第三步:就是我们要写一个controller也就是api的地方。
@RestController
@RequestMapping
(path =
“/test”
)
@Api
(tags =
{
“test”
})
public class
TestController
{
@GetMapping
@ApiOperation
(value =
”
测试
”
)
public
String
test
() {
return
“testok”;
}
}
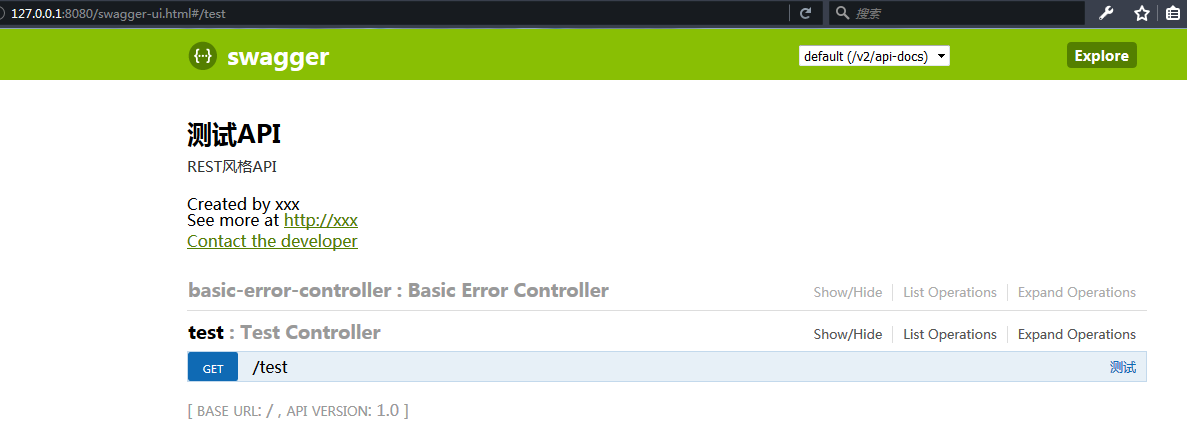
之后就可以启动我们的项目了,通过8080/swagger-ui.html访问我们的接口地址,这样就完成了。

Believe that life is getting better
转载于:https://www.cnblogs.com/hackerxiaoyon/p/8482145.html