1.安装配置环境
下载Node.js 官网链接:
2.安装node.js并检查是否安装成功
安装完成后,打开windows 终端,输入 “node -v” 字符串,若安装成功则显示所安装node的版本号
3.安装cache server
安装教程:
https://github.com/Unity-Technologies/unity-cache-server
在node.js环境上通过注册表安装
打开windowns 终端 输入: “npm install unity-cache-server -g” 字符串 安装即可
检查是否安装成功,运行windows终端输入:“unity-cache-server -V” 字符串,显示版本号即可
若安装成功则运行
C:\Users\Administrator\AppData\Roaming\npm unity-cache-server.cmd()
出现 Cache Server Ready On 字符串, 既指 Cache Server 服务器启动成功
4. 设置缓存IP
在unity->Edit->Preferences->Cache Server中 有三个选项既:
Local: 缓存至本地
Remote:缓存至远程
Disable: 禁用
选其中的任意一个即可
5.在unity中配置IP
unity->Edit->Preferences->Cache Server 中输入对应的Server IP后,点击Check Cinnection 即可
node-inspector/node-inspectorgithub.com
:关于cache server的调试
Unity – Manual: Cache Serverdocs.unity3d.com
:unity官网文档
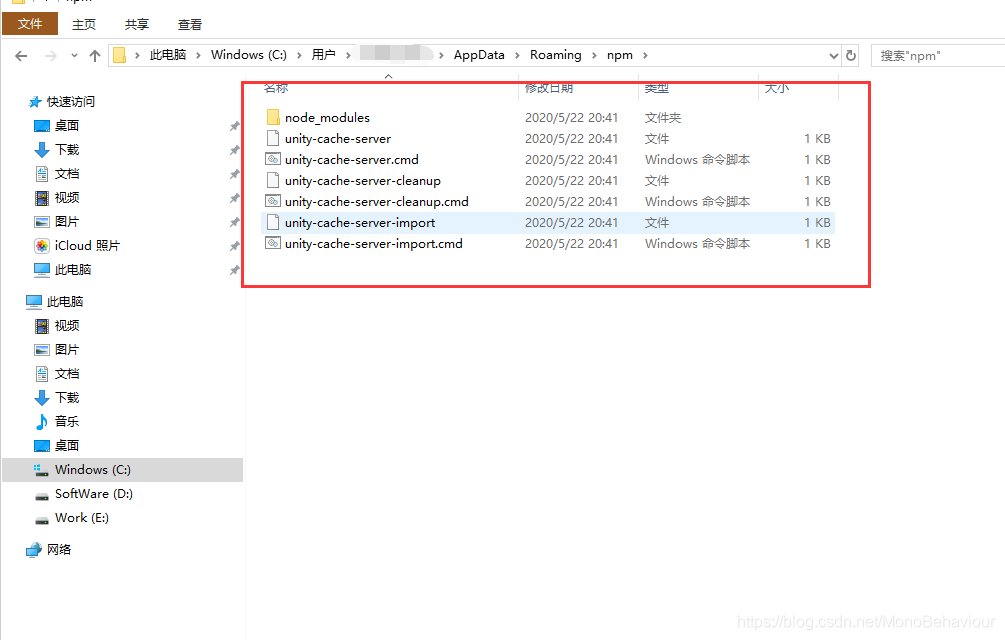
6,离线安装,在联网情况下,把cacheServer下载好,然后复制到内网中。eg:

这些是我在外网中下载的CacheServer,压缩npm,复制到内网中相同的路径中,然后在windows终端输入:“unity-cache-server -V”就可以看到cacheServer的版本号了。
7,批处理运行CacheServer
![]()
start cmd /k "echo Run cmd Execute CacheServer && unity-cache-server /t"双击批处理就可以运行CacheServer了。、
8,shell脚本实现监控CacheServer进程意外停止后拉起该进程
GO TO