phantomJS是一个无头浏览器。
下面为说明文档:
资源包
中只需只需修改代码phantomjsdemo\src\main\resources\config\
phantomJS.properties
文件配置的路径信息即可运行

下载插件配置流程
1.官网下载phantomjs插件,下载地址:https://phantomjs.org/download.html
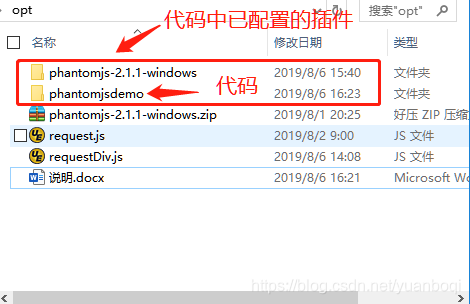
2.解压完成后,需要 js 脚本,来当 phantomjs 的参数被调用,这里将写好的request.js、requestDiv.js复制到D:\opt\phantomjs-1.1-windows目录下如图:

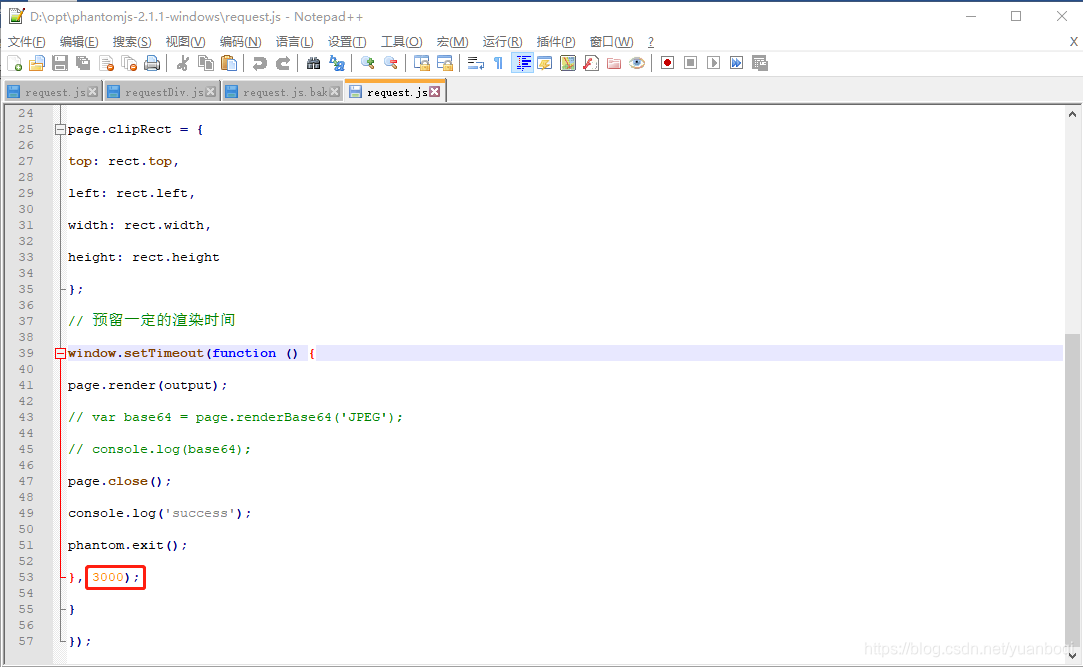
3.request.js、requestDiv.js可自行设置预留的渲染时间,我设置为3s。
4.对SpringBoot项目中D:\phantomjsdemo\src\main\resources\config\phantomJS.properties文件进行配置

5.配置完成,启动项目访问接口
请求方式为get,参数为url(url为html地址),String类型。
如需要截html页面div部分的图,需要将html页面div的id作为参数一同传到后端,id为String类型。
接口返回值为path(配置文件中指定的图片生成路径)
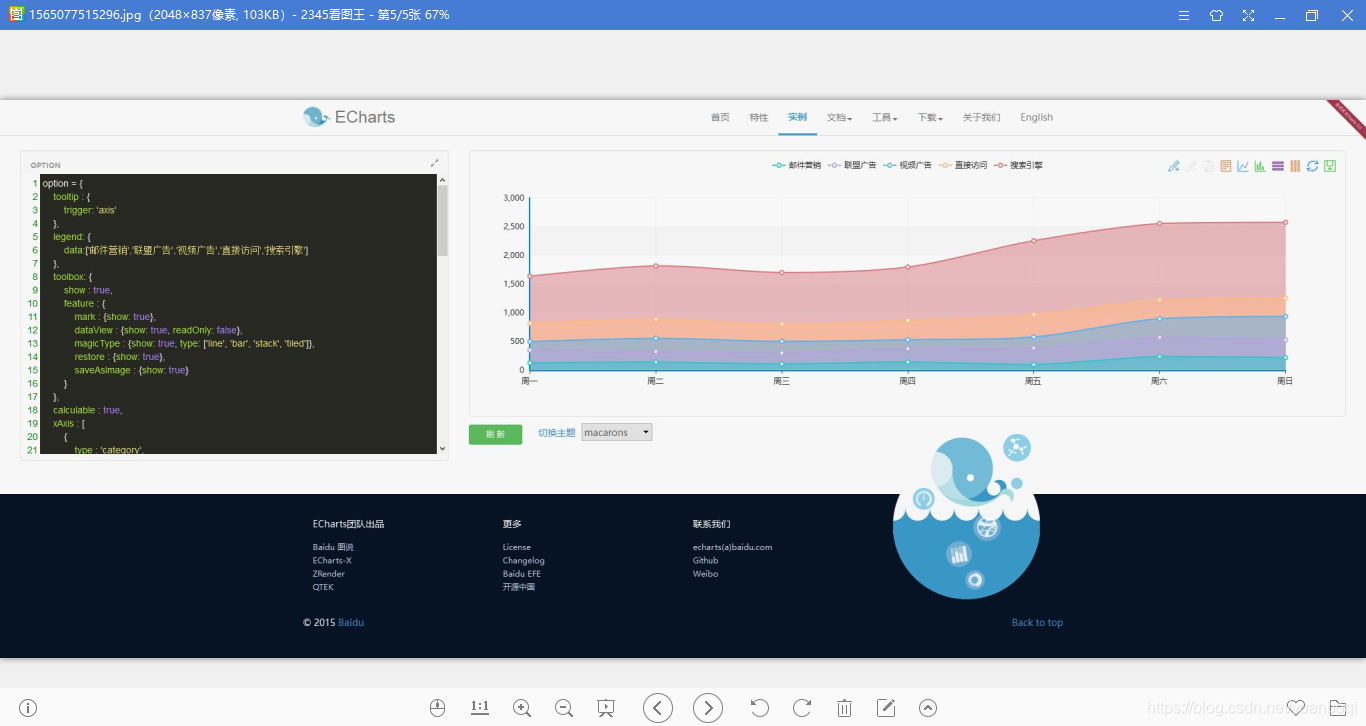
html页面截图接口访问示例:
http://localhost:8080/cap?url=https://echarts.baidu.com/echarts2/doc/example/line4.html
Google可直接保存,其他浏览器点击保存按钮,截图成功如下图:
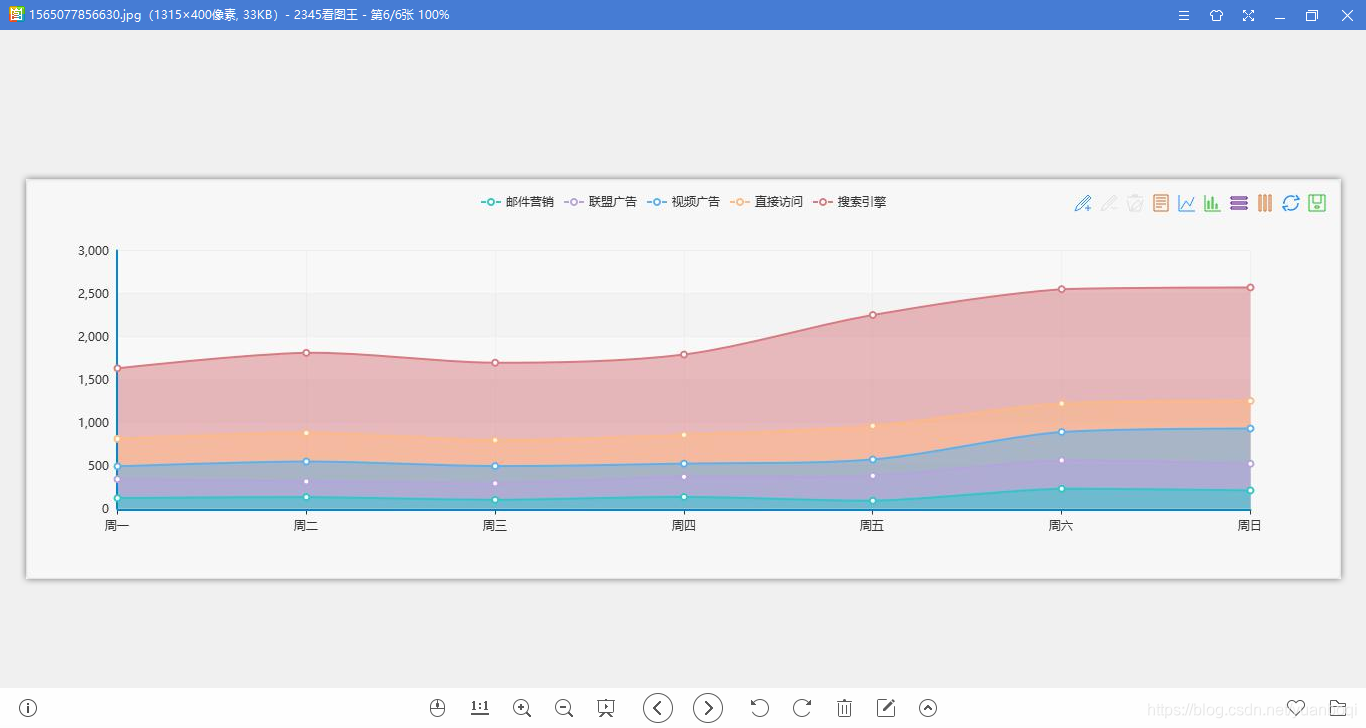
html页面div部分截图访问接口示例:
http://localhost:8080/cap?url=https://echarts.baidu.com/echarts2/doc/example/line4.html&divId=main
也可通过终端进行测试
D:/opt/phantomjs-2.1.1-windows/bin/phantomjs.exe D:/opt/phantomjs-2.1.1-windows/request.js https://echarts.baidu.com/echarts2/doc/example/line4.html D:/opt/phantomjs-2.1.1-windows/images/1565077515296.jpg
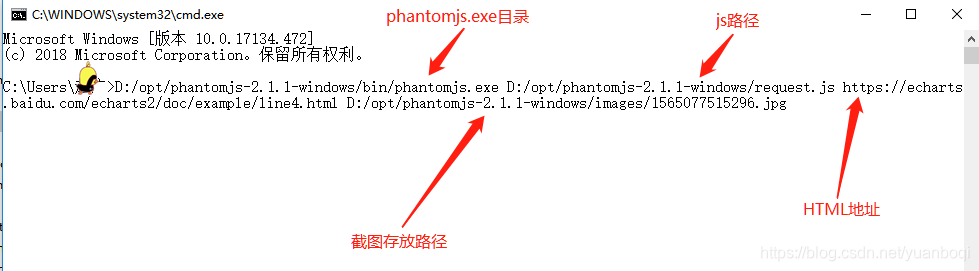
D:/opt/phantomjs-2.1.1-windows/bin/phantomjs.exe D:/opt/phantomjs-2.1.1-windows/requestDiv.js https://echarts.baidu.com/echarts2/doc/example/line4.html D:/opt/phantomjs-2.1.1-windows/images/1565077856630.jpg main
![]()
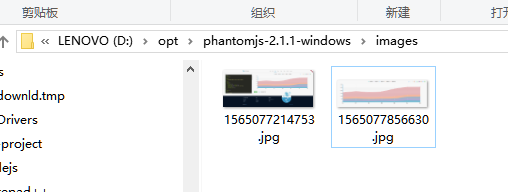
看到终端控制台输出了
success
,则保存图片成功,实现了html页面的截屏。
图片名称配置,可在下面路径文件修改。D:\phantomjsdemo\src\main\java\com\example\demo\CaptureController.java